
php入门到就业线上直播课:进入学习
Apipost = Postman + Swagger + Mock + Jmeter 超好用的API调试工具:点击使用
众所周知,作为一名phper,对php有限的功能感到尴尬,比如:调用ffmpeg视频处理工具。没有专门的扩展来操作的,什么?利用php system函数调用?对于开源的php脚本,这太不安全了!
这个时候作为深资的phper会考虑开发php扩展,在扩展中实现对ffmpeg的操作。
目前c站上对于rust如何开发php扩展的文章几乎没有,就连开发php扩展流程的文章也都很对付。特此撰写此文!!!
为什么要使用php扩展?
优点:
1、php扩展是C开发的,那速度没得说。
2、耦合性高,它的出现就是用来增强php的。
3、安全性高,毕竟扩展是编译后的程序,代码不开源。
缺点:
1、需针对php版本及系统环境进行开发,那么就比较麻烦了。也就是说7.4版本的php,liunx环境下开发的扩展,只支持该php版本及系统。
2、需要会C、C++,当然本文是以rust进行开发,对C的数据类型进行了解,对rust FFI的操作及数据类型转换需精通。
3、调试相对麻烦。
为什么要用rust开发php扩展?
原因很简单,这还要说起rust的语言特性。
1、因“所有权”的特性使你的程序更安全,不会像C那样出现各种“玄学BUG”。
2、拥有C一样的性能。
3、毕竟是最受欢迎的语言,我很看好它的发展。
rust开发php扩展流程:
当然,rust目前是没有专门开发php扩展的骨架。所以我的逻辑也很简单,利用rust开发静态库暴露给C【涉及FFI的了解】。我们在php官方骨架中直接引入rust静态库调用其方法即可。
开发环境
宝塔【CentOS 7.6】、GCC【涉及php扩展骨架的编译,我这里系统内置就有,如果编译扩展报相关错了自行安装】、对应php版本源码、web环境【宝塔中安装对应php版本、nginx、mysql等等】
开发整体流程:
1、准备宝塔
宝塔安装流程:CentOS宝塔搭建(超详细)_一码超人的博客-CSDN博客_centos 宝塔

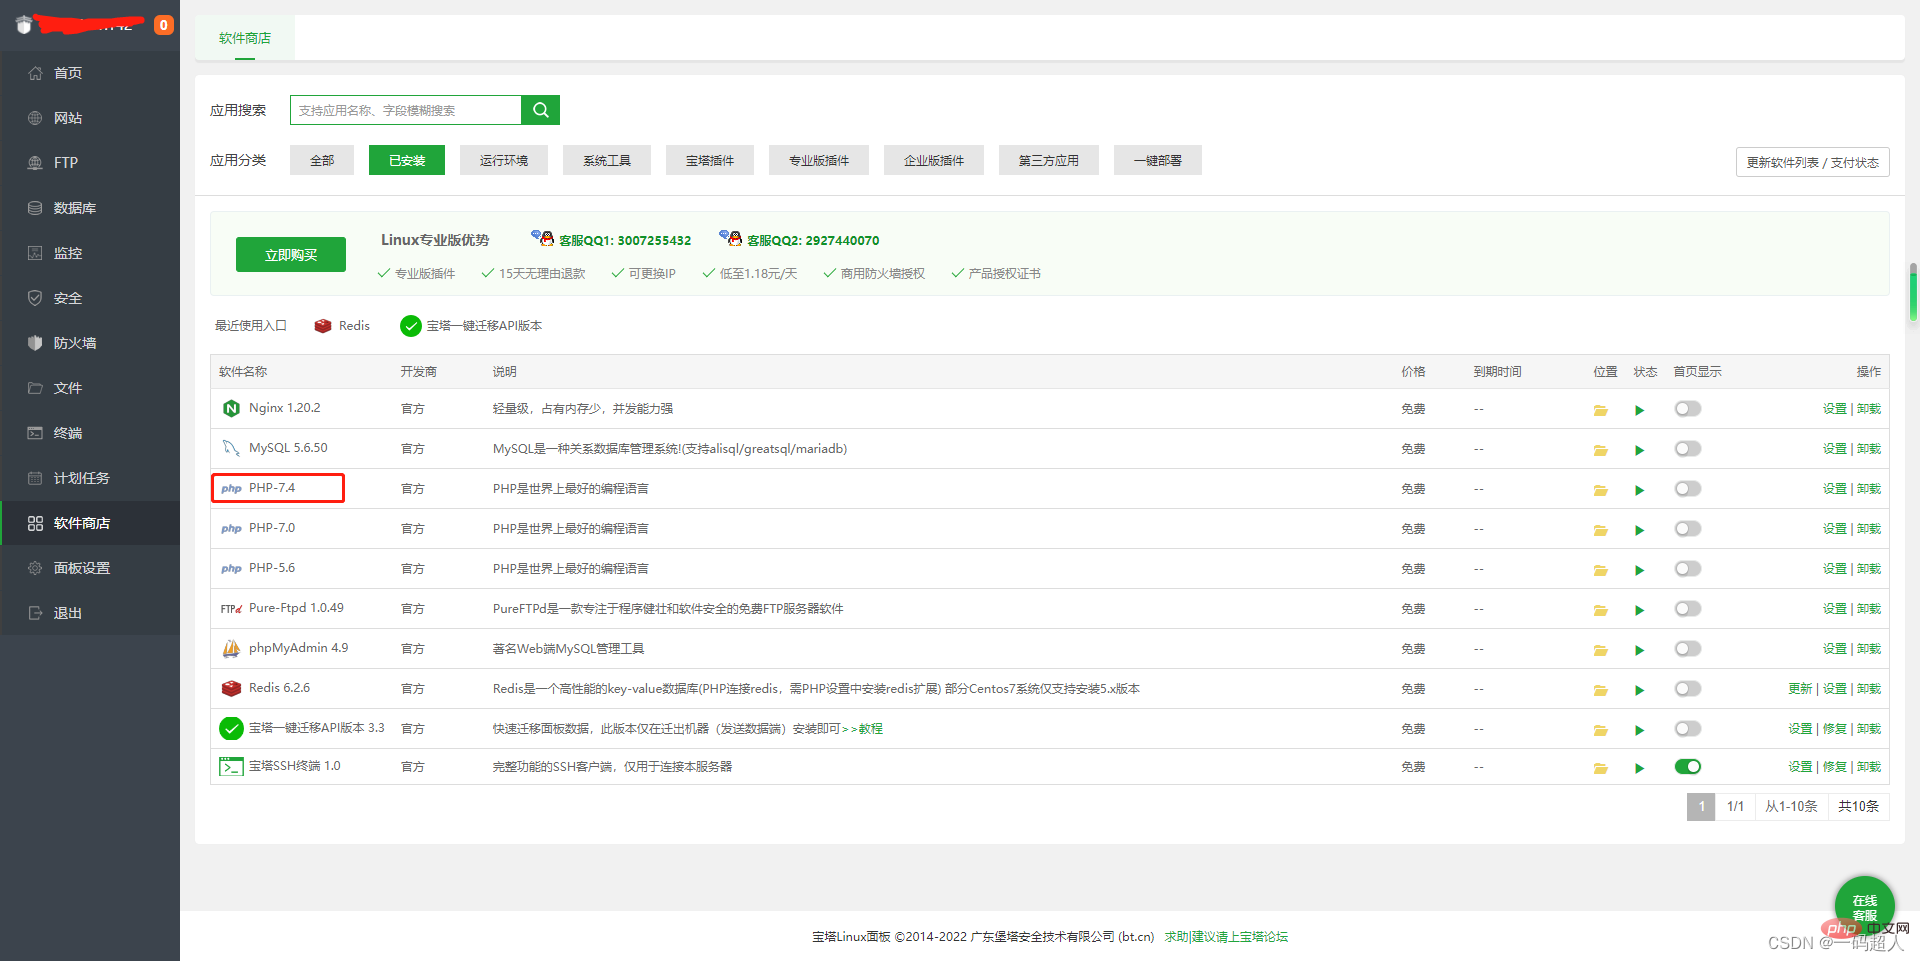
这里我们以开发php7.4扩展为例。
2、下载php7.4 liunx版源码
php官网:PHP: Hypertext Preprocessor
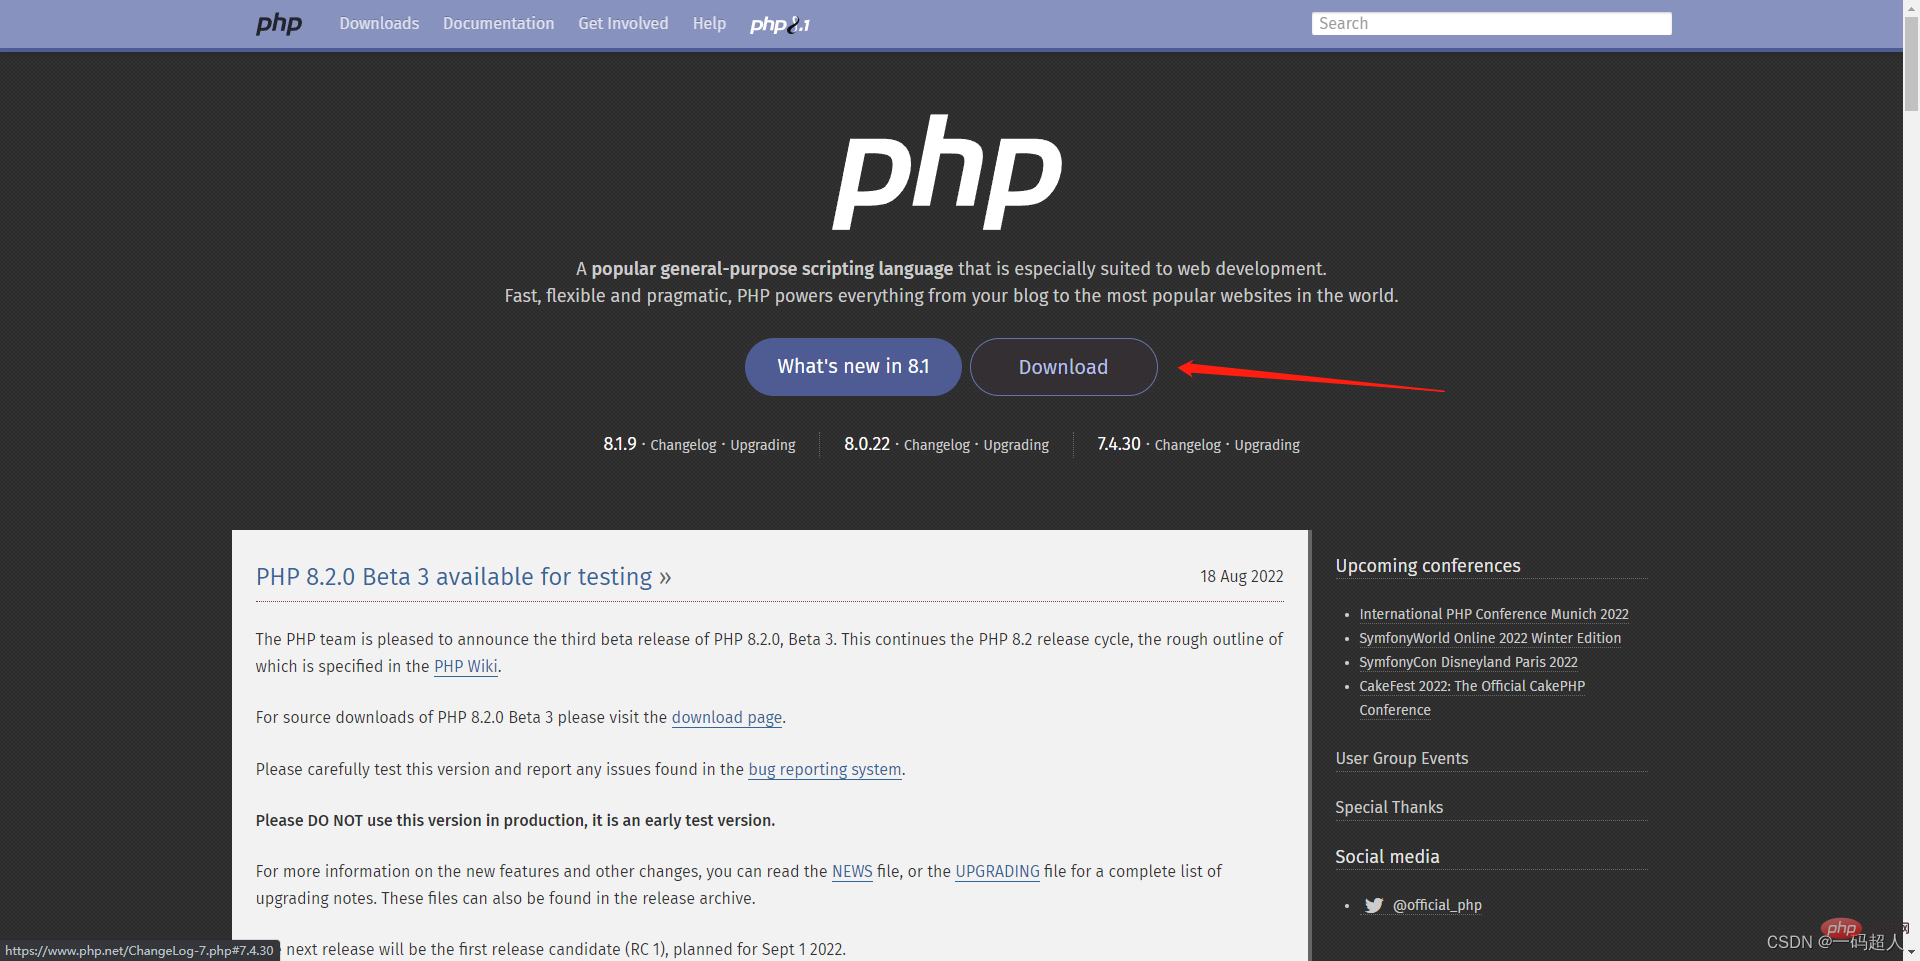
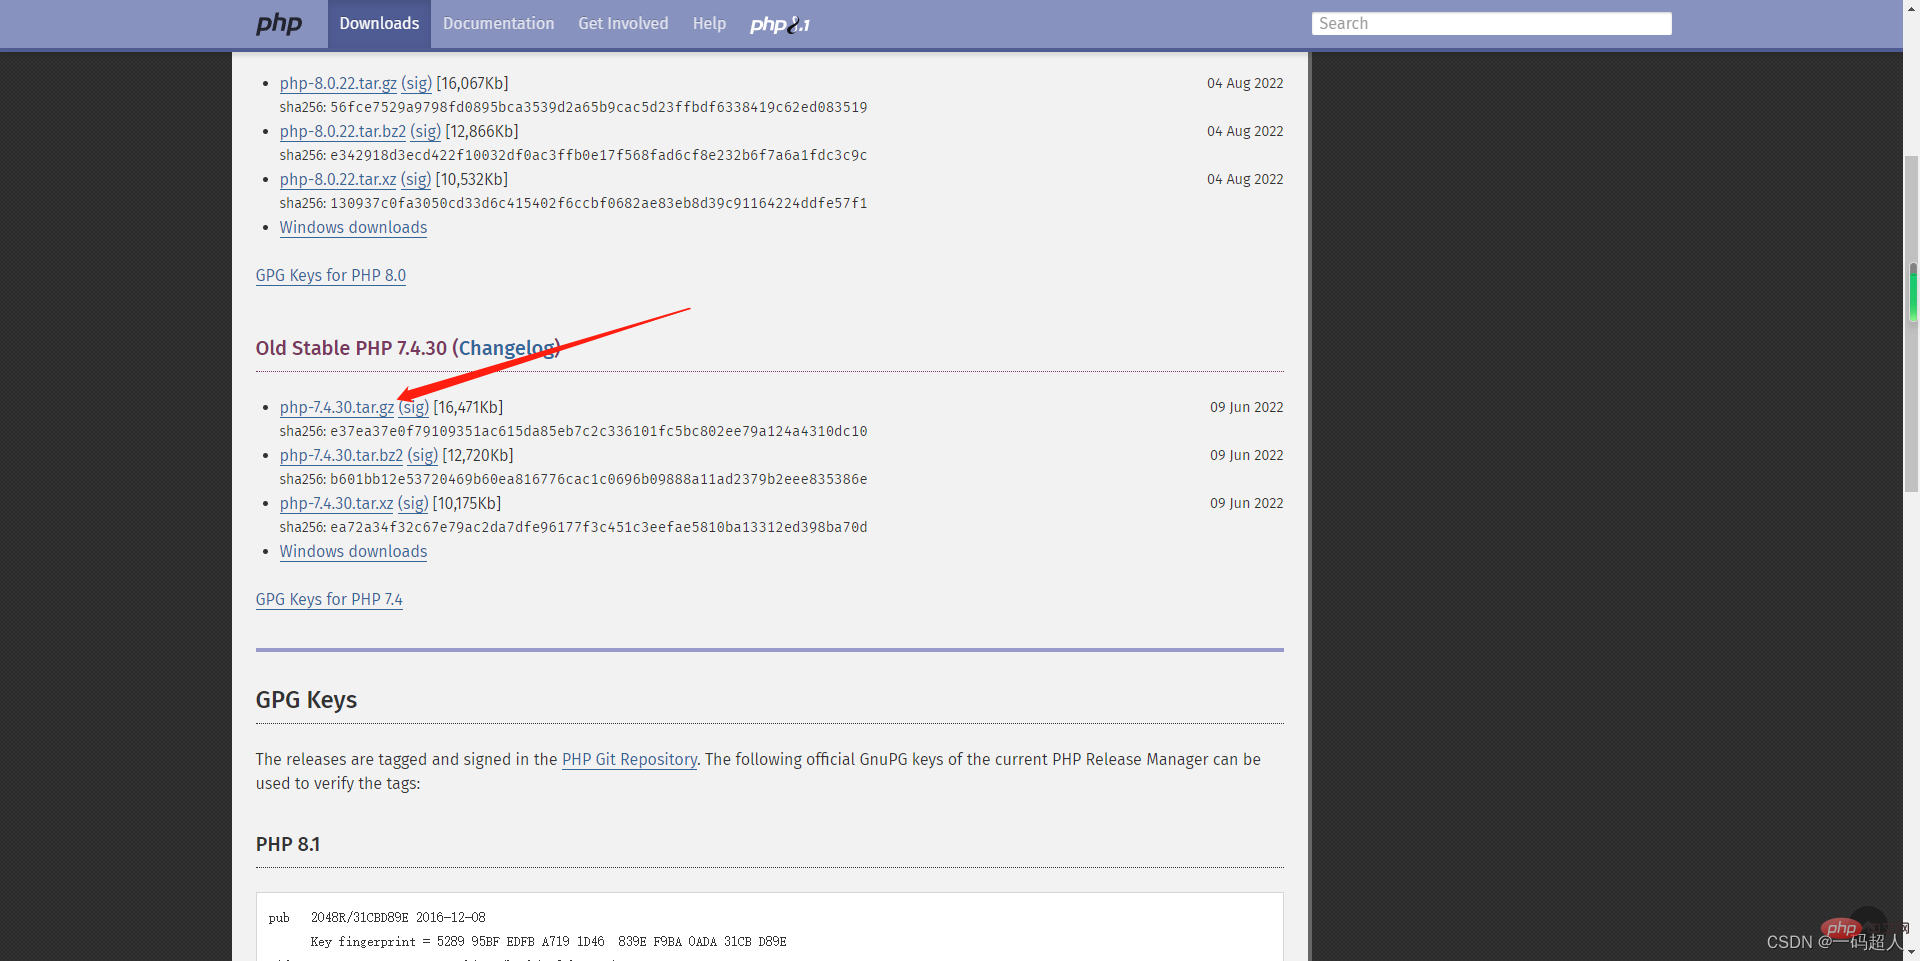
注意!该源码版本必须与你环境php版本完全一致!!!
下载完毕:
3、上传php源码到宝塔
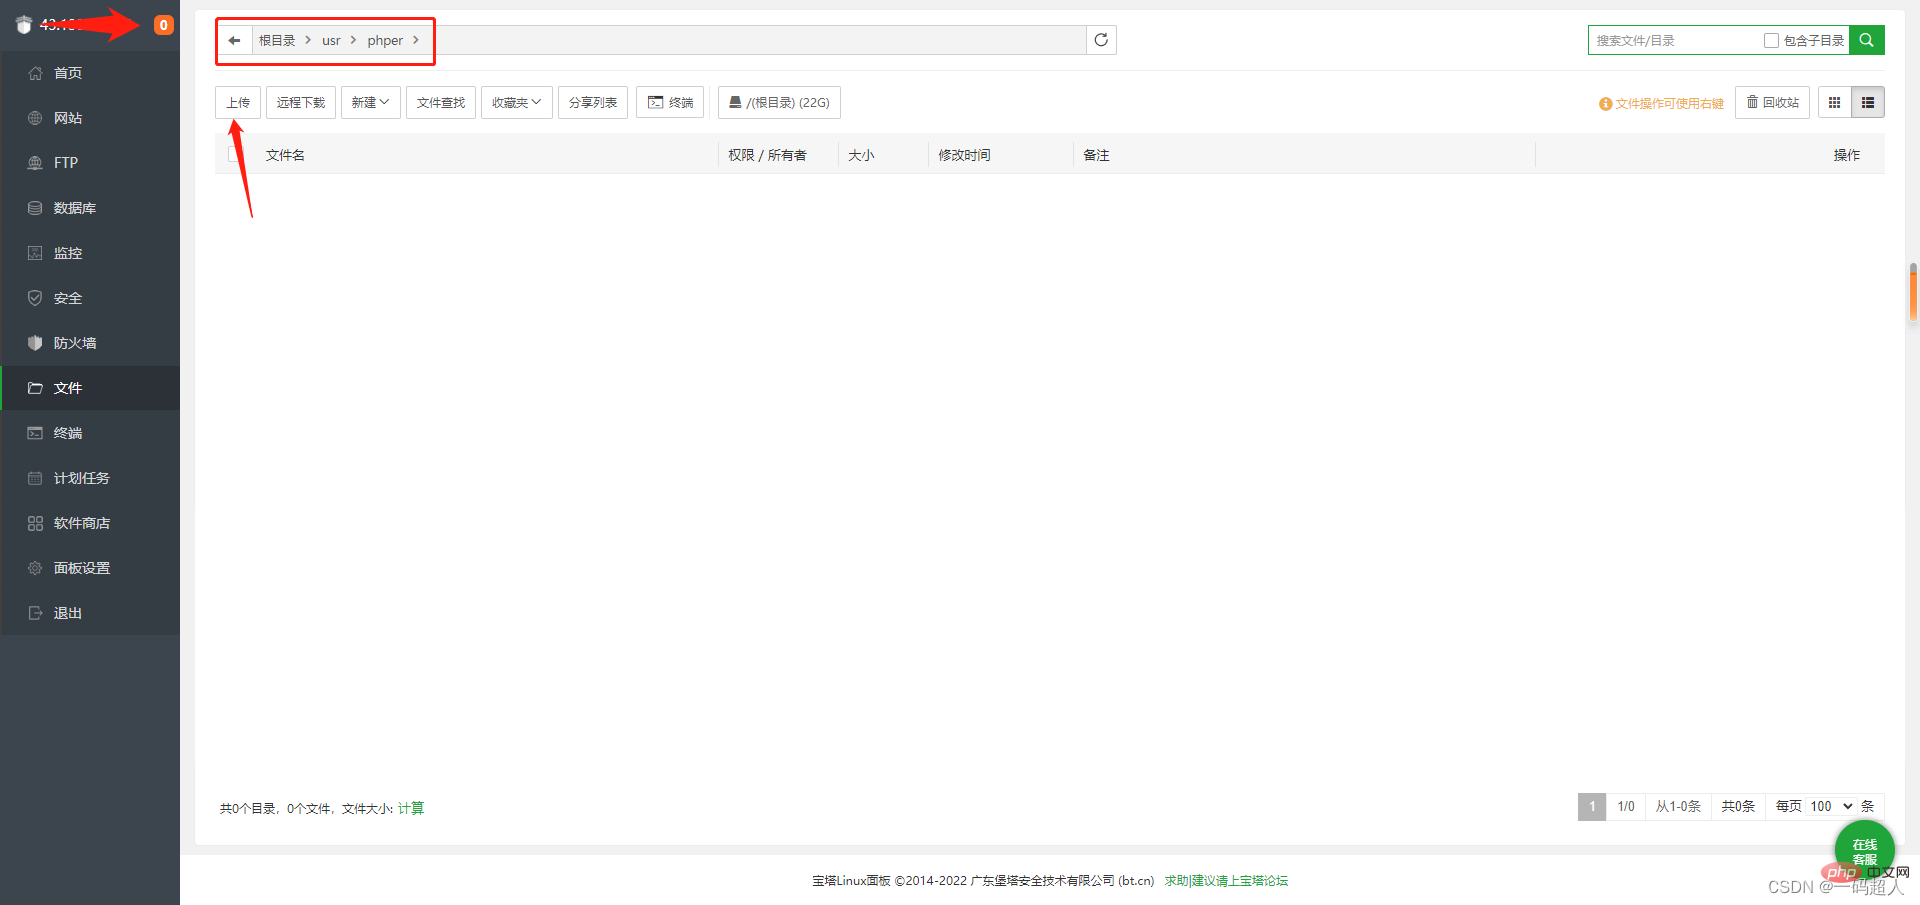
/usr/phper
在usr下创建一个phper文件夹,然后将源码压缩包上传到此处。
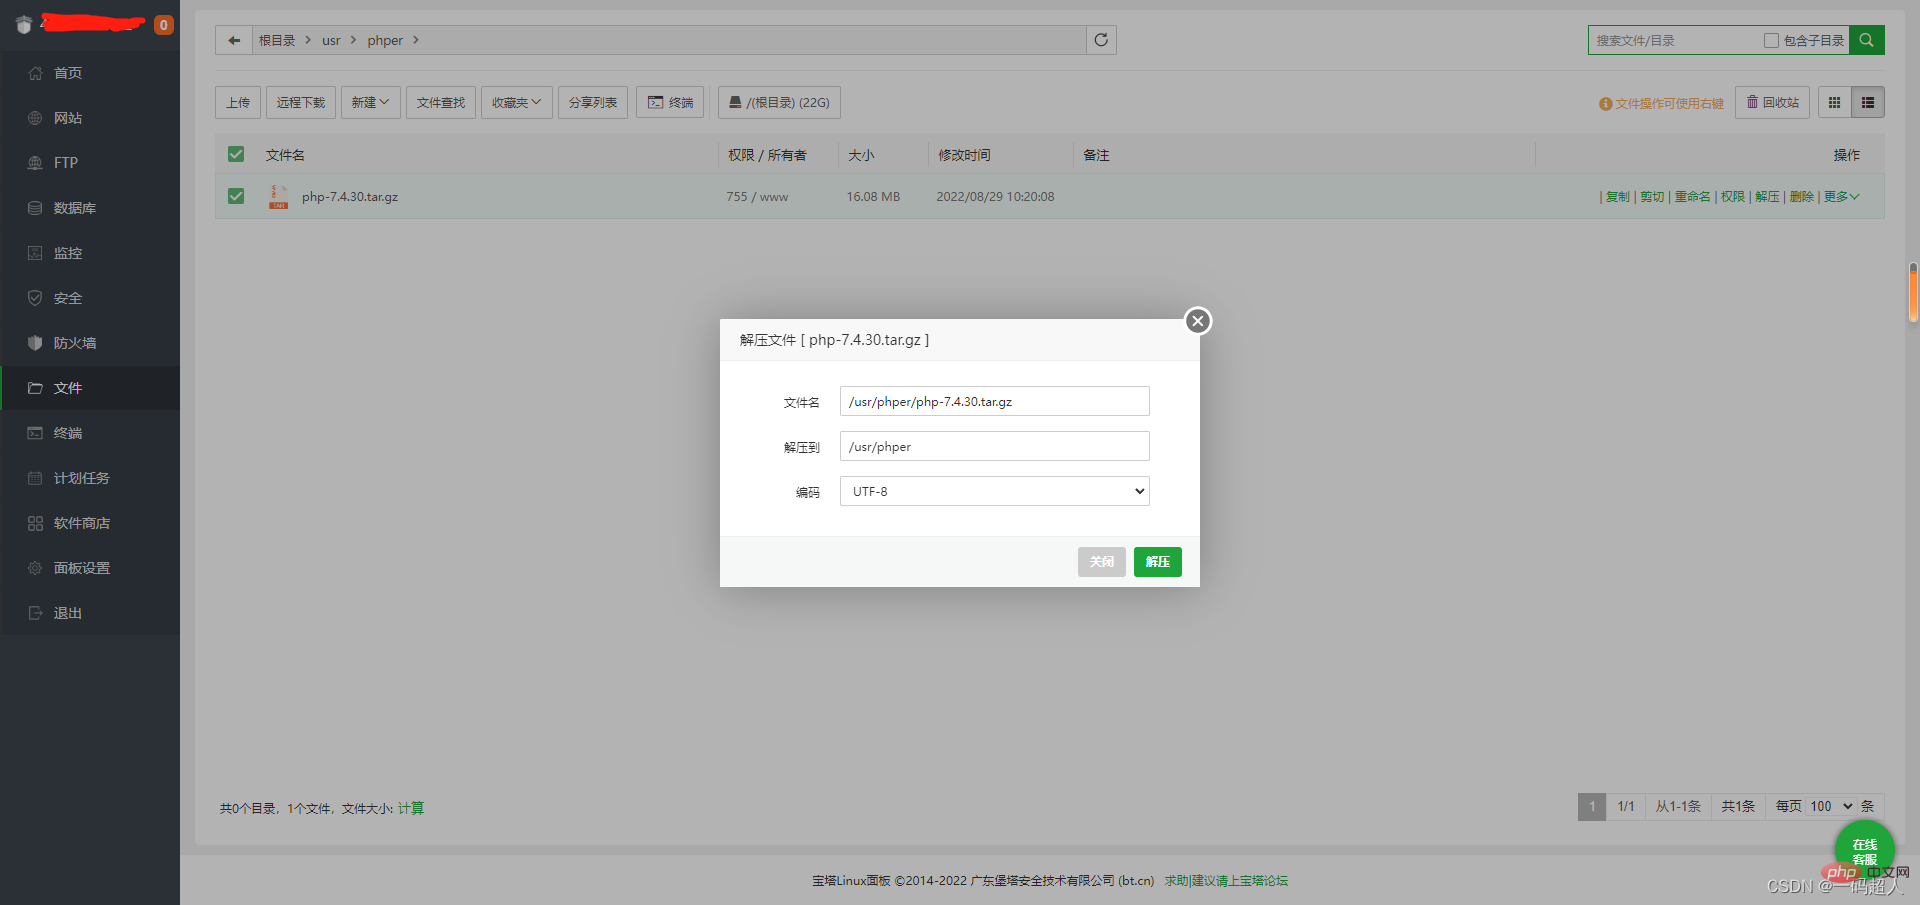
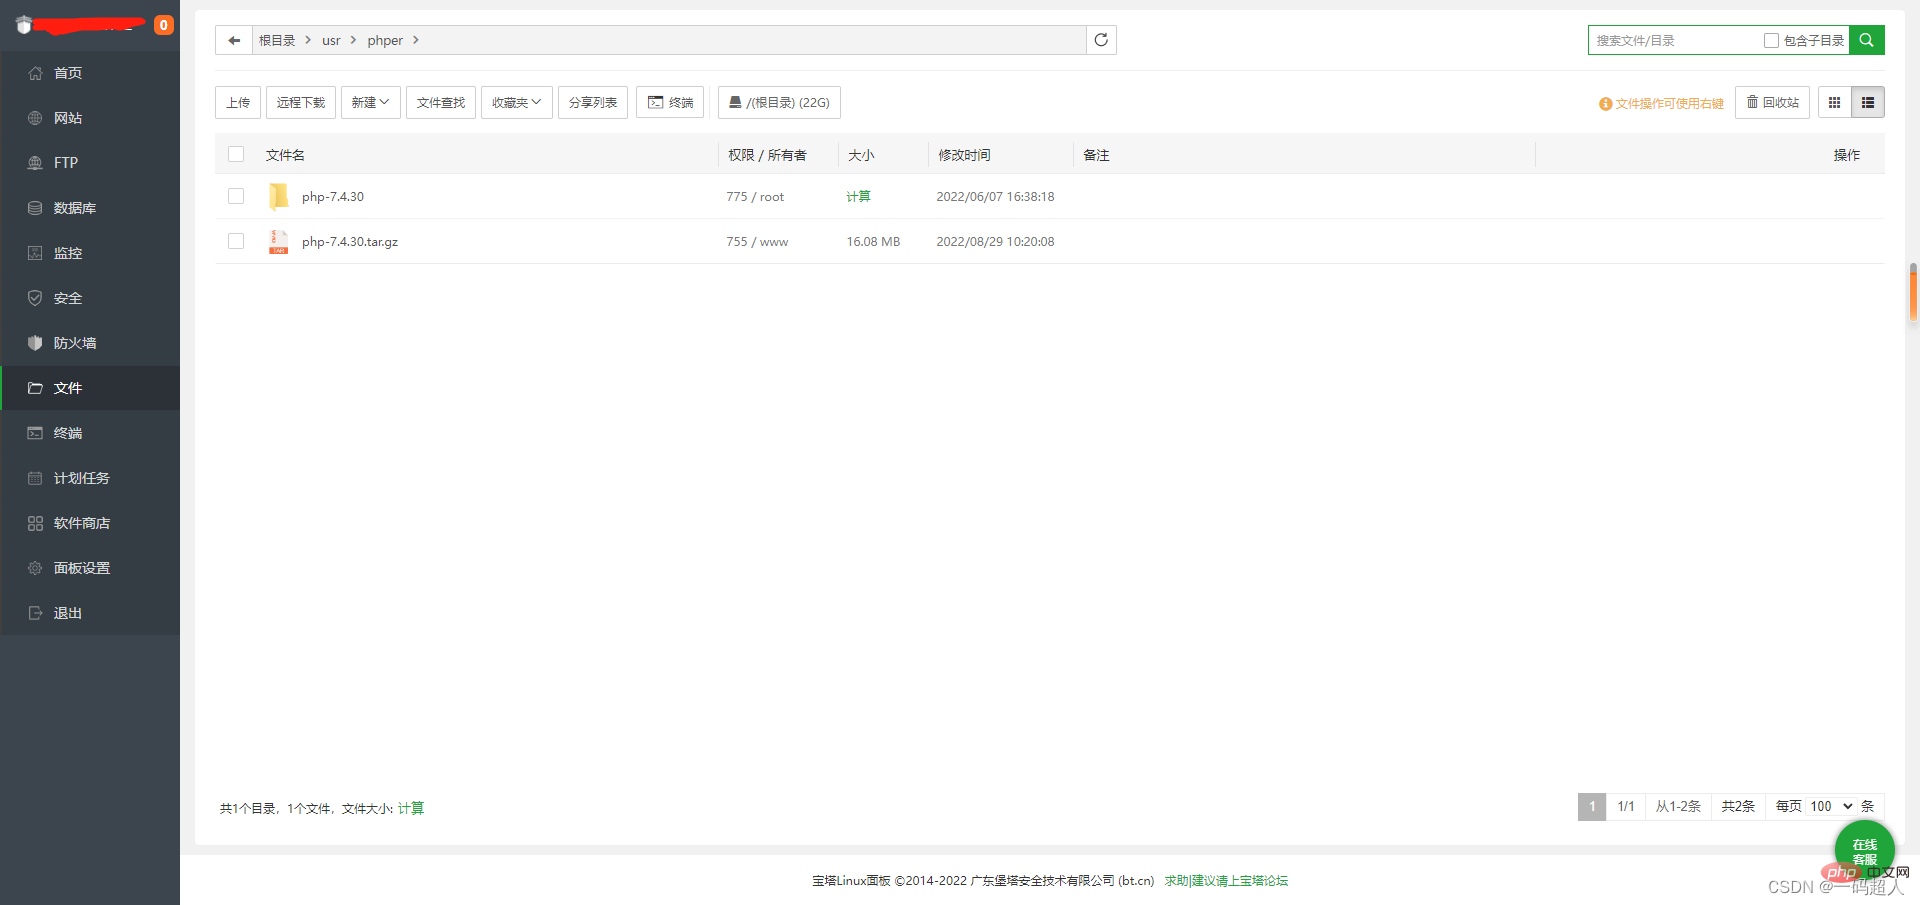
解压该压缩包
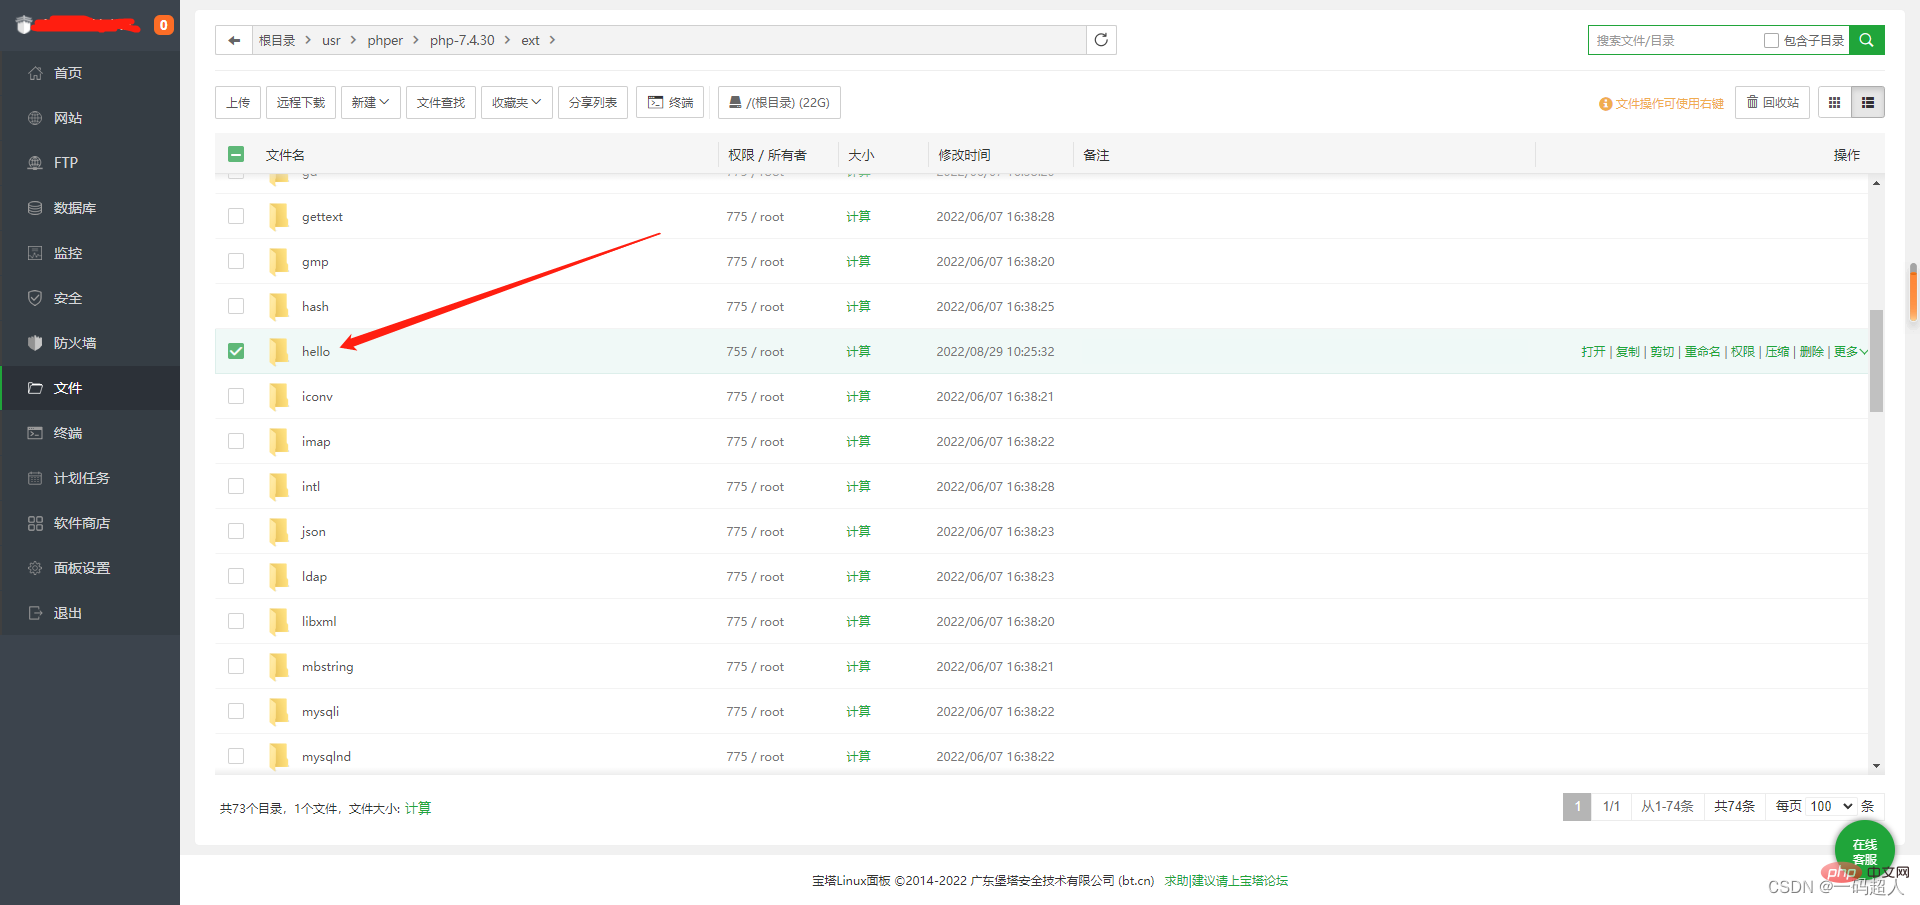
4、创建一个我们自己的扩展
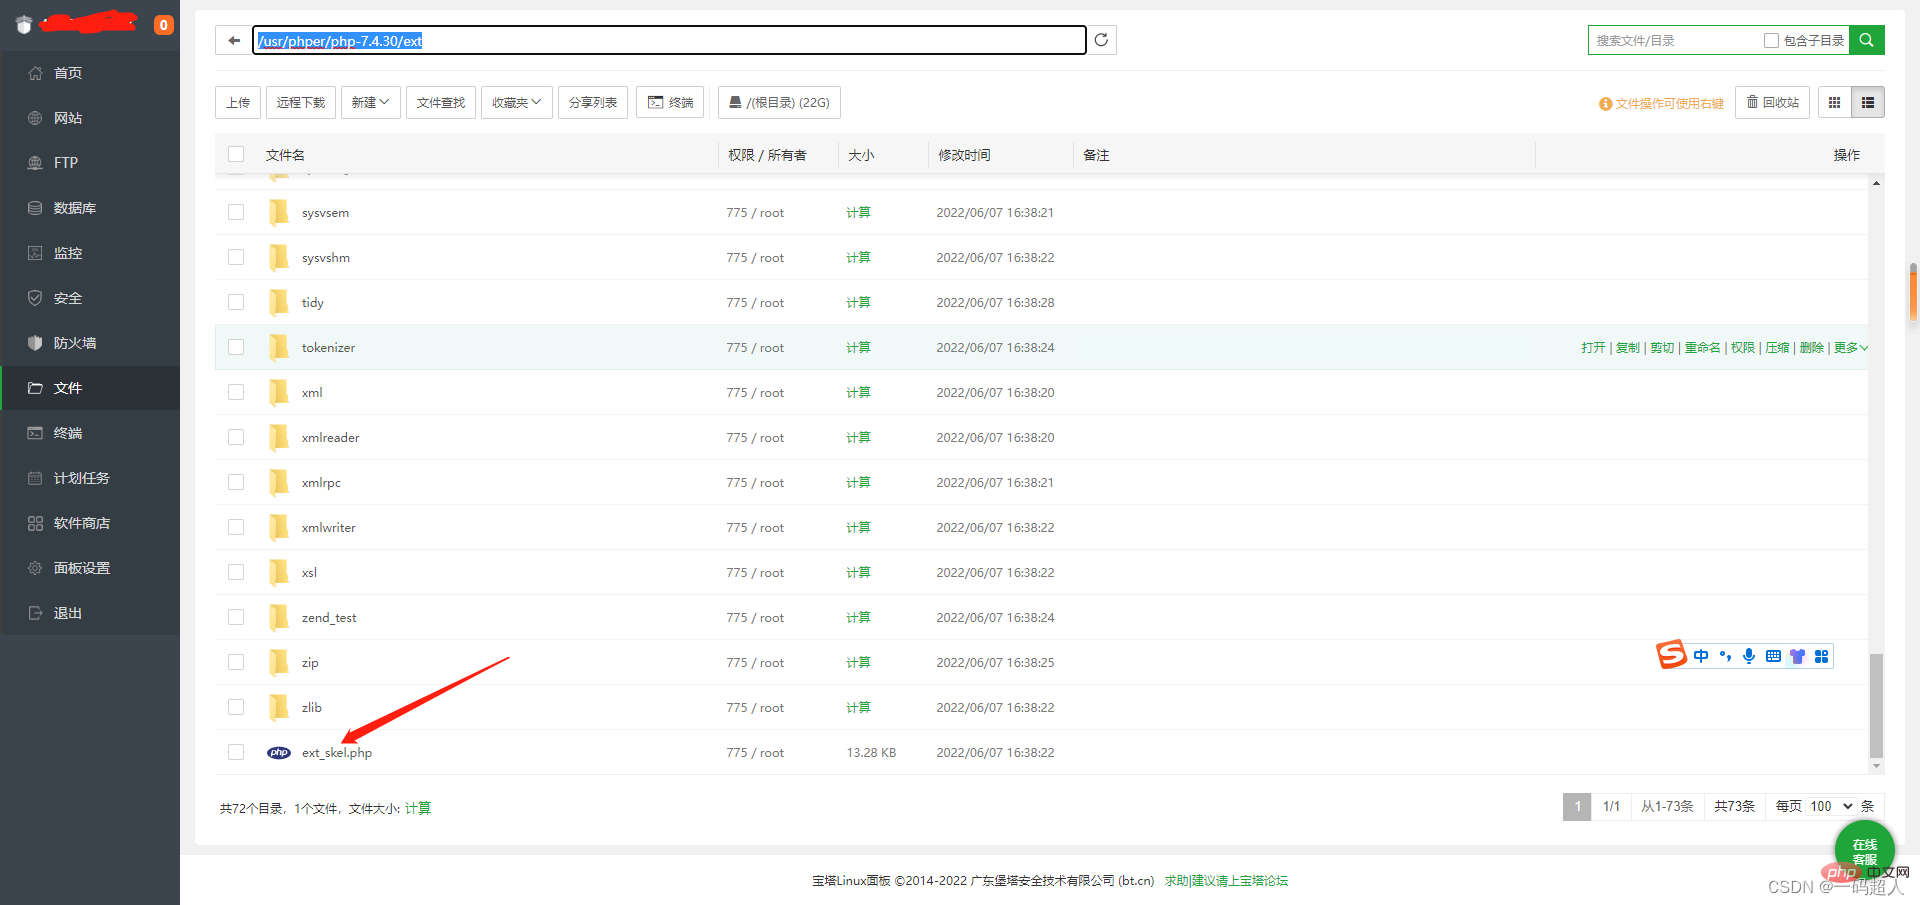
/usr/phper/php-7.4.30/ext目录下有这么一个php文件,它可以创建扩展!
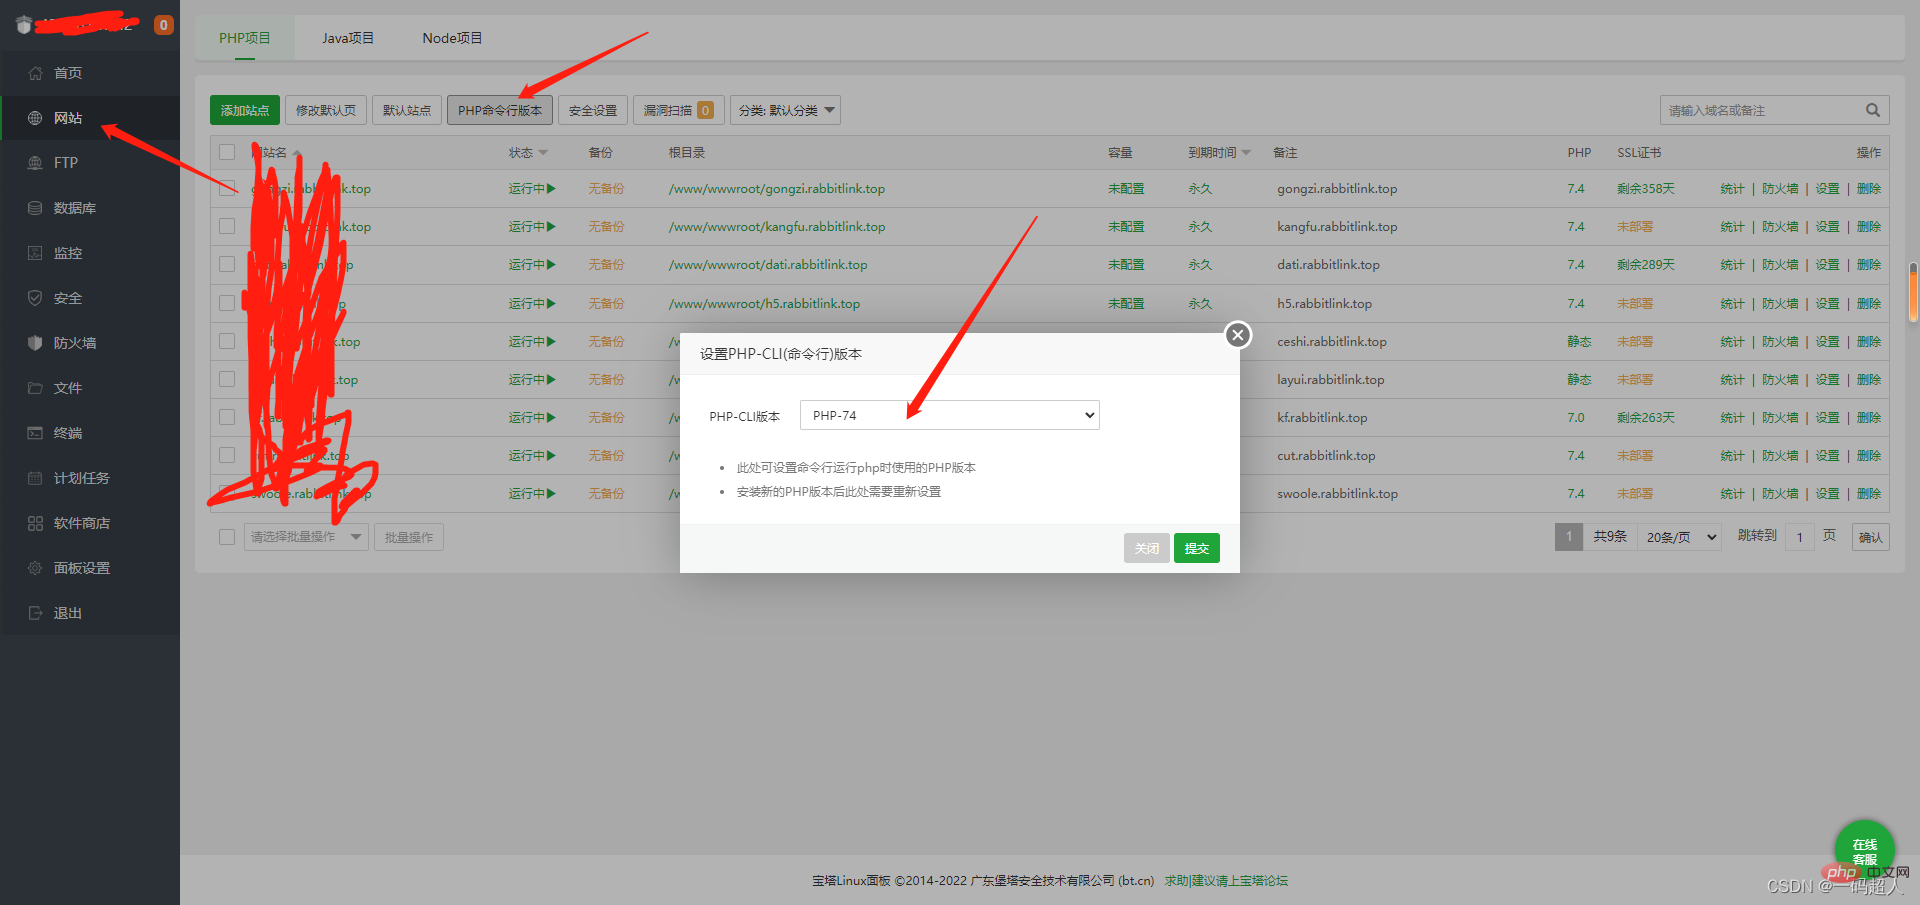
注意设置命令行版本,因为接下来利用php命令必须是版本一致的!
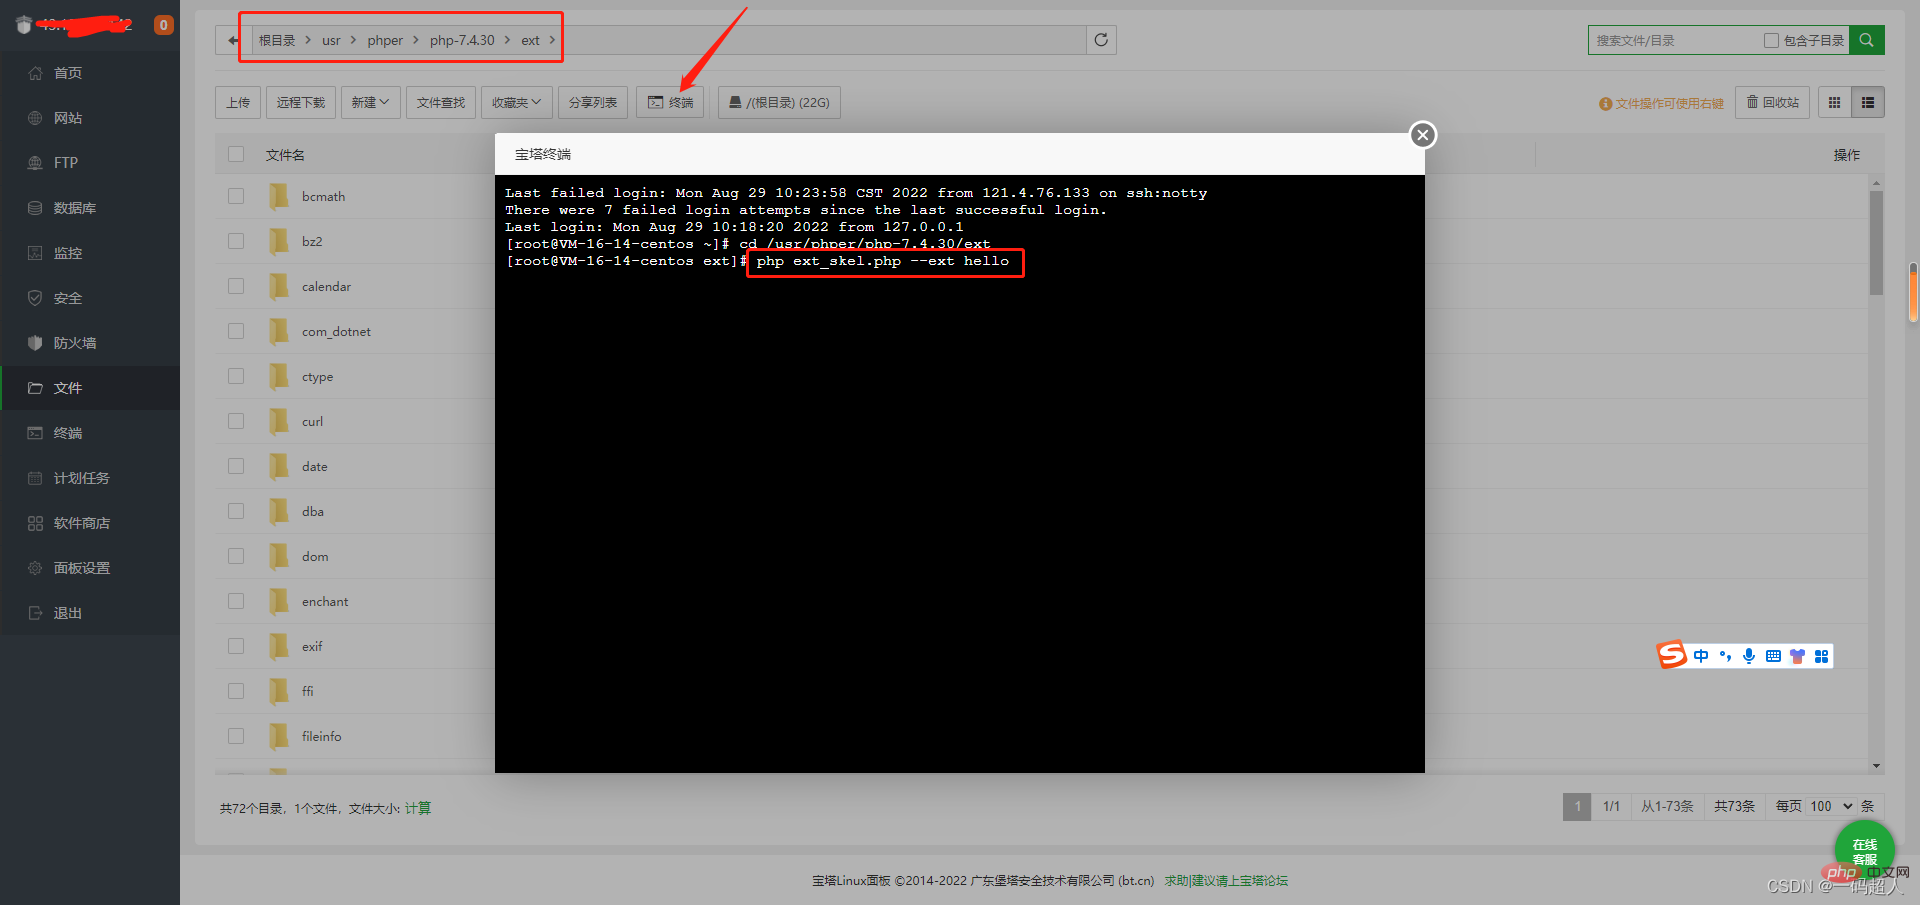
在刚刚的目录下,点击终端,输入创建扩展命令。
php ext_skel.php --ext 扩展名称
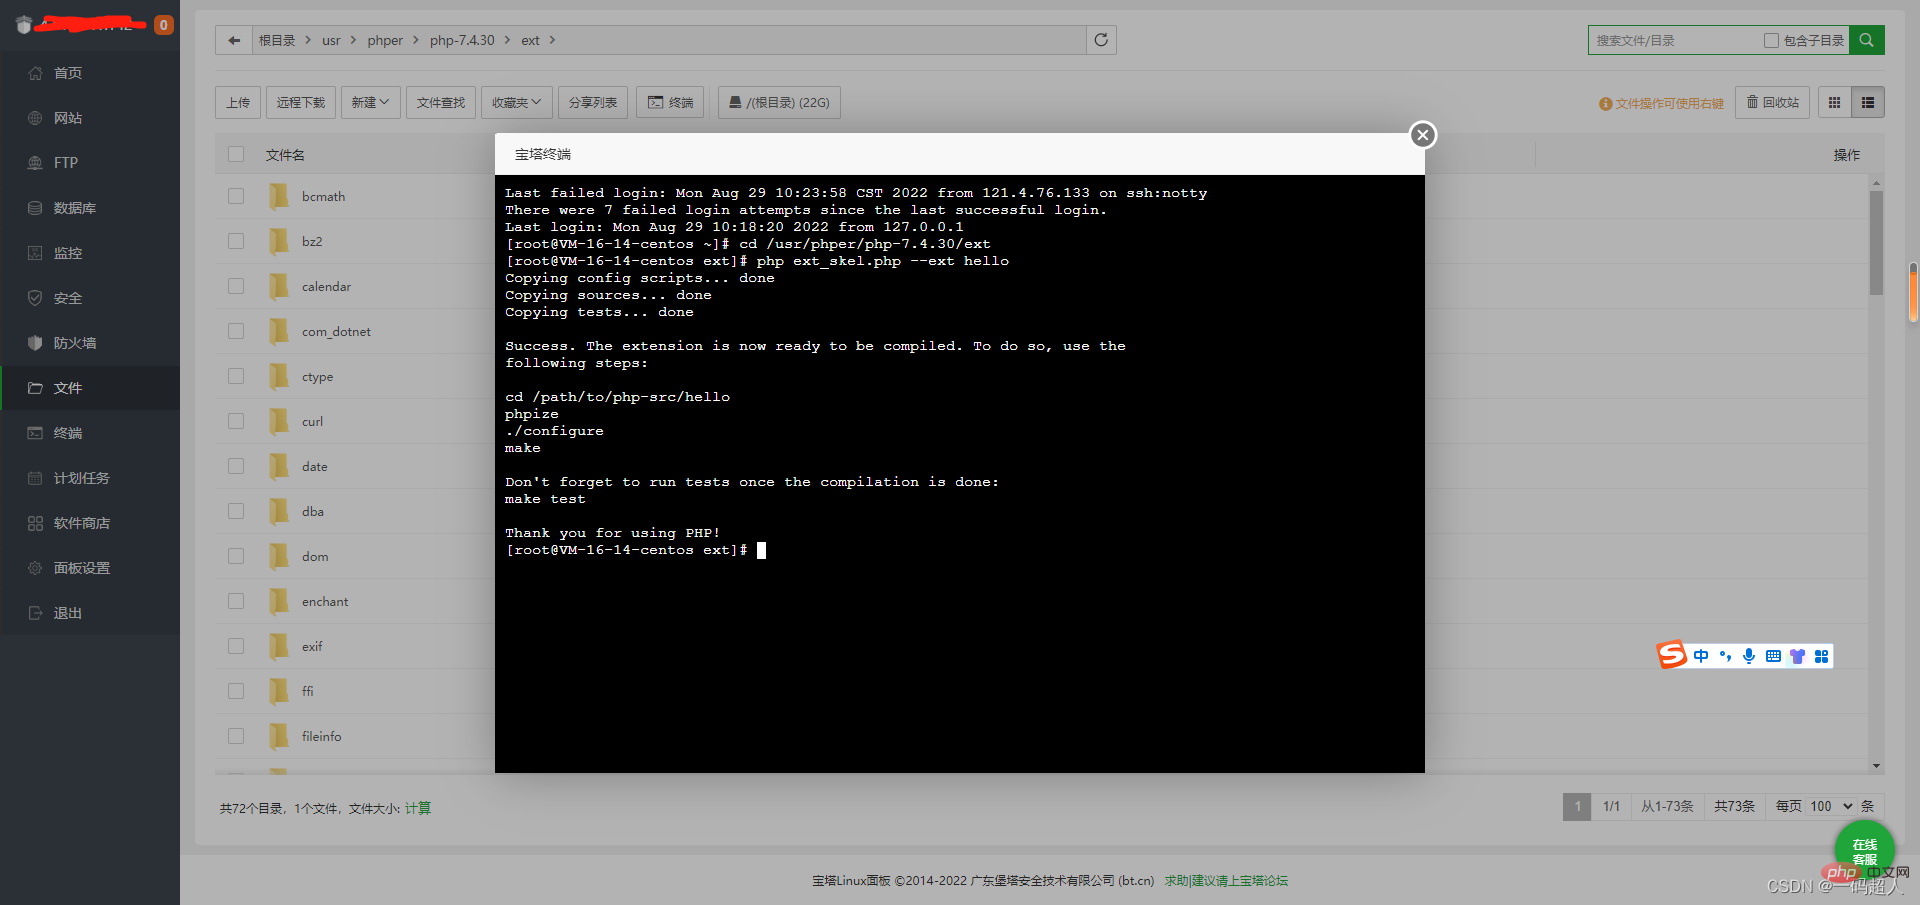
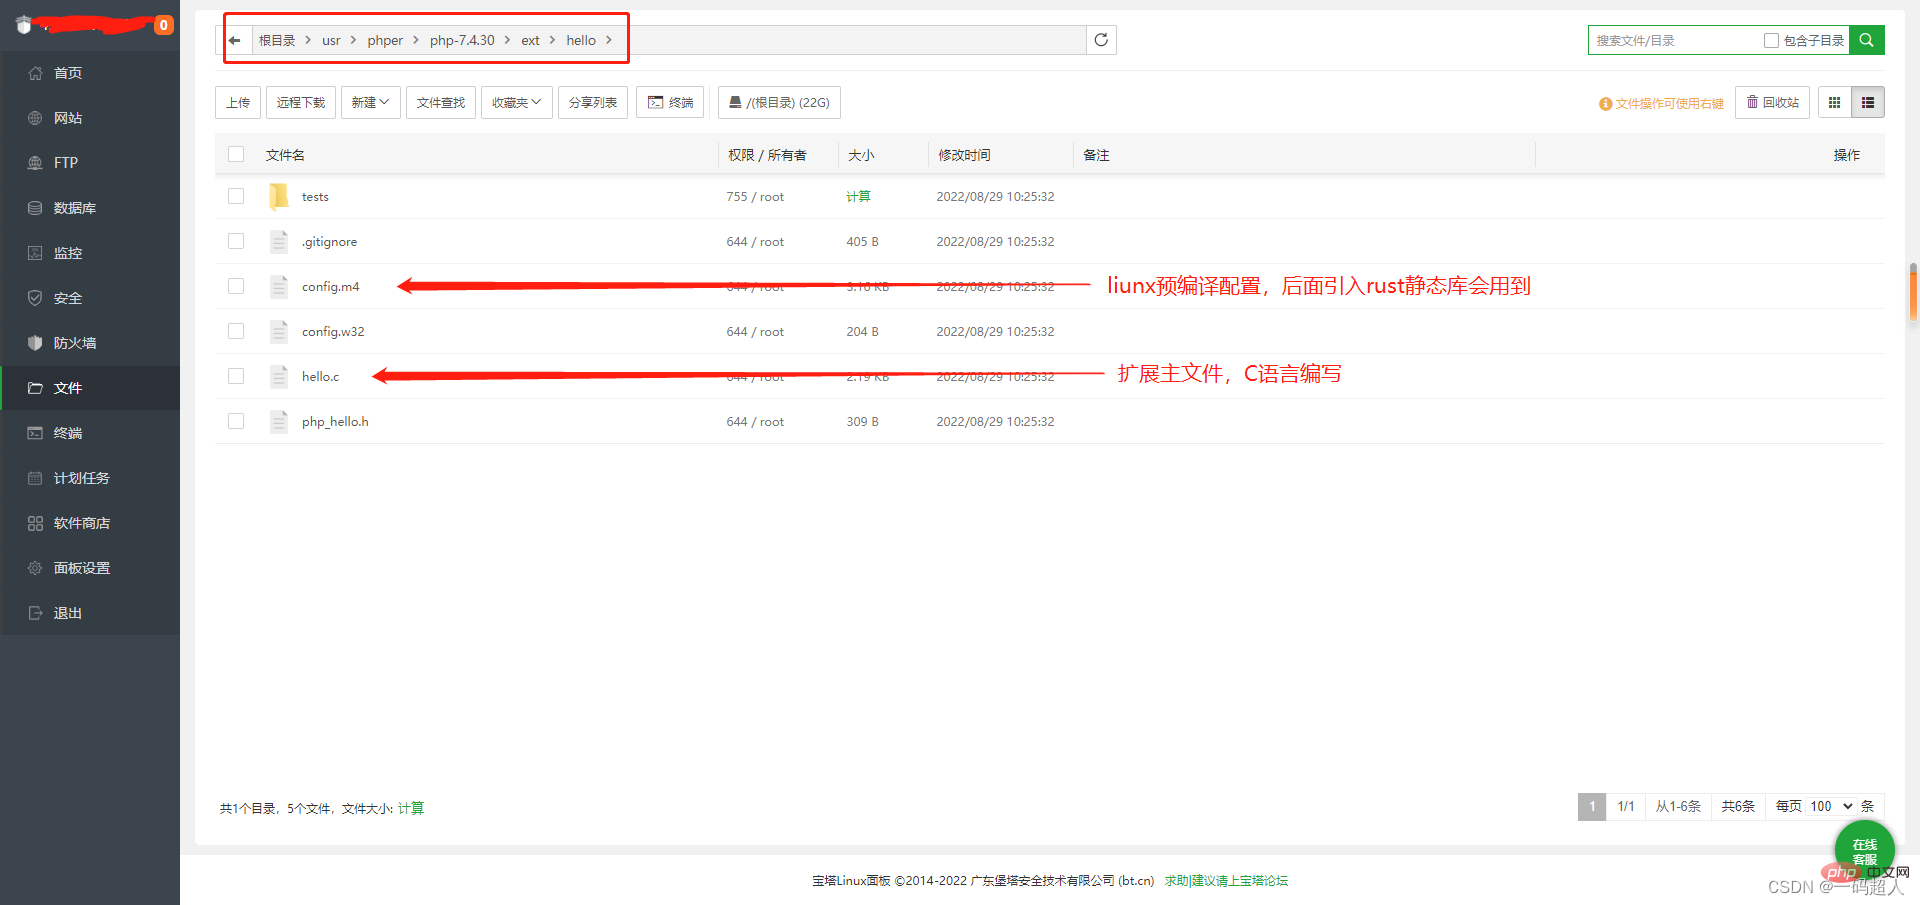
这里就多出了一个新的扩展源码文件。

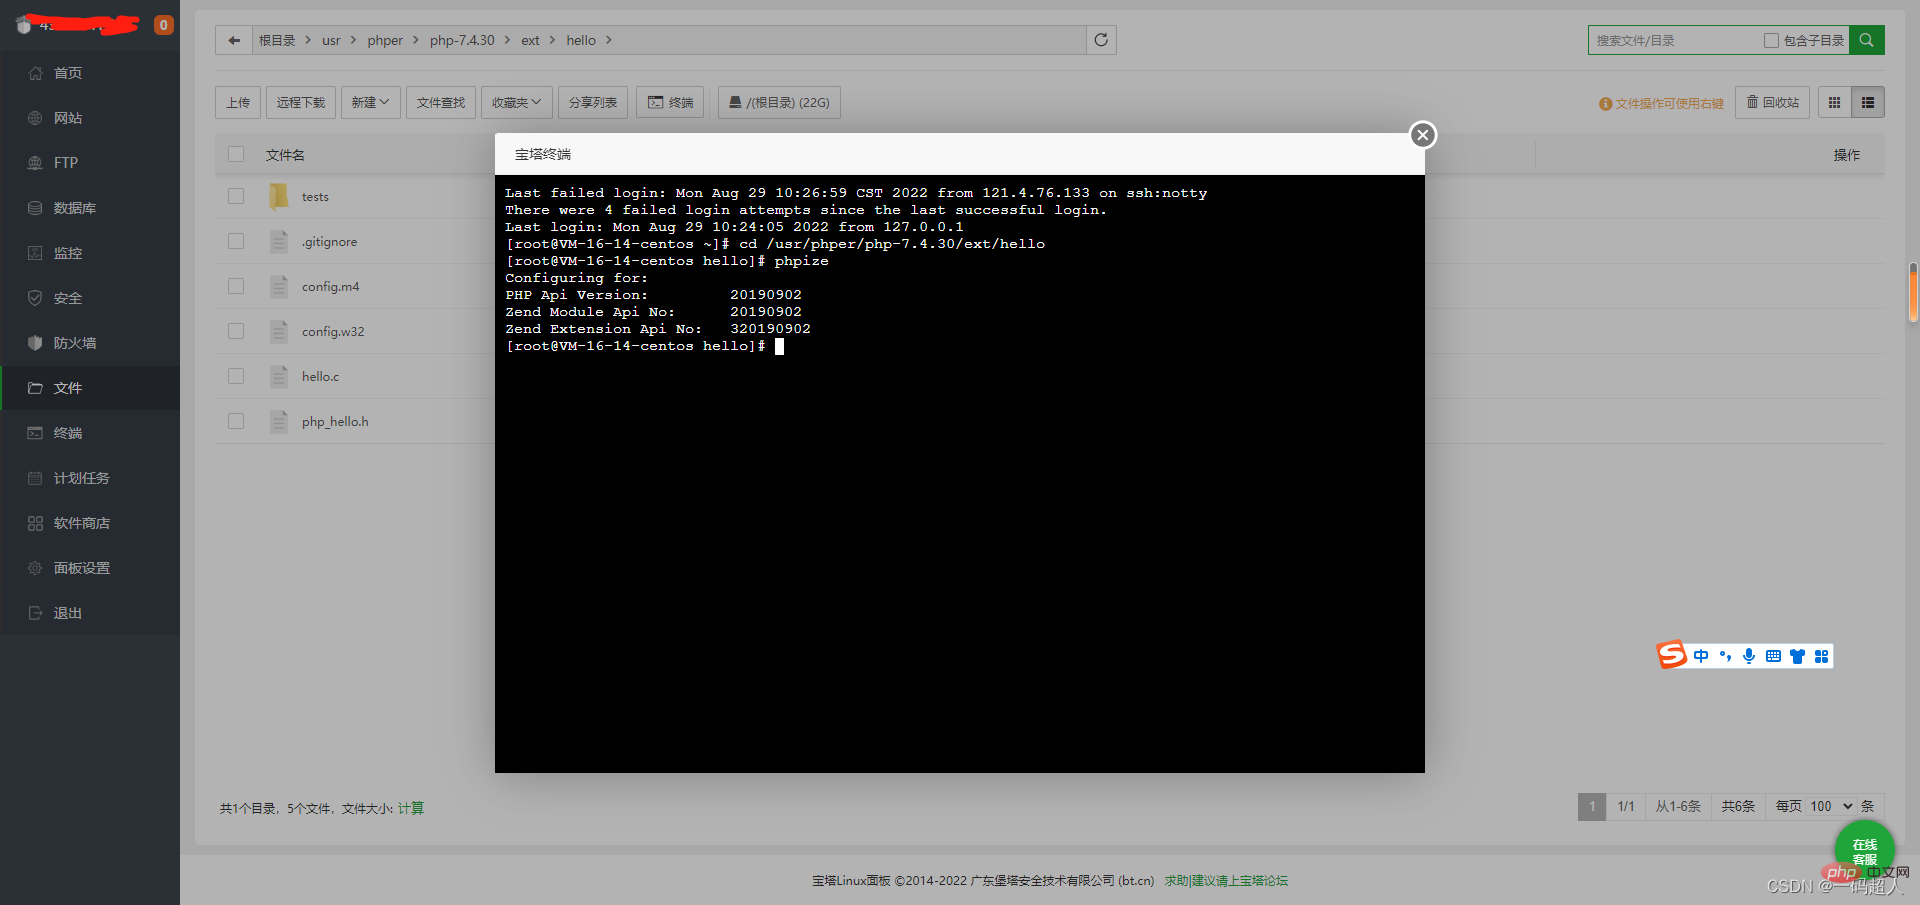
在该目录下点击终端,输入:
phpize

接着输入:
./configure --with-php-config=/www/server/php/74/bin/php-config
注意这个参数php路径,如果是别的版本,请自行在宝塔里安装找到对应版本路径,它们都是放一起的。
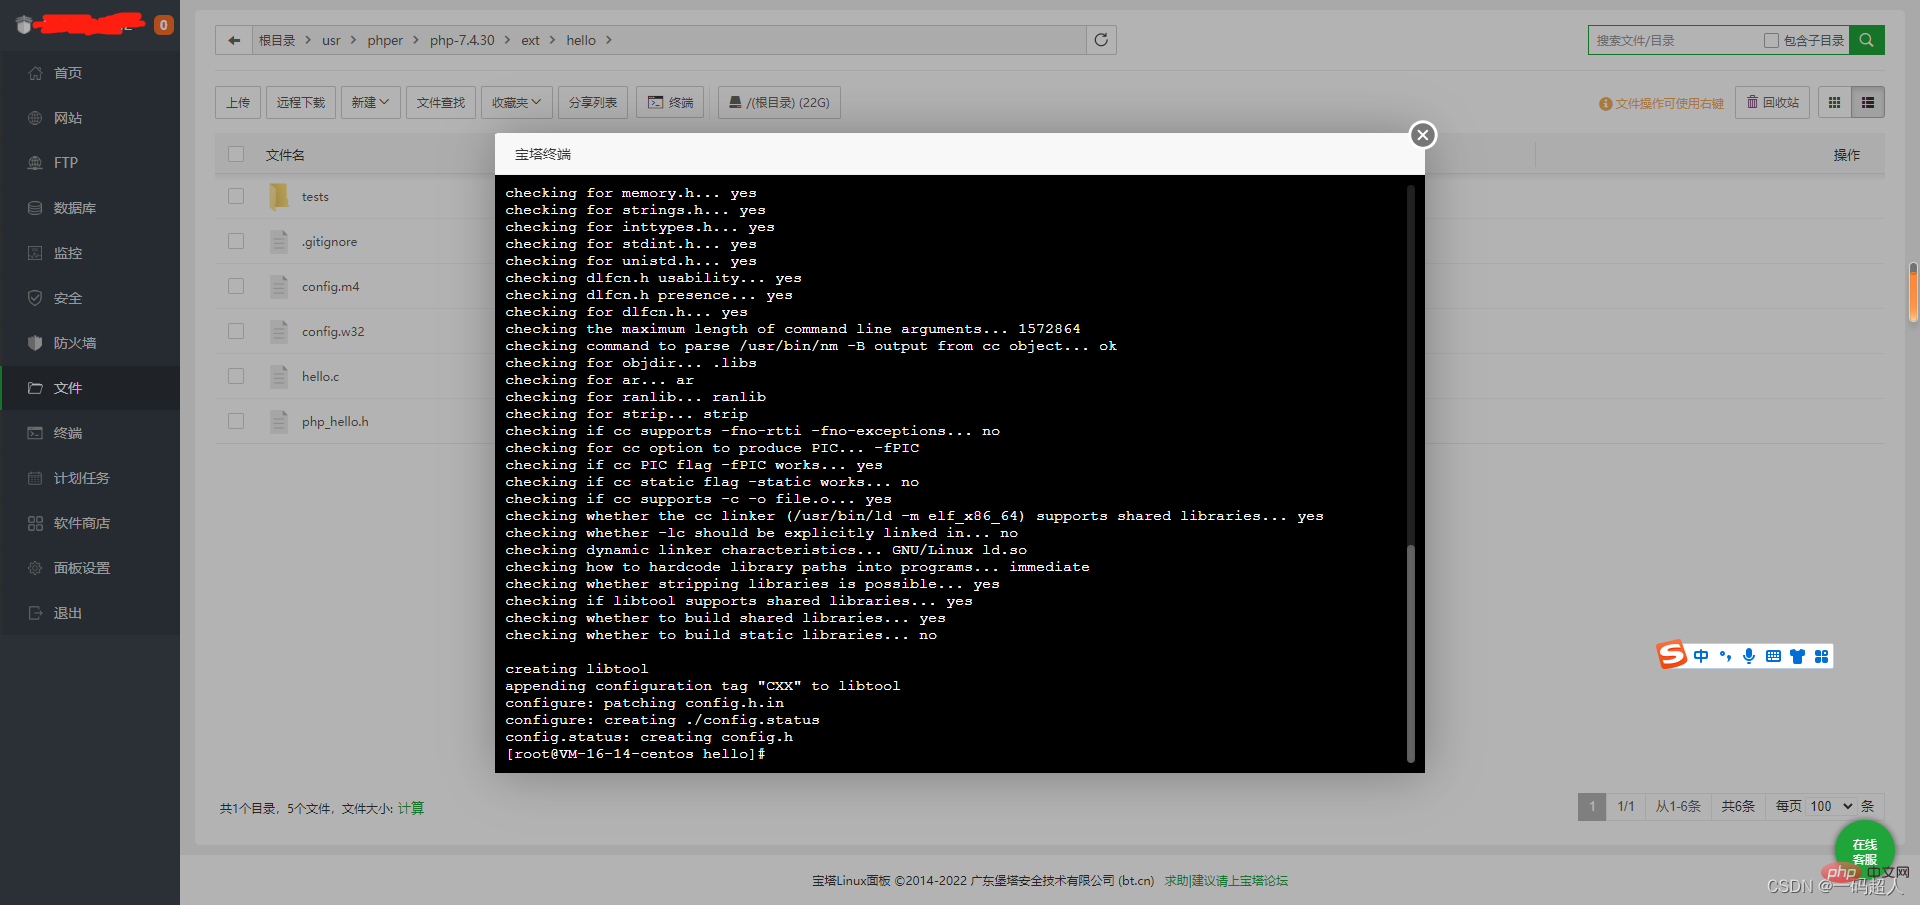
回车开始进行检查了
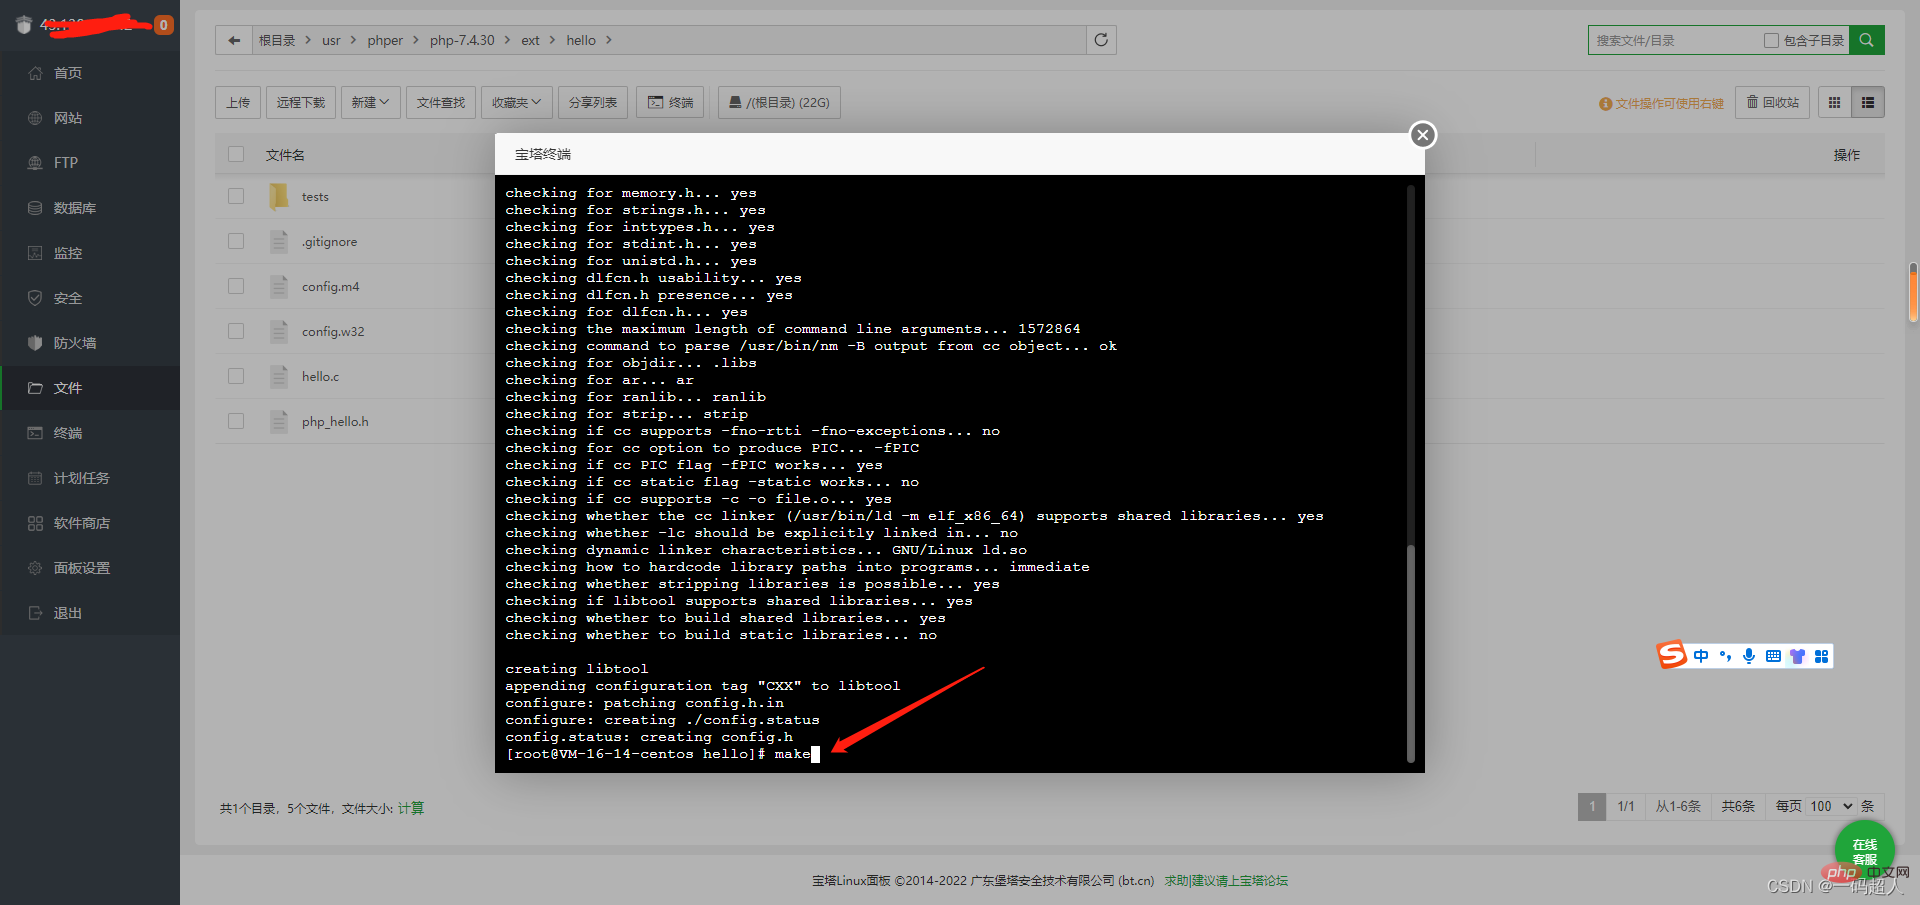
最后输入:
make
进行编译。
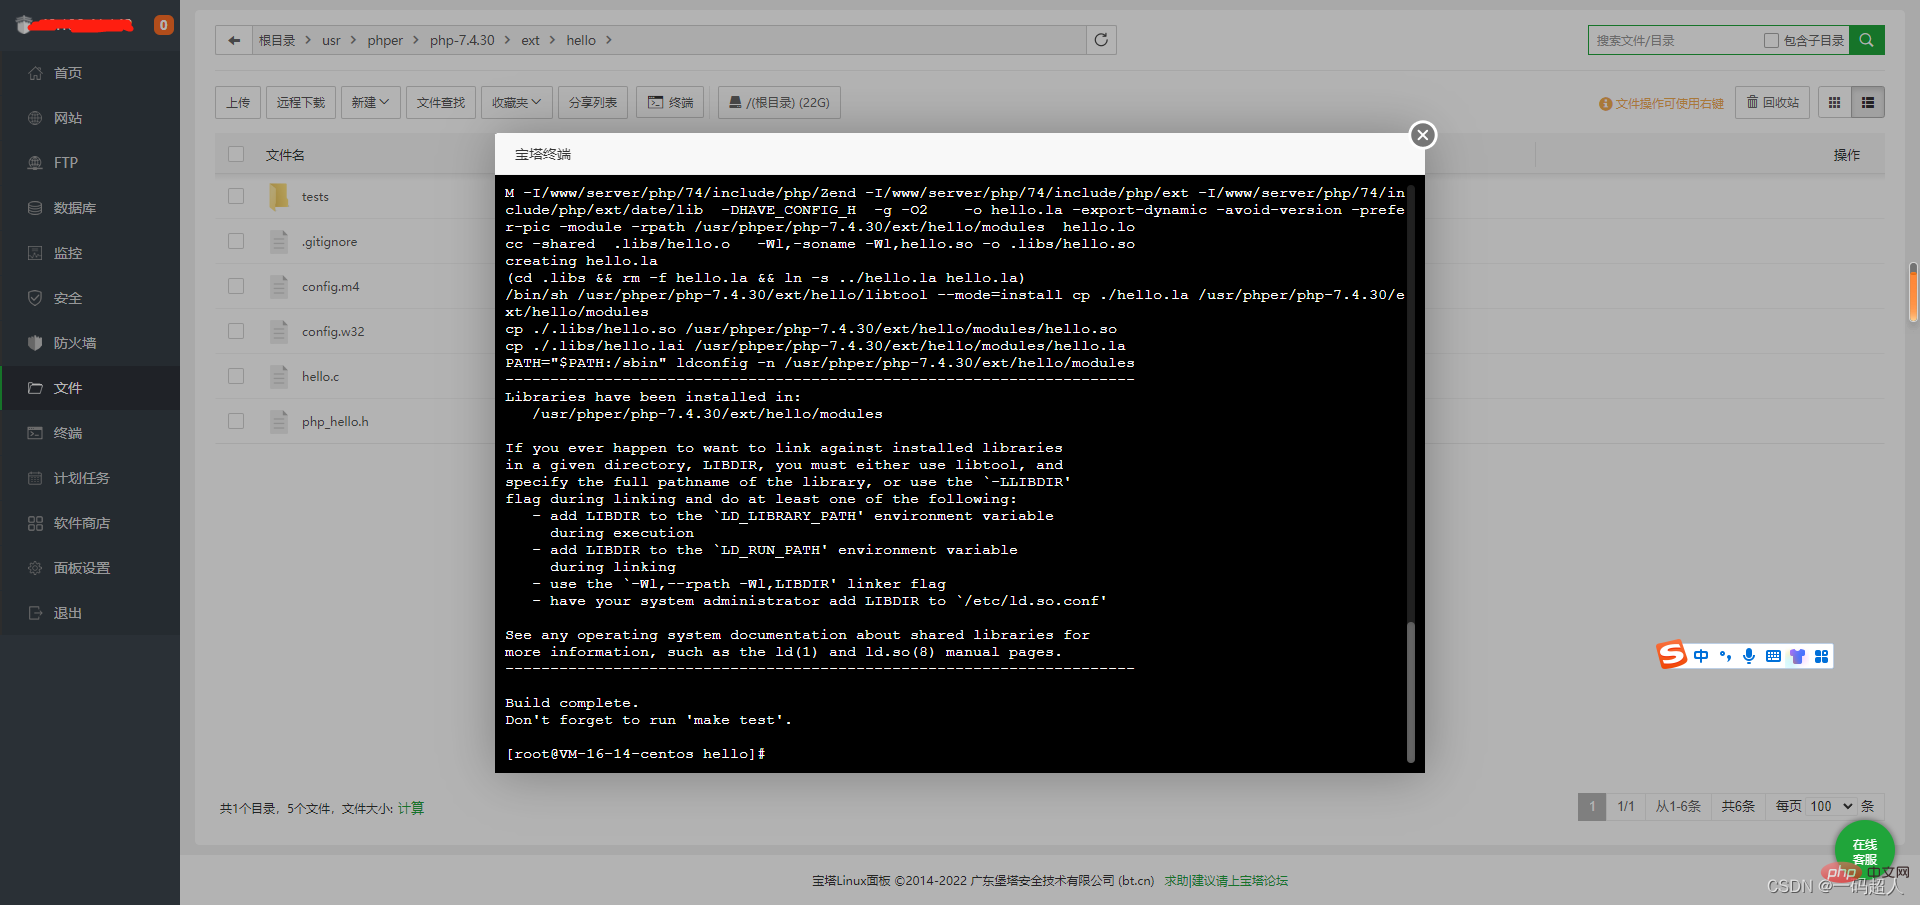
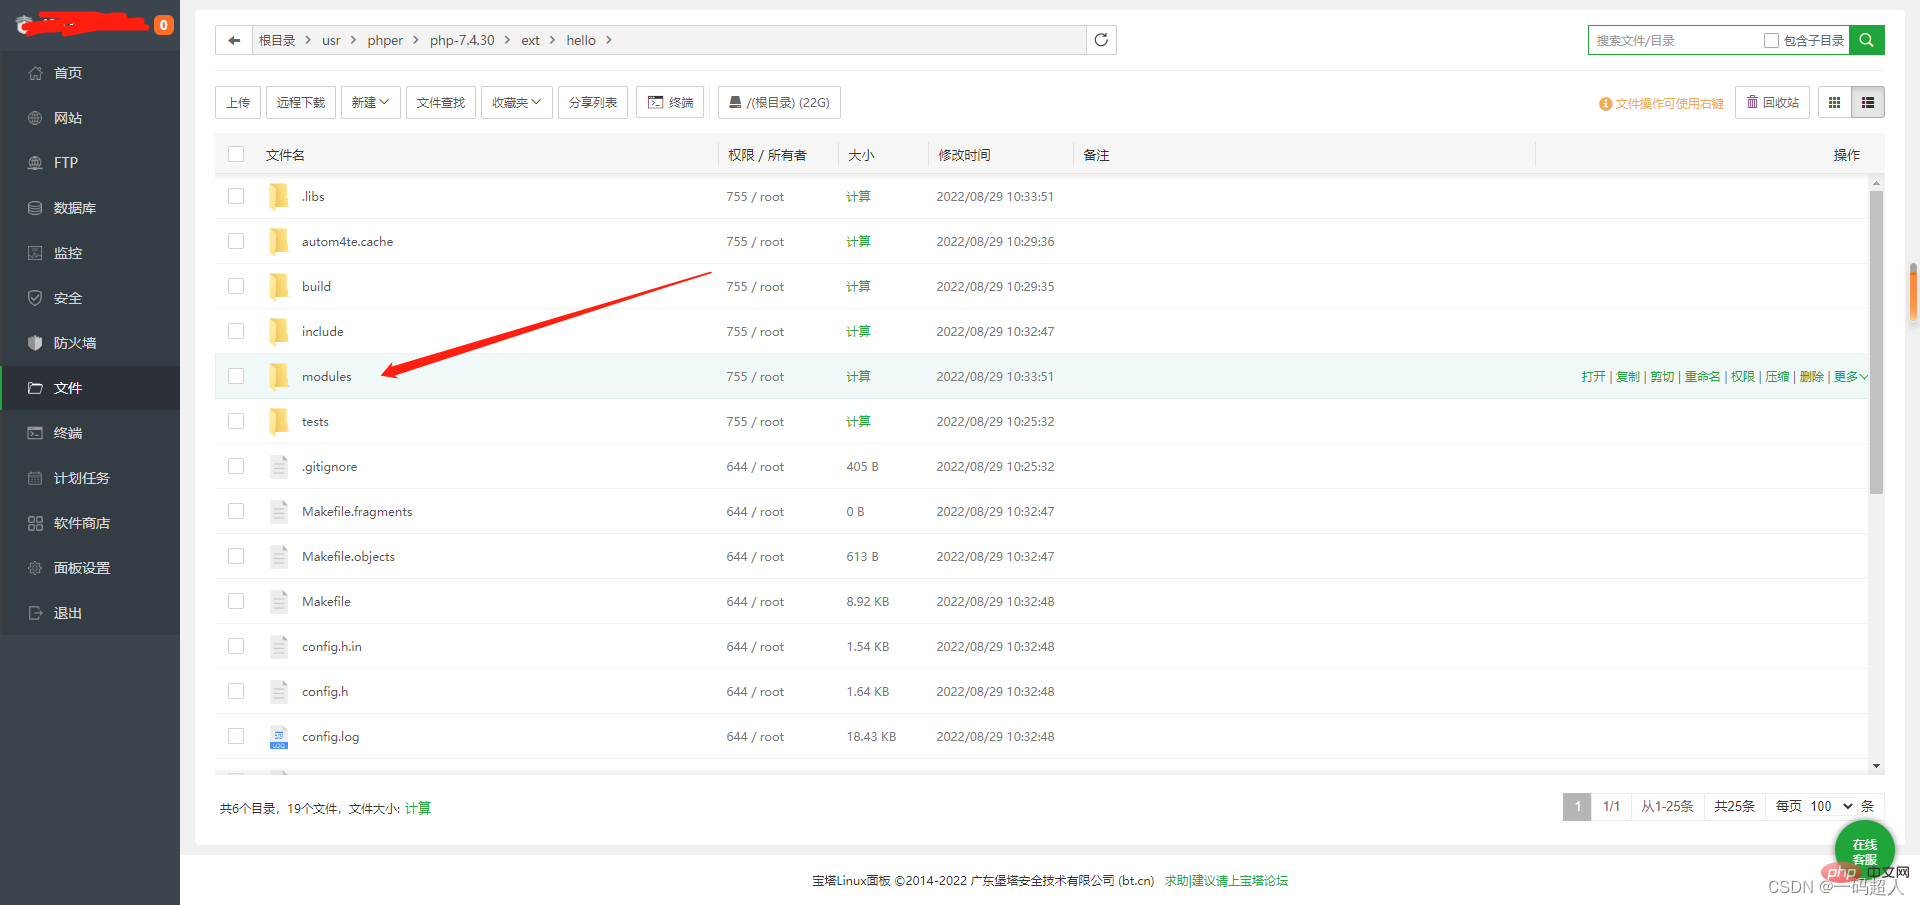
这个目录下便是编译出来的so扩展最终文件了!

让我们看下默认生成的扩展有哪些功能
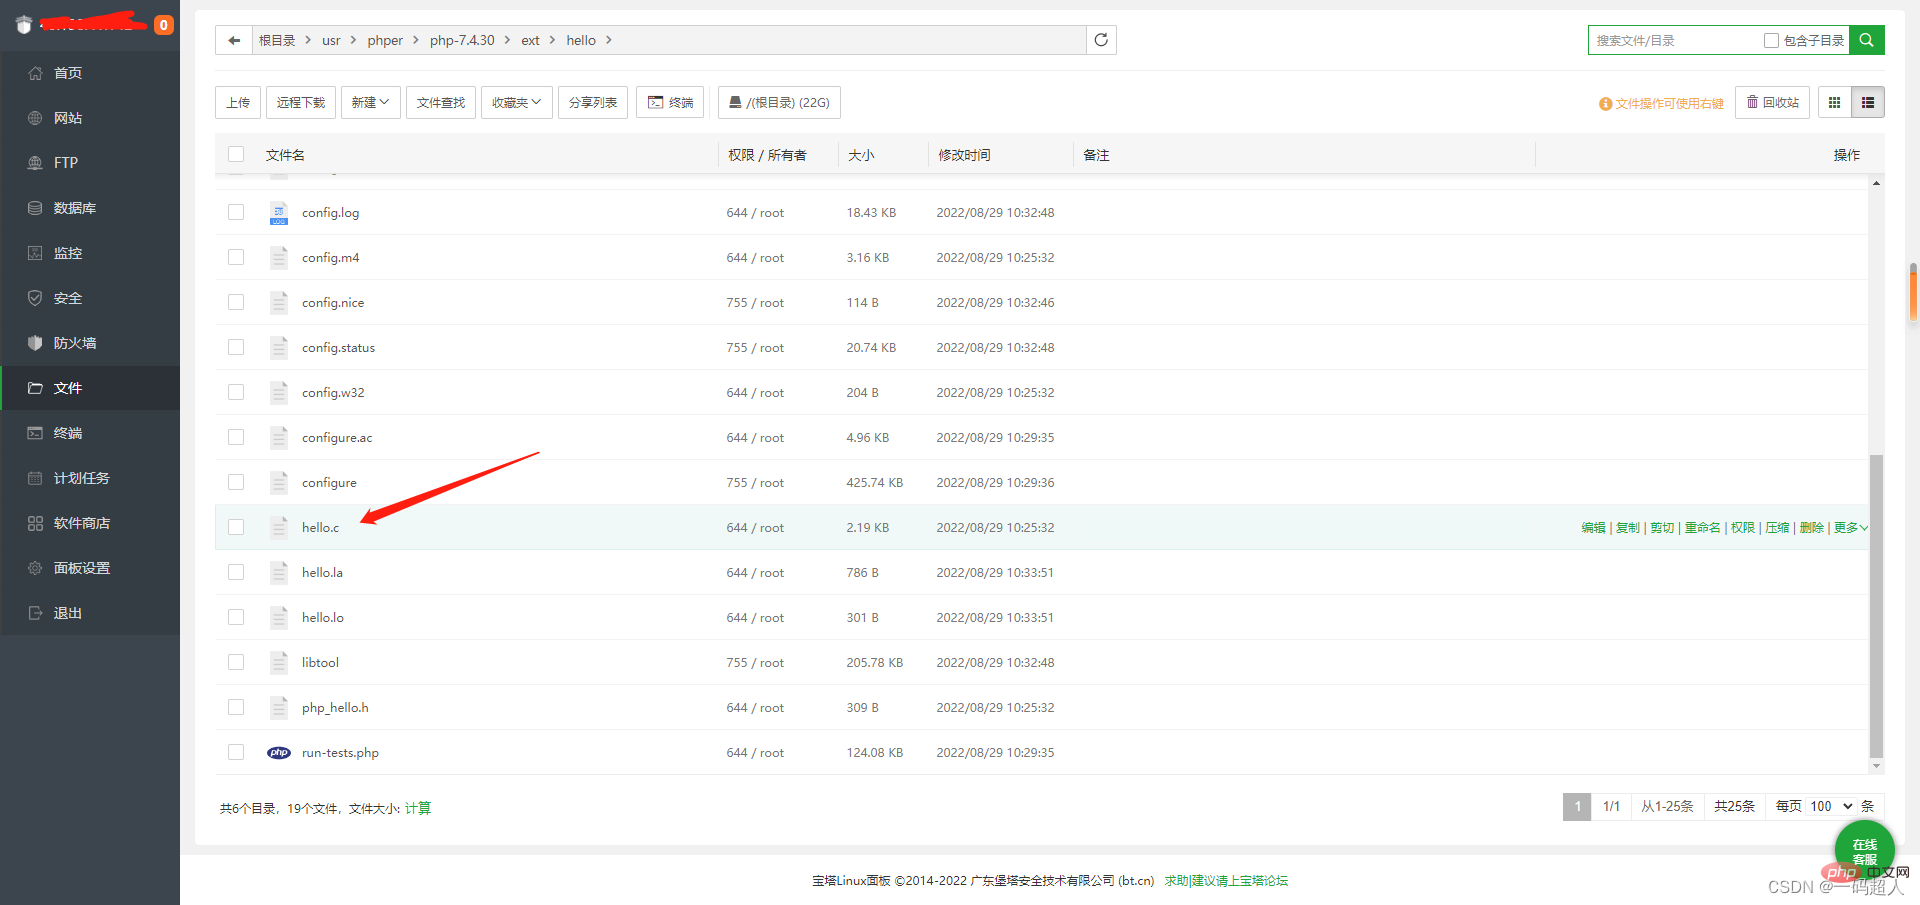
查看主文件【需了解php扩展骨架,这里以它默认给的为例】
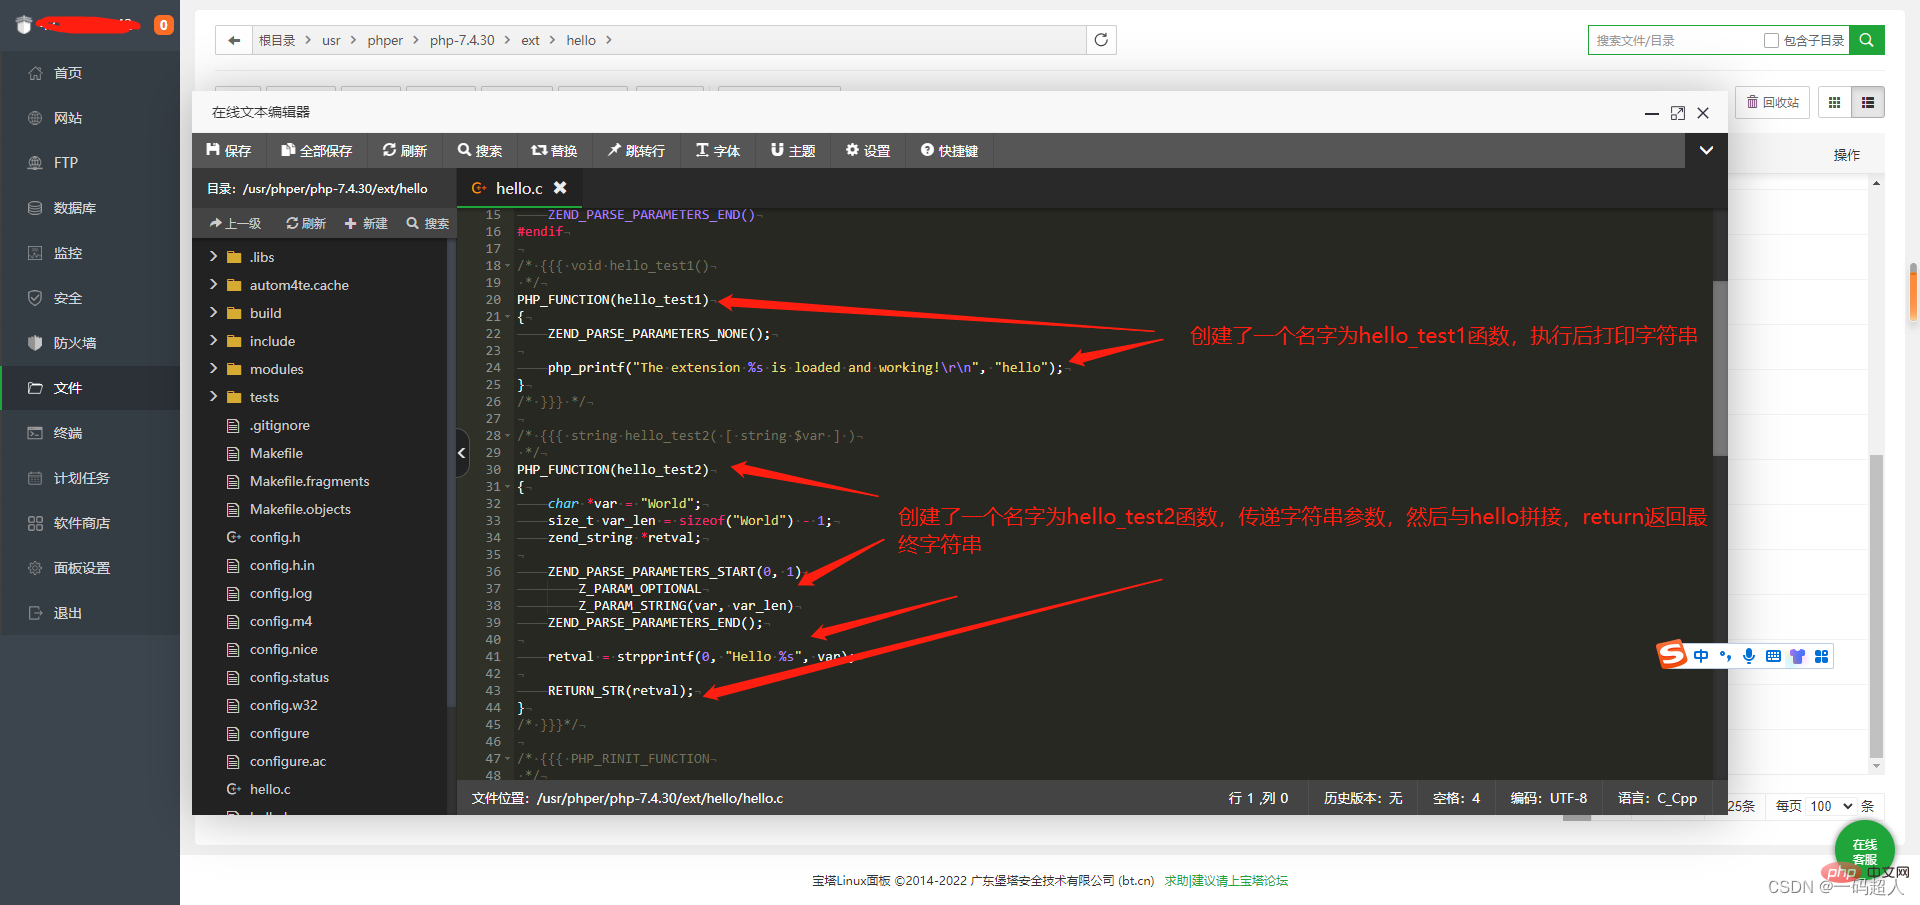
也就是说,刚刚编译出来的扩展,是有这两个函数的,咱们测试一下玩玩。
注意!每次修改主文件,都需要重新按上述命令跑一遍,否则不生效,很奇怪!
phpize ./configure --with-php-config=/www/server/php/74/bin/php-config make
5、使用扩展
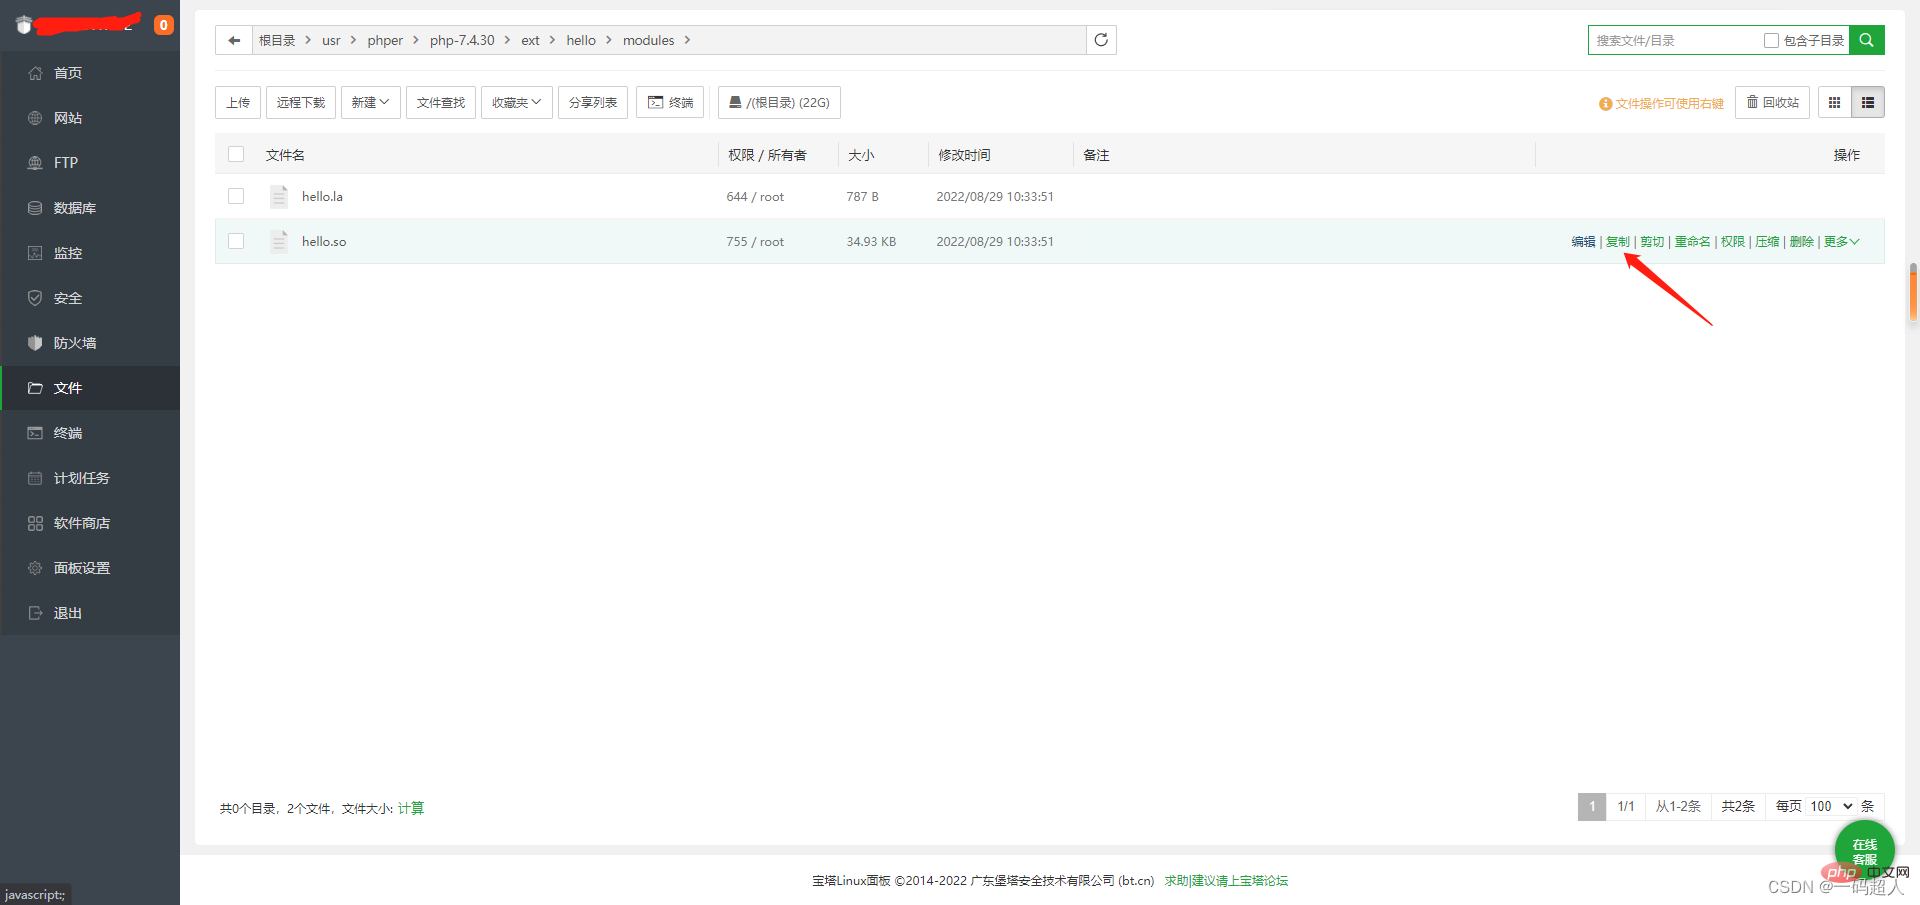
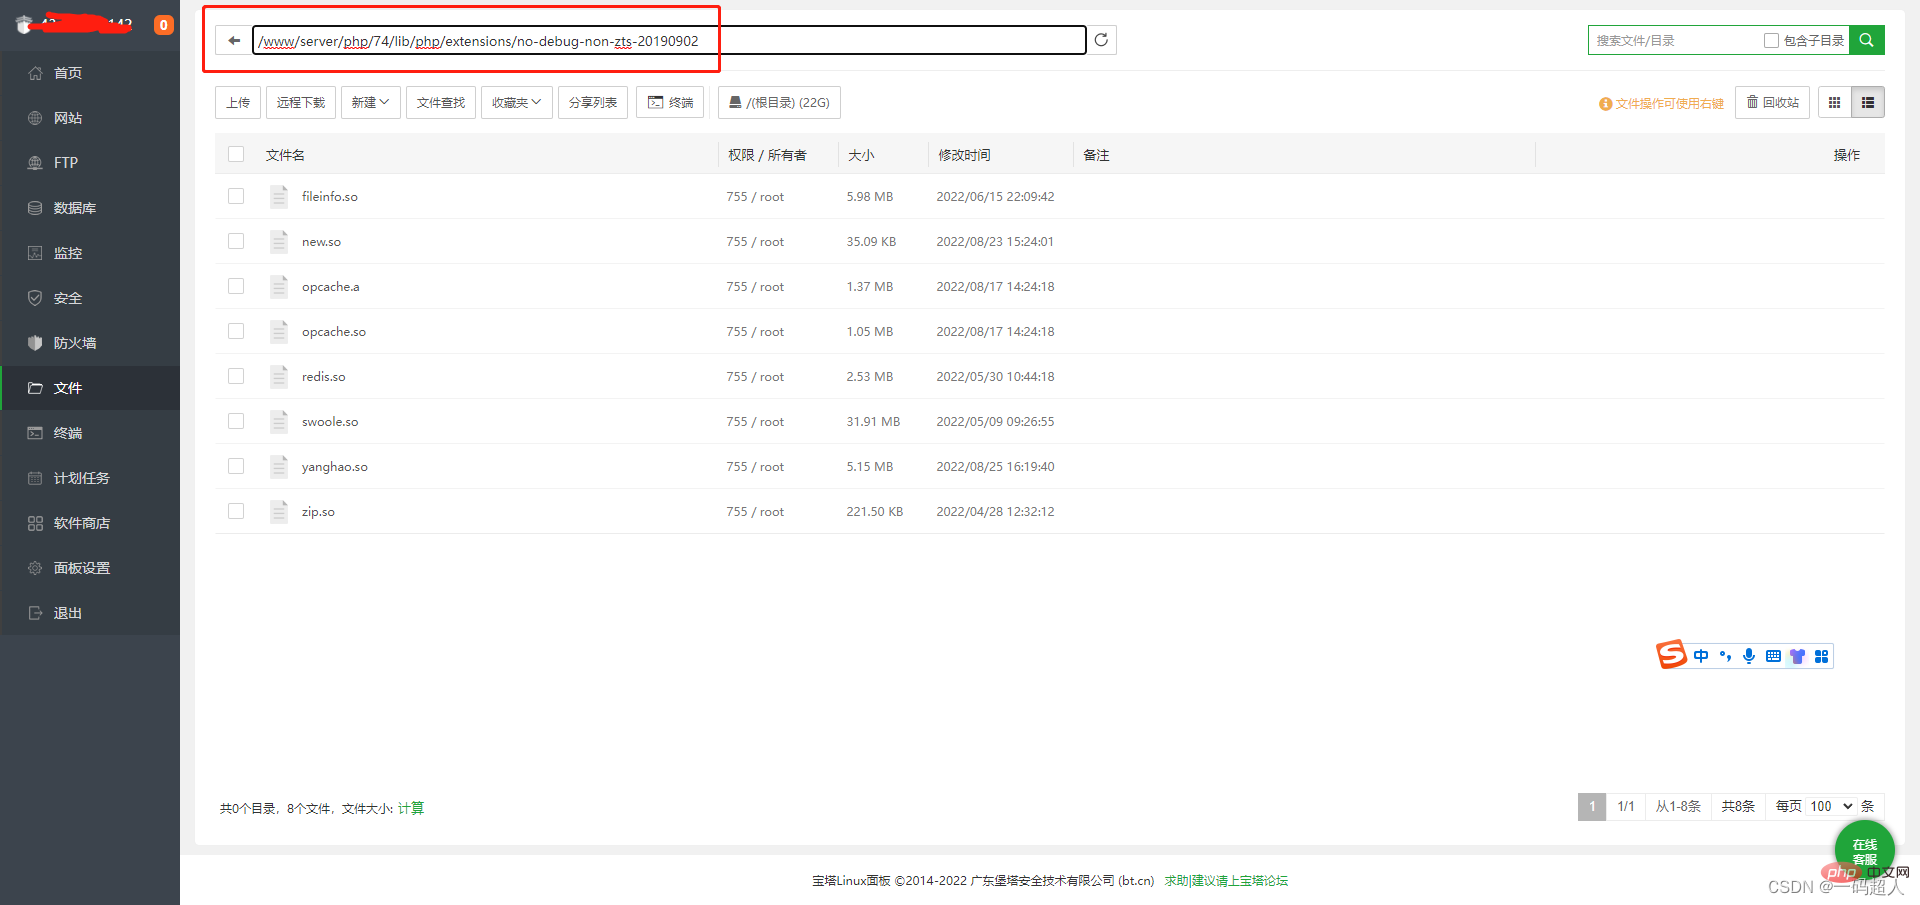
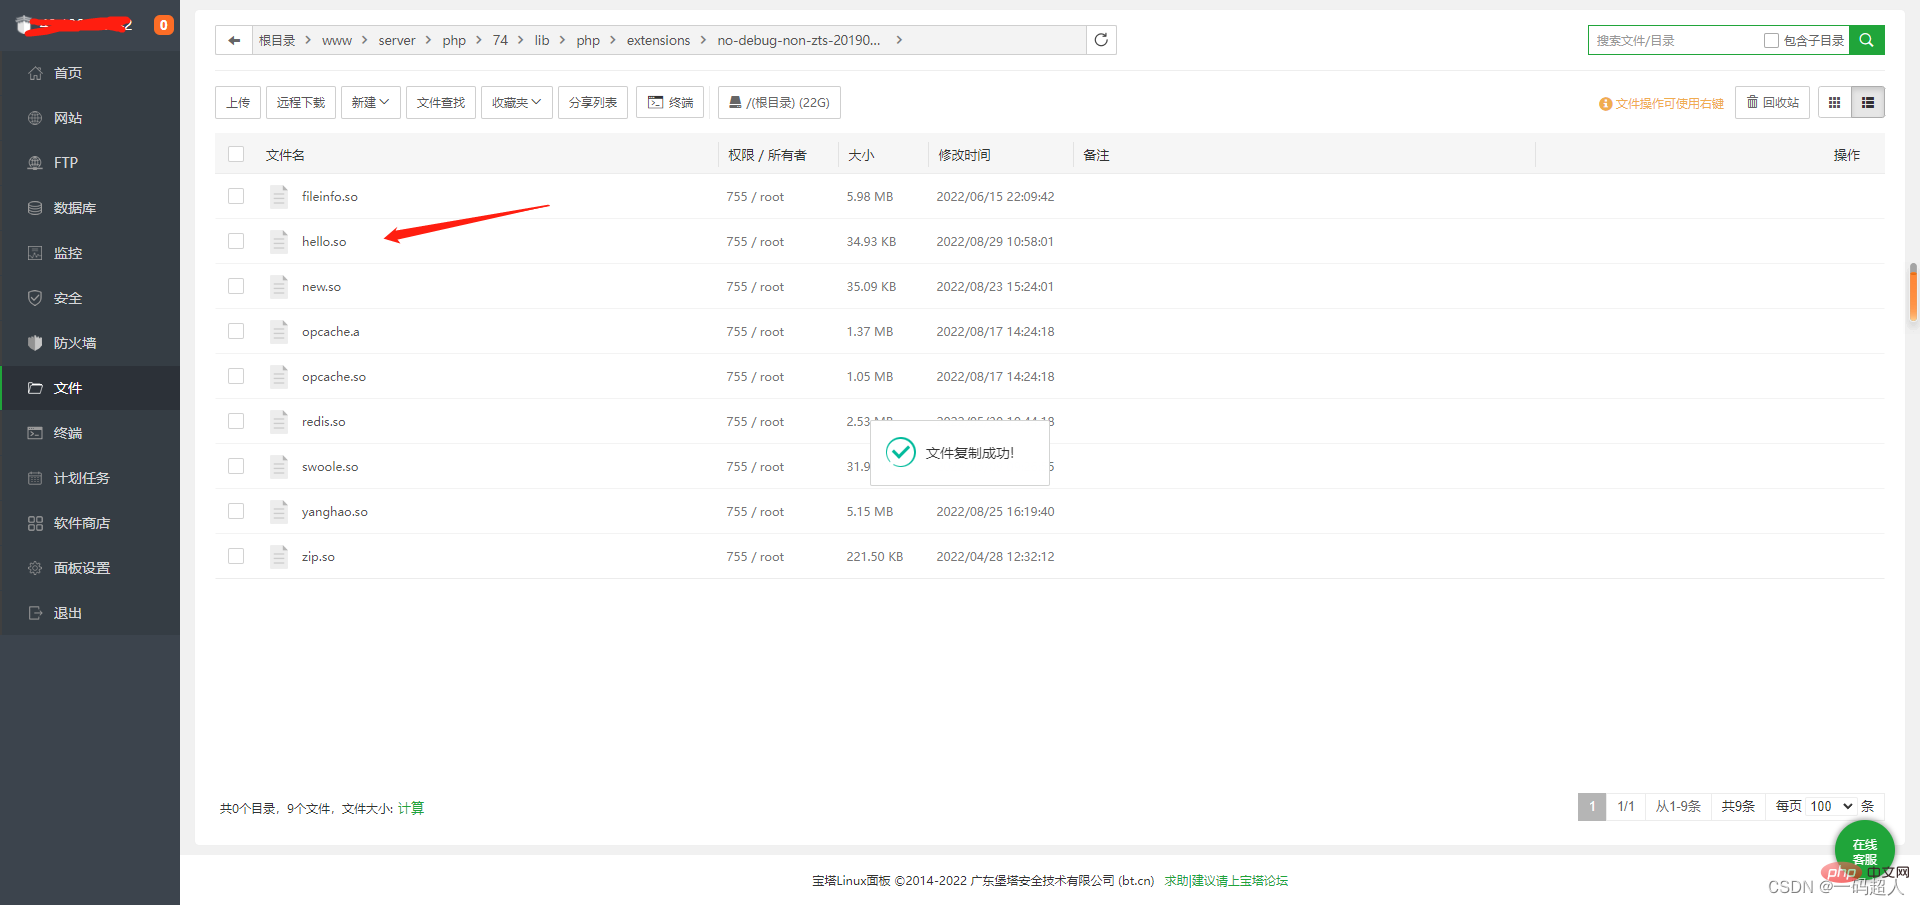
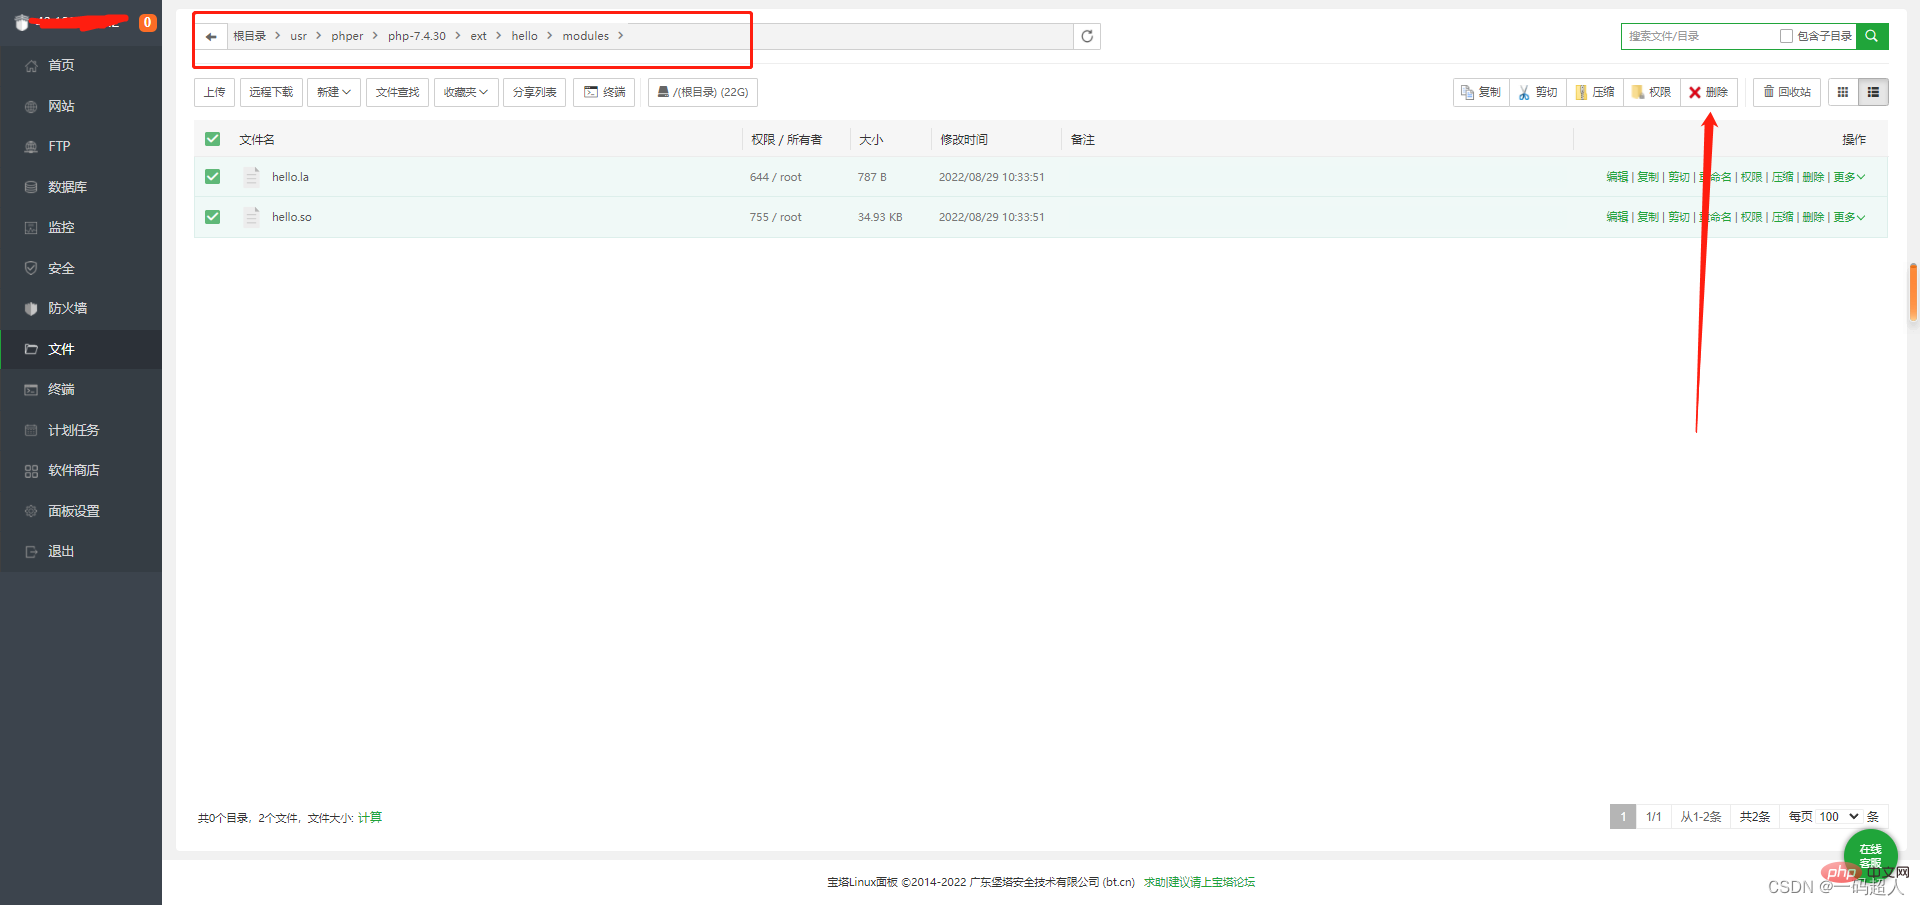
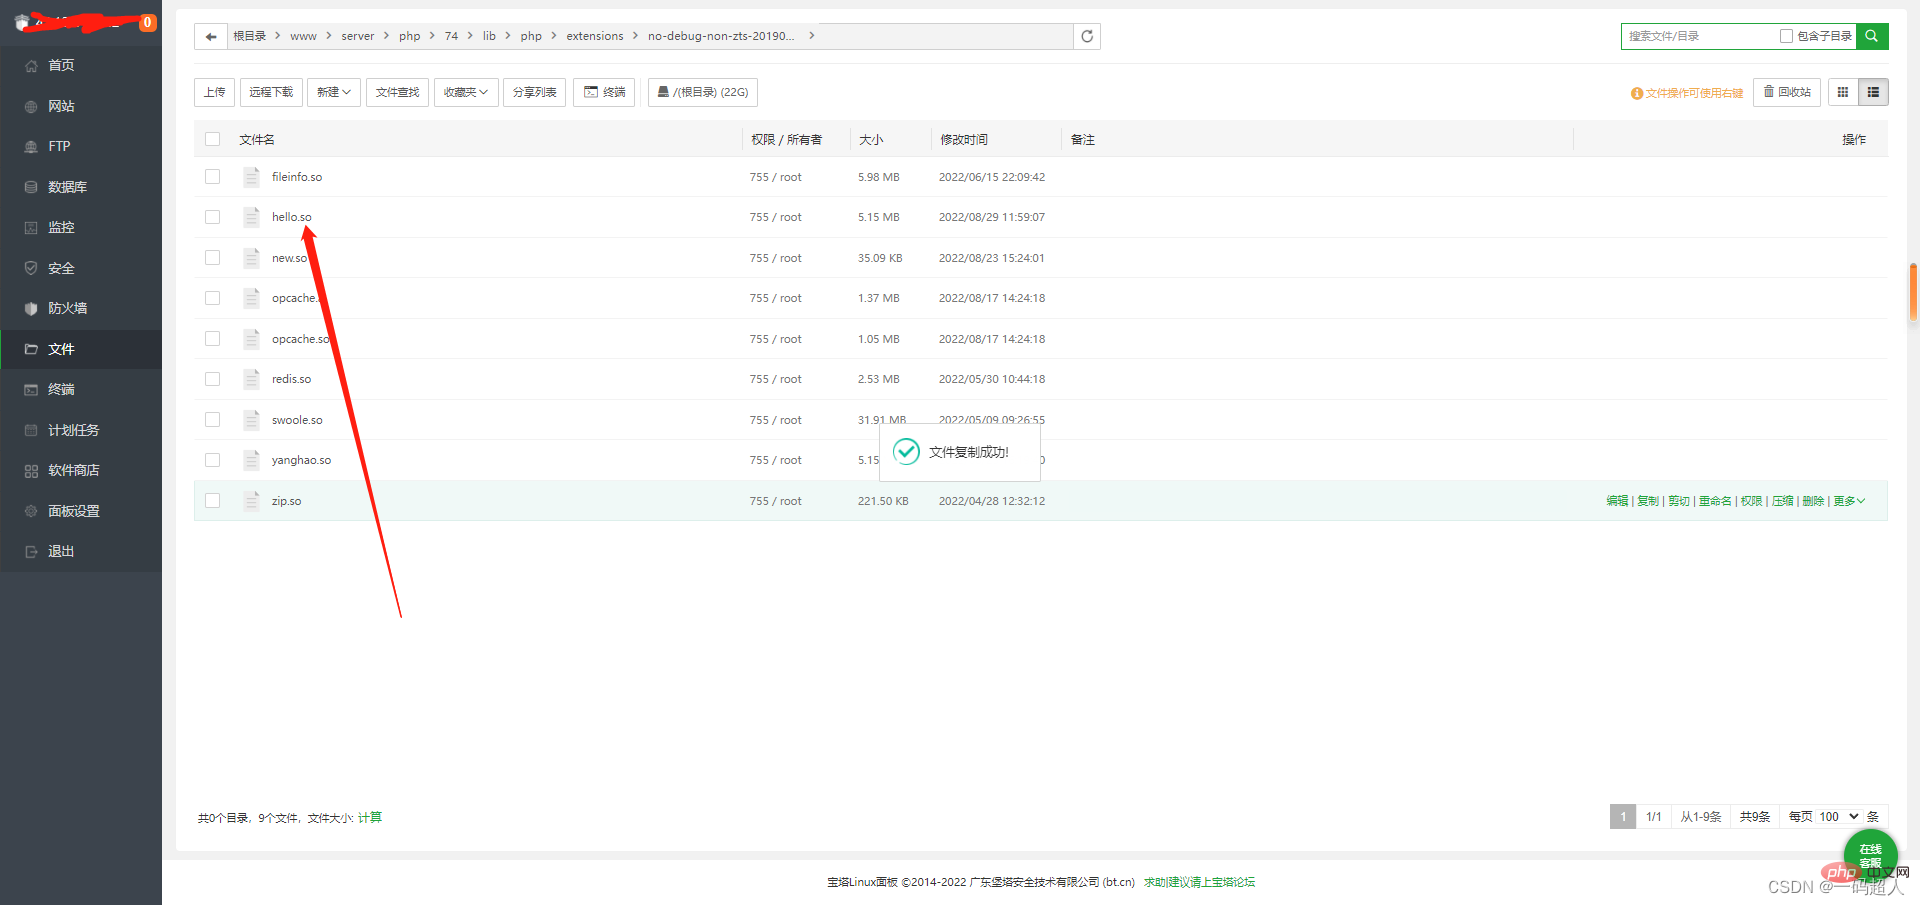
复制刚刚生成的扩展文件到我们php环境的扩展里
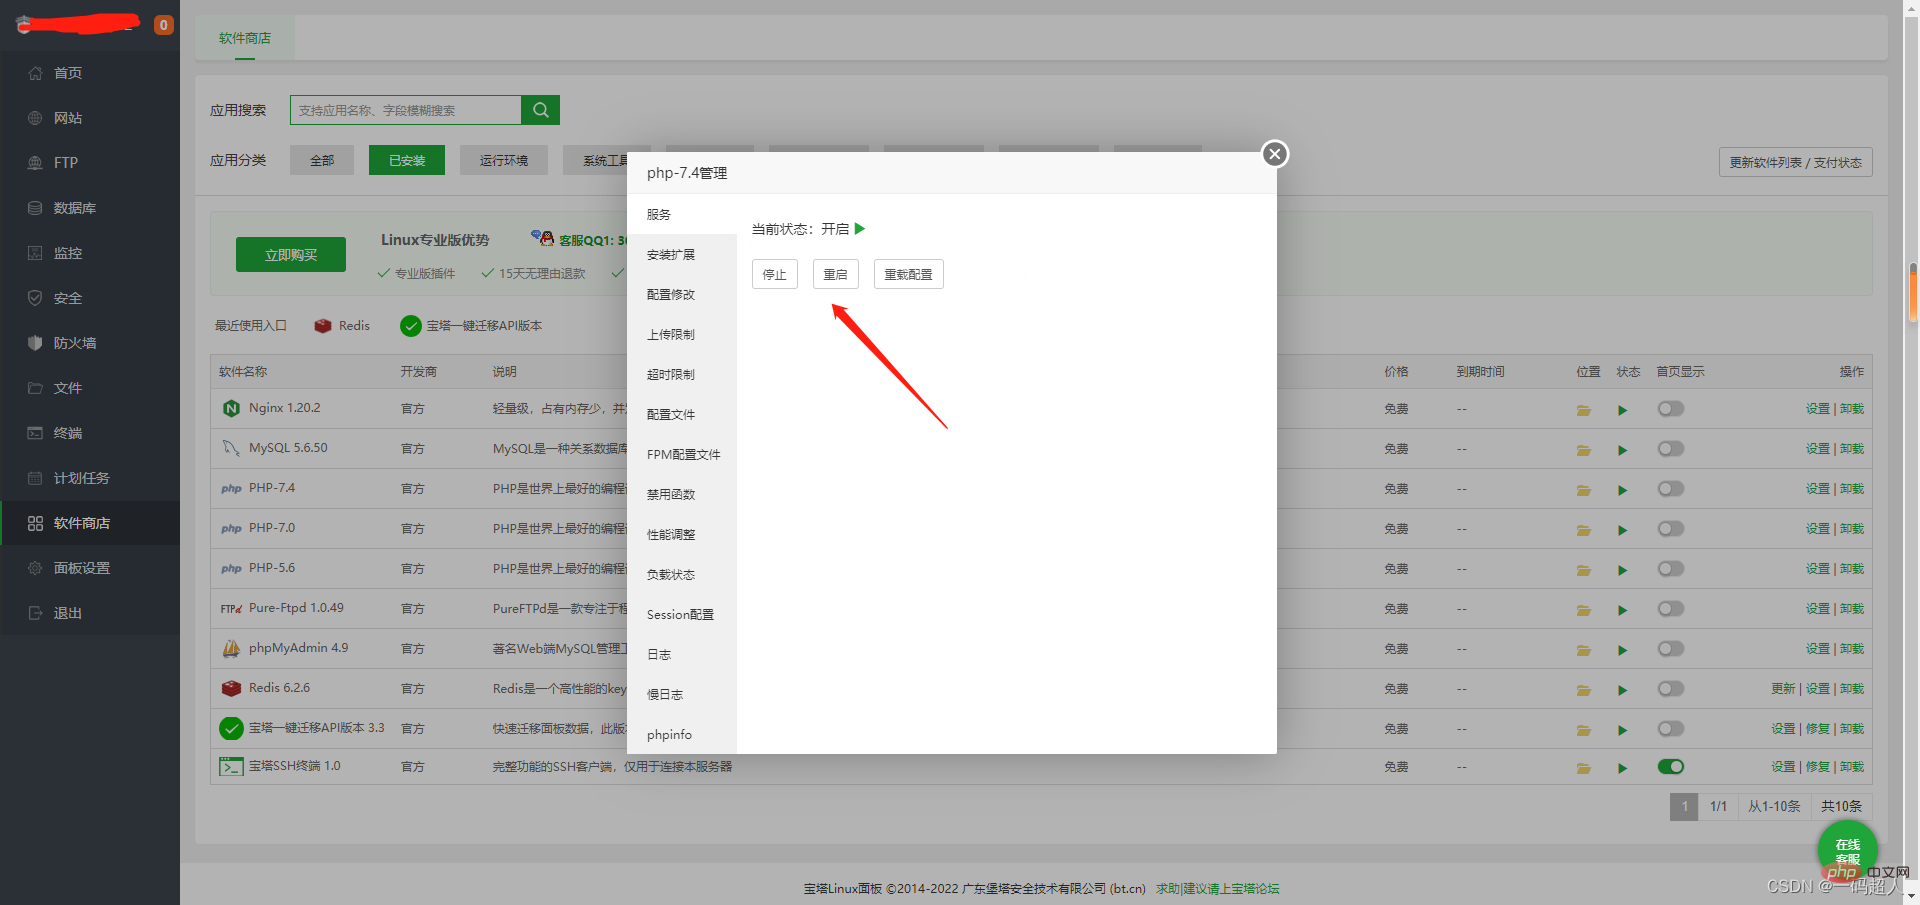
配置php.ini加载hello.so扩展

extension = hello.so
保存后记得重新启动下php,否则不生效的!
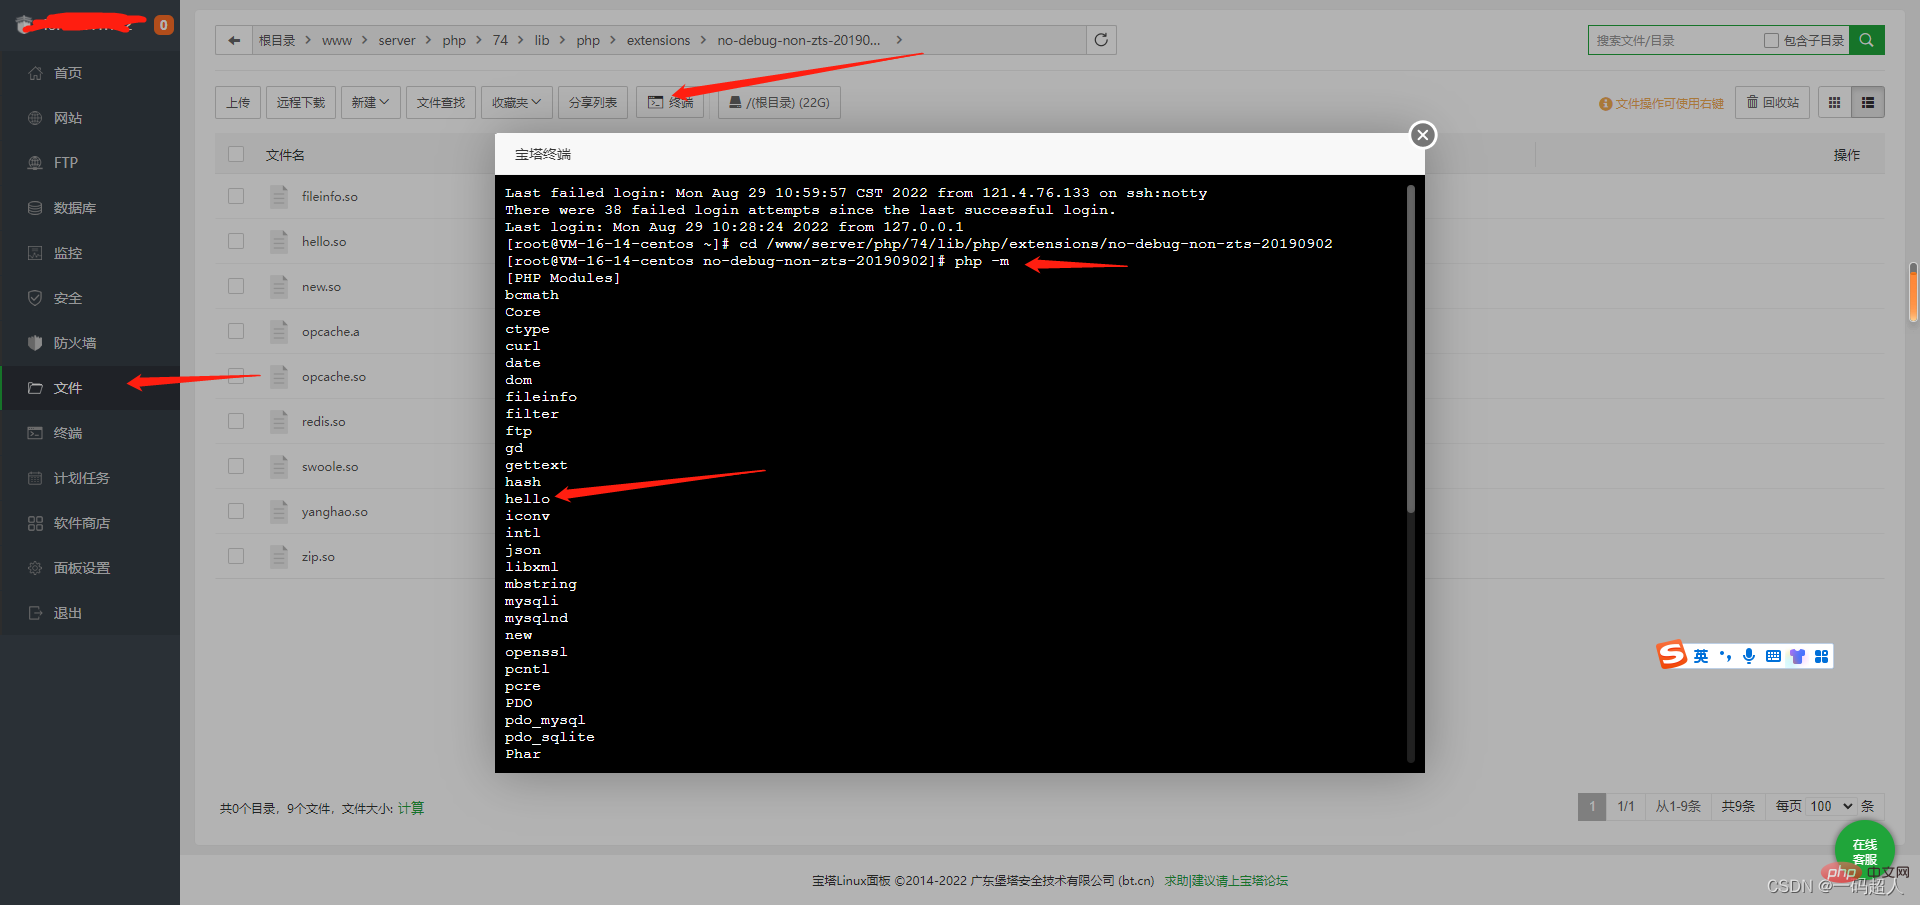
在文件管理中点击终端,输入:
php -m
可以看到我们的扩展在列表中了。
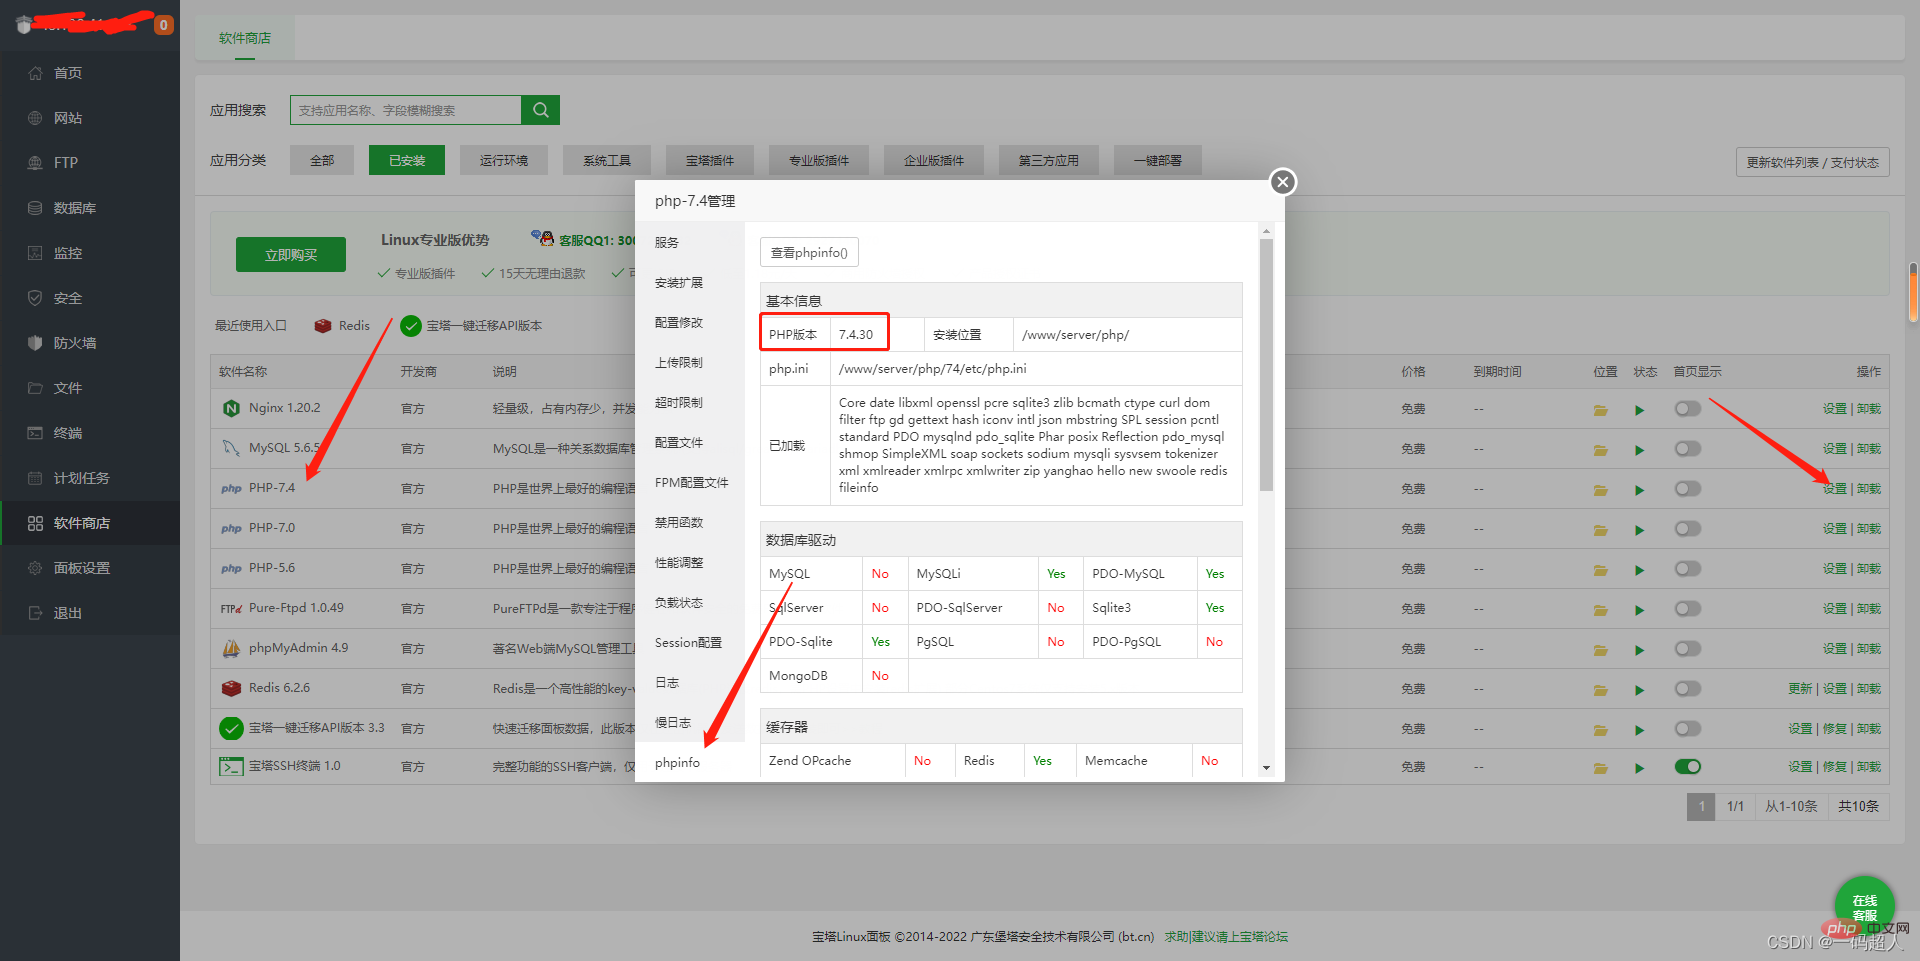
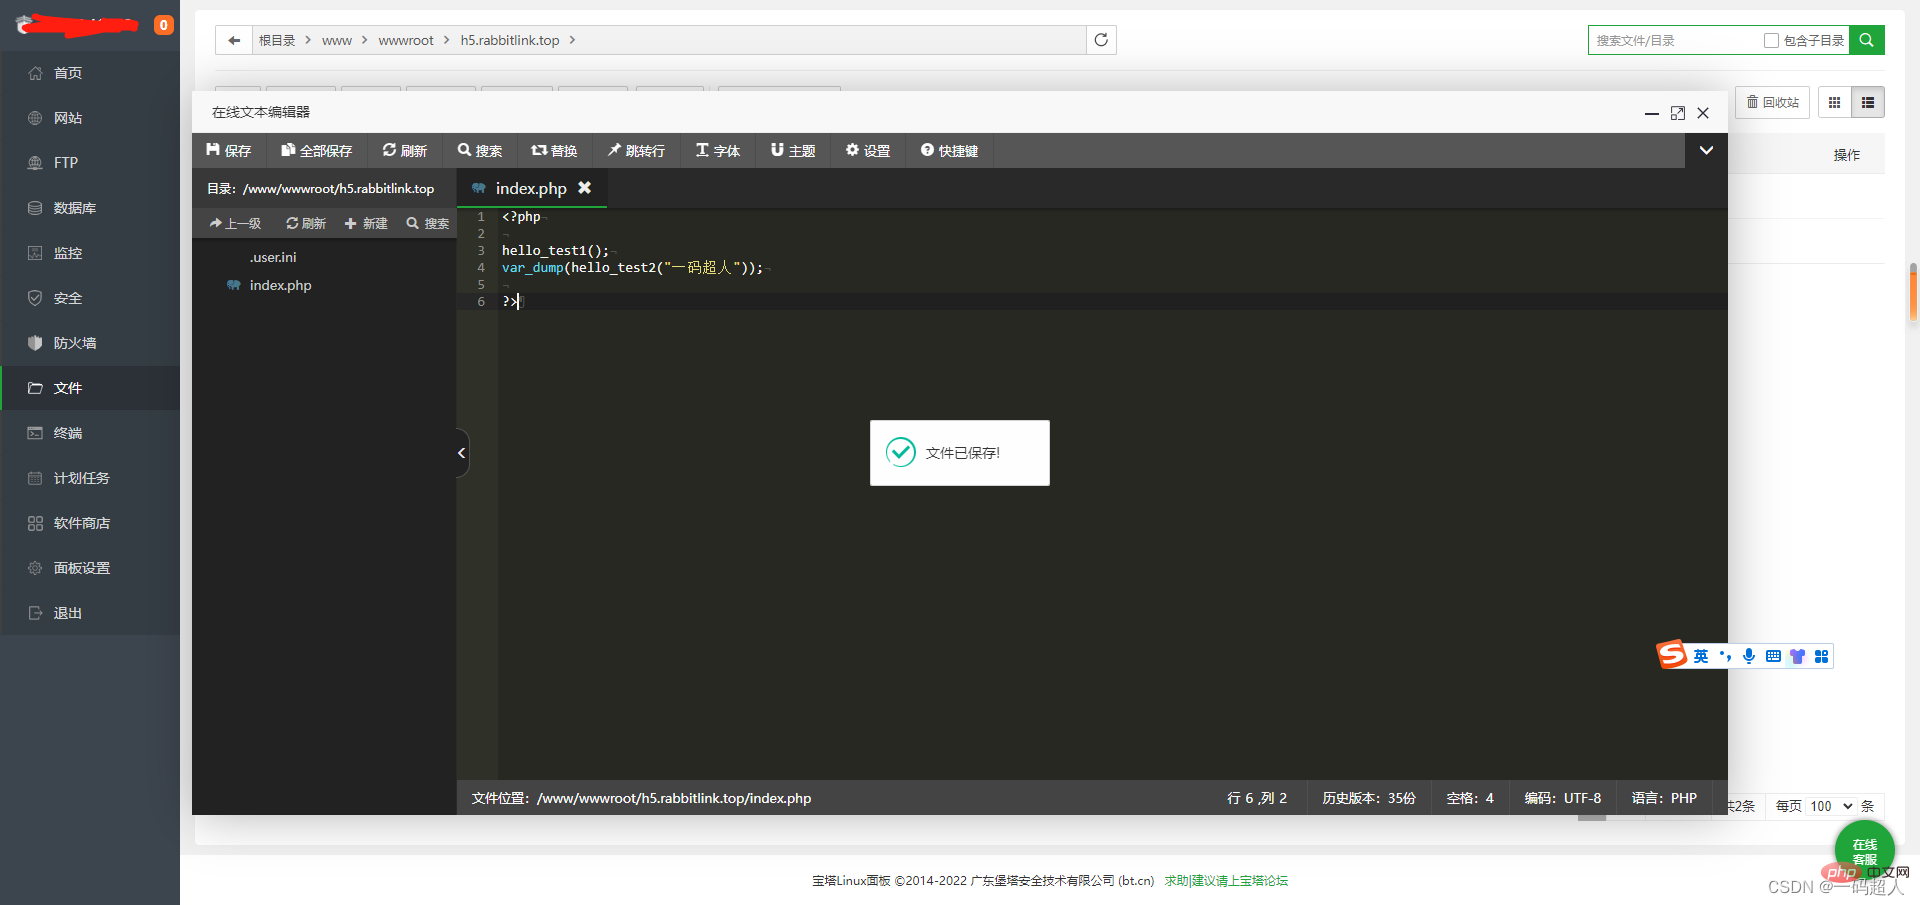
创建一个站点,测试下扩展中两个函数。
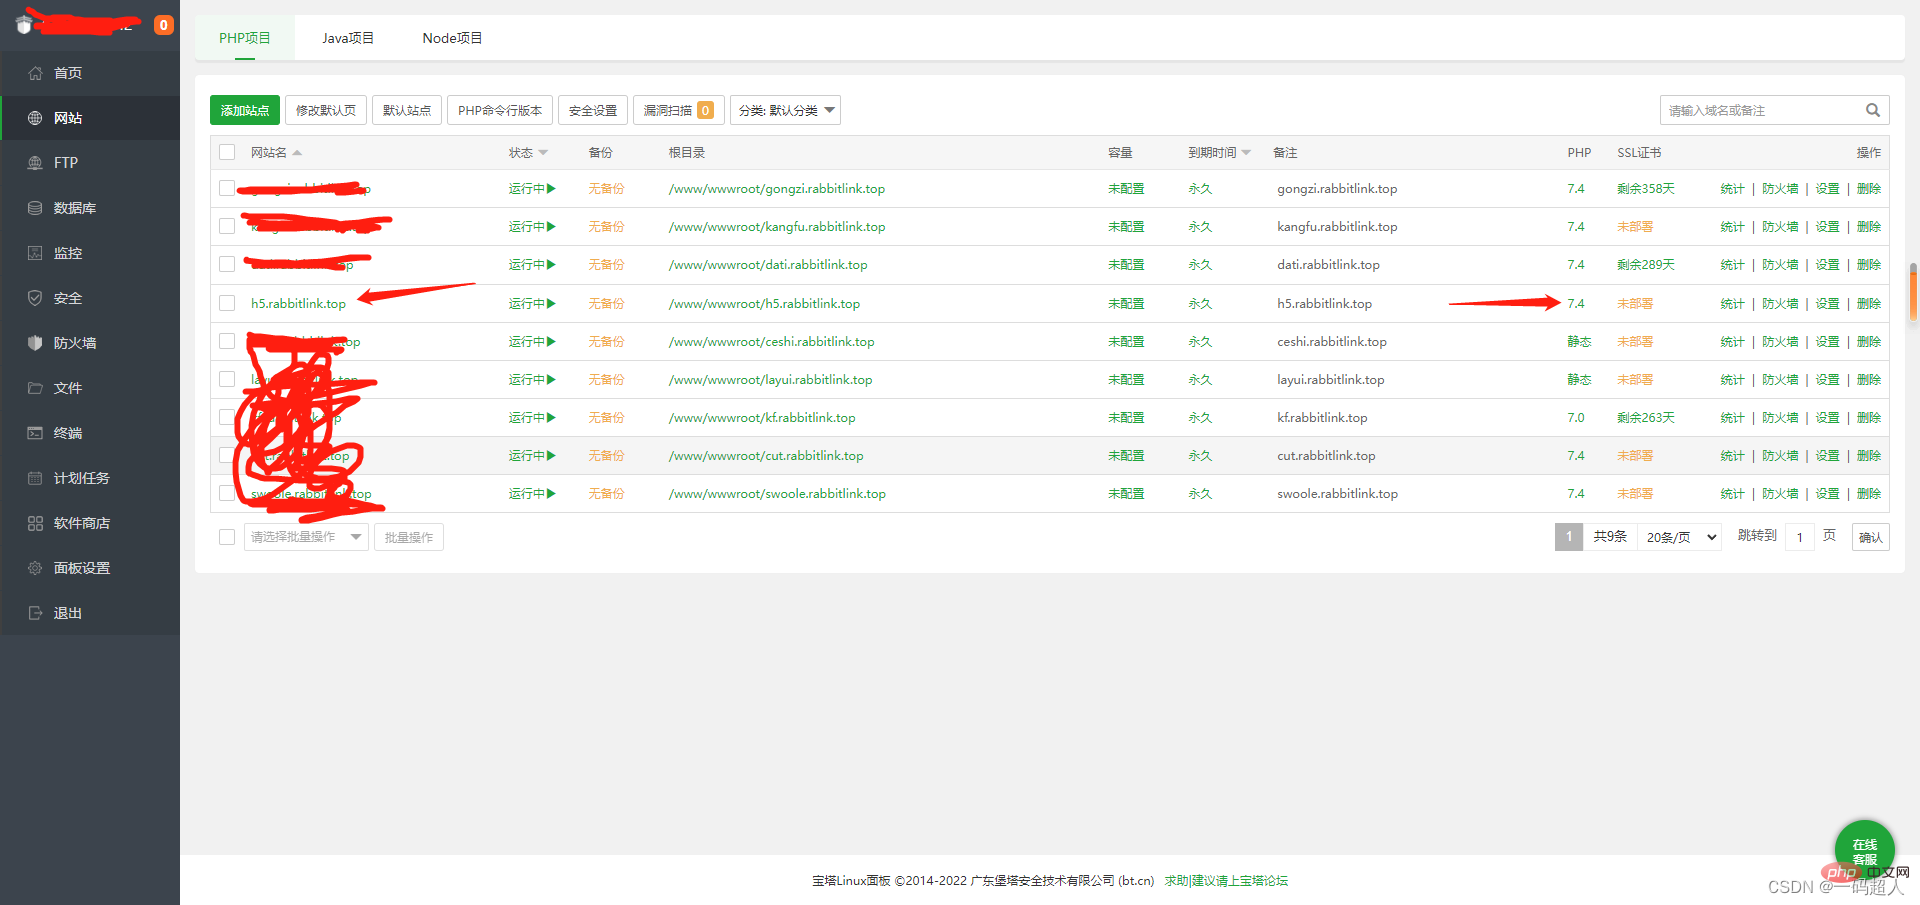
看好,php版本是7.4
访问站点
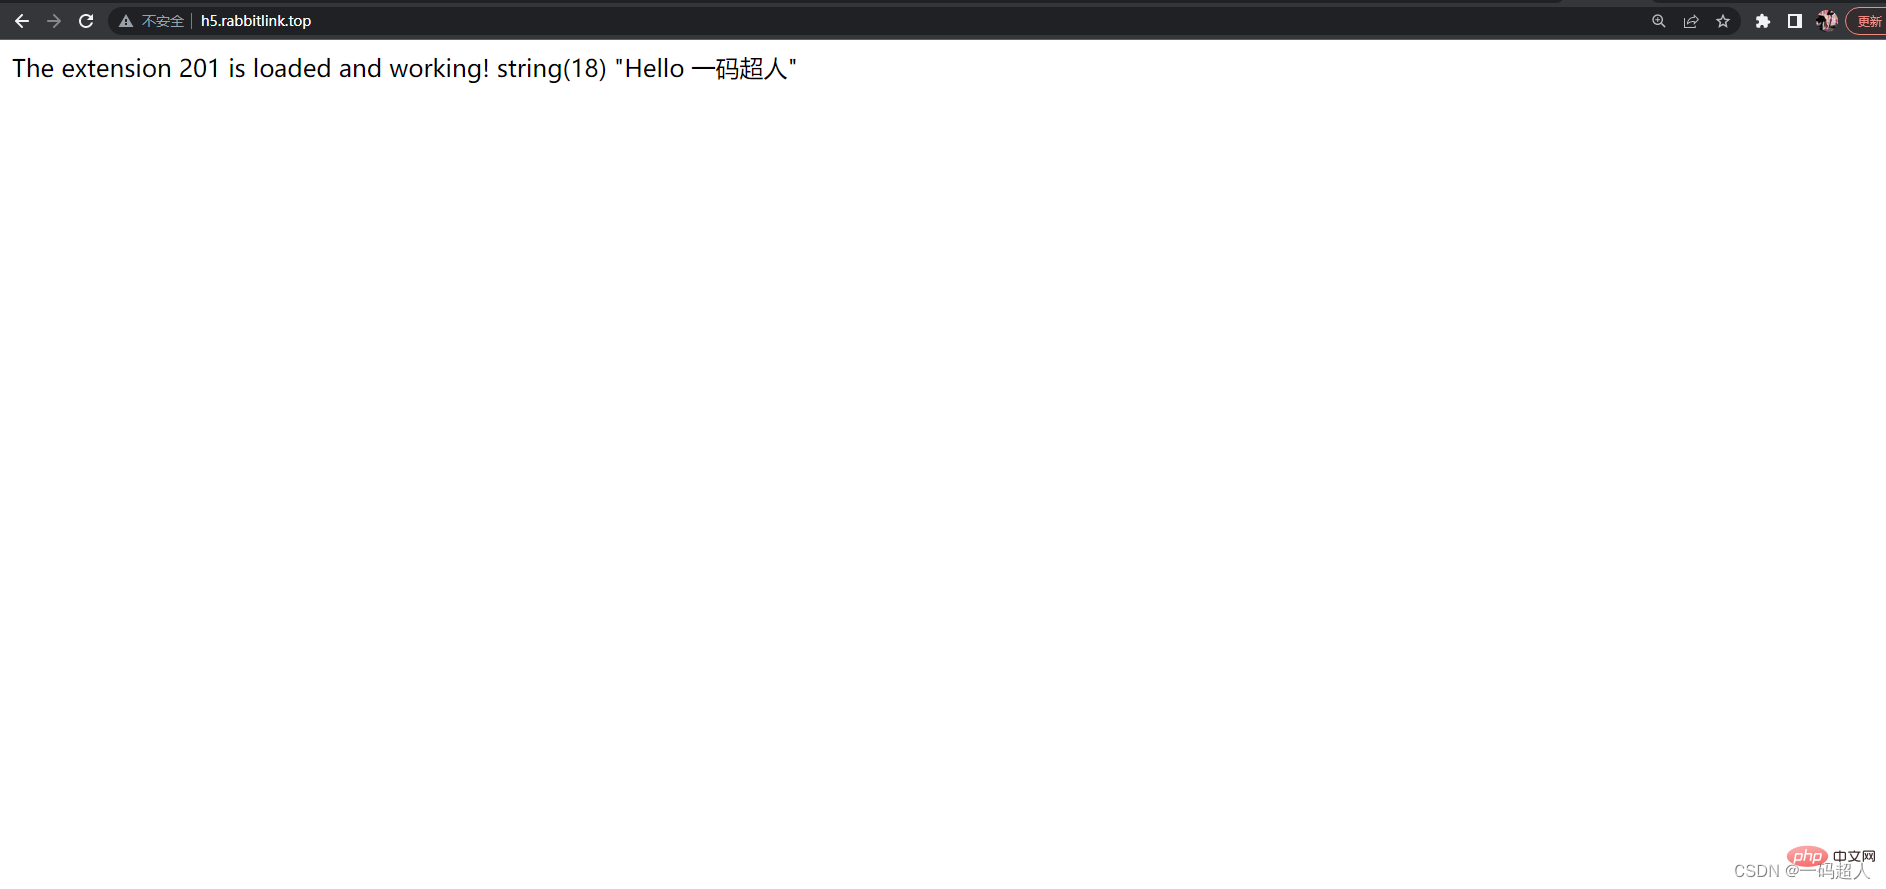
没有问题哦!
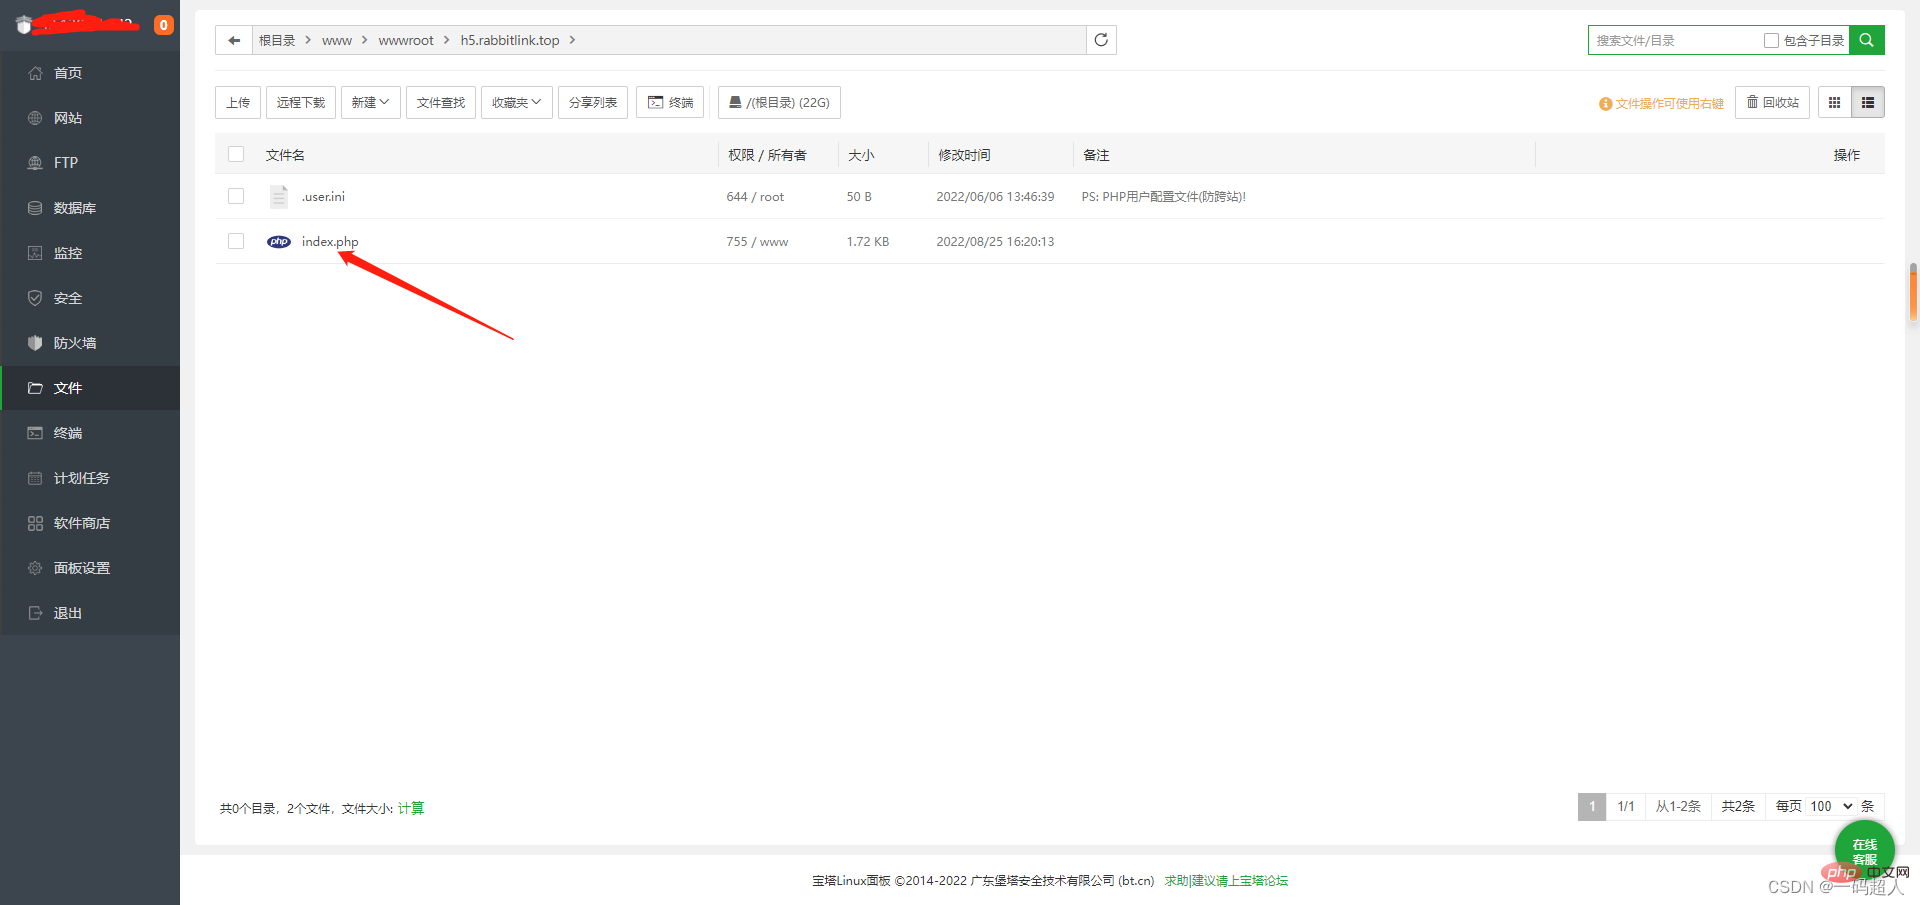
当然也可以通过命令行运行php脚本查看结果【前提是网站那里php命令行版本设置的7.4】
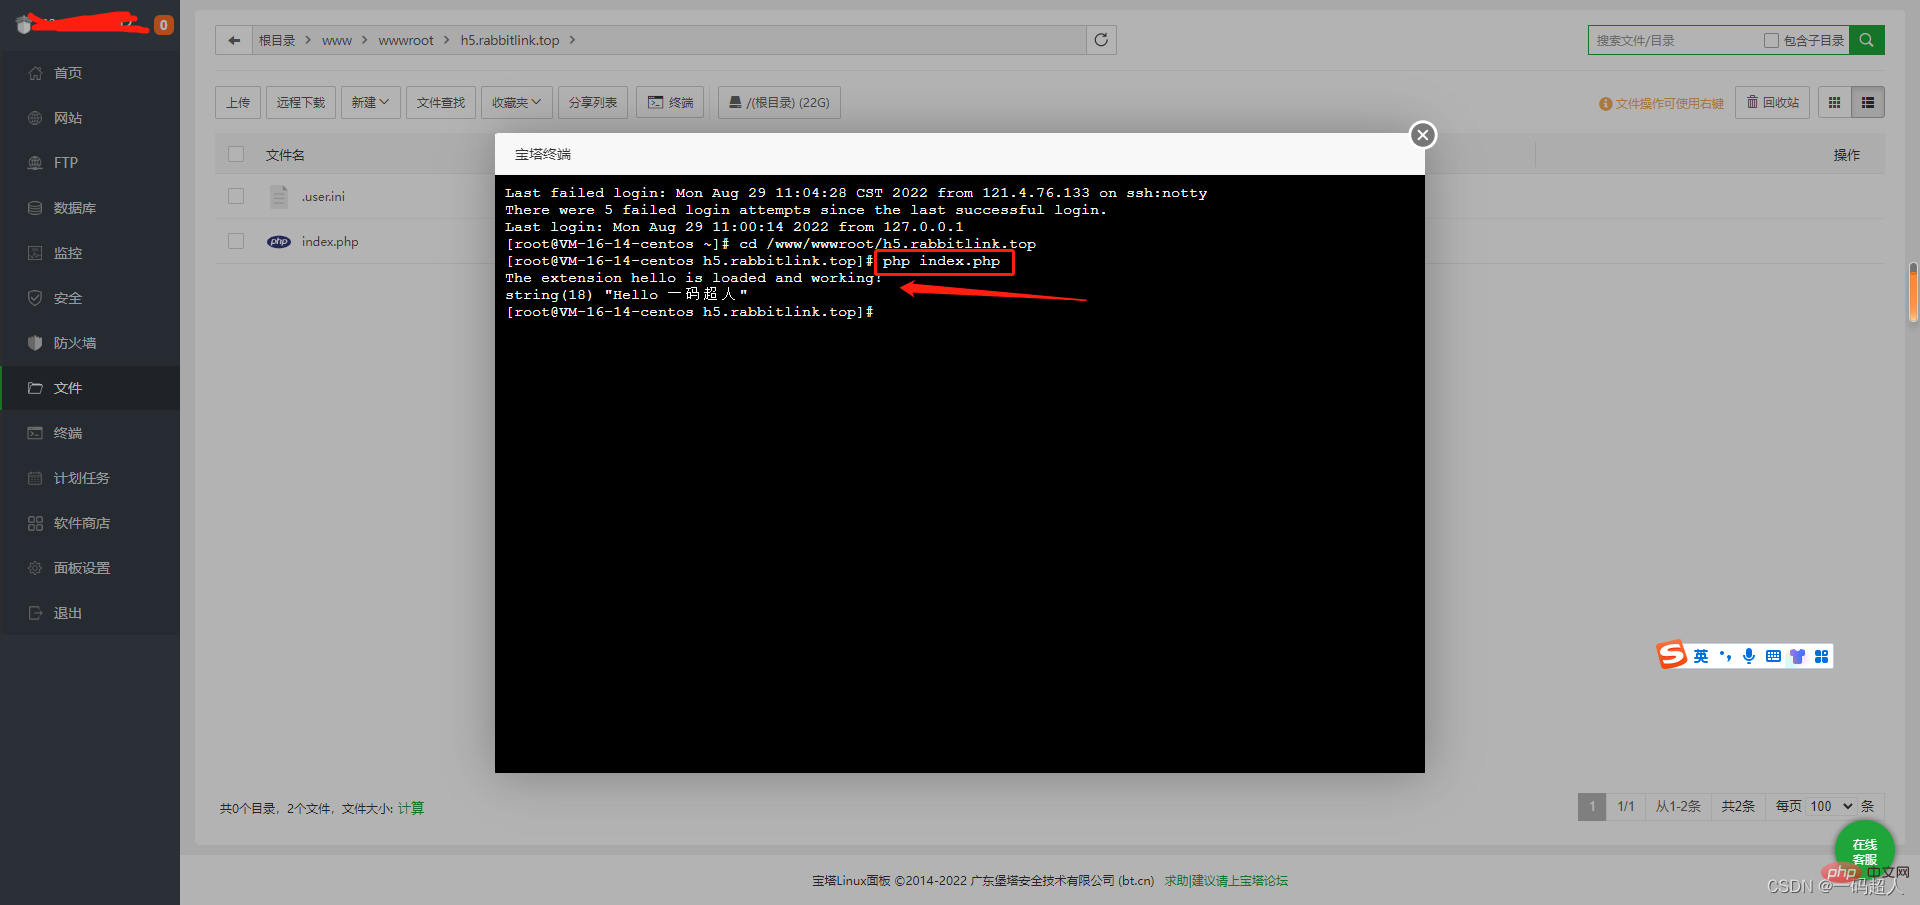
php index.php
OK!从创建到生成到使用扩展的流程结束,接下来才进入正题,开始用rust开发扩展。
6、rust与php扩展的整合开发
开发工具:CLion
需要rust环境与CLion中rust插件的安装与配置,这个自行去百度,比我想象中的全!
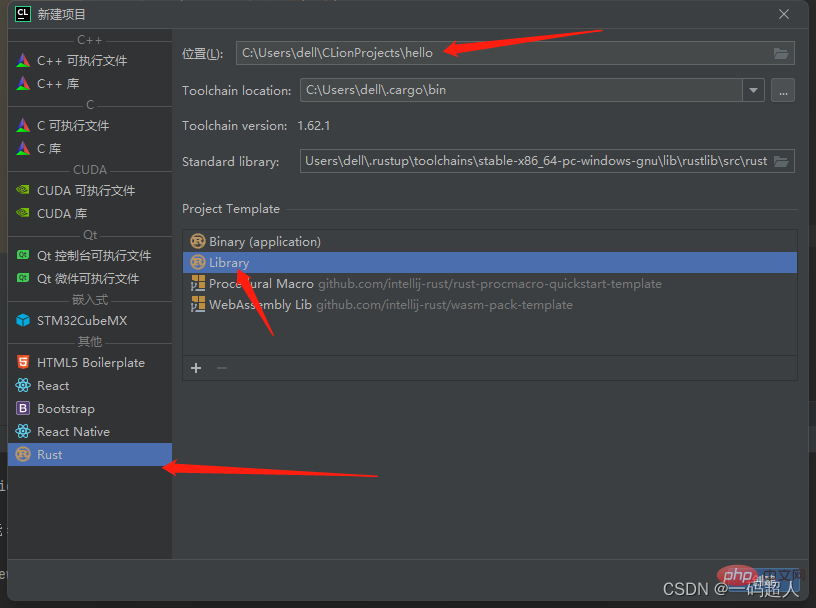
创建一个hello命名的库项目
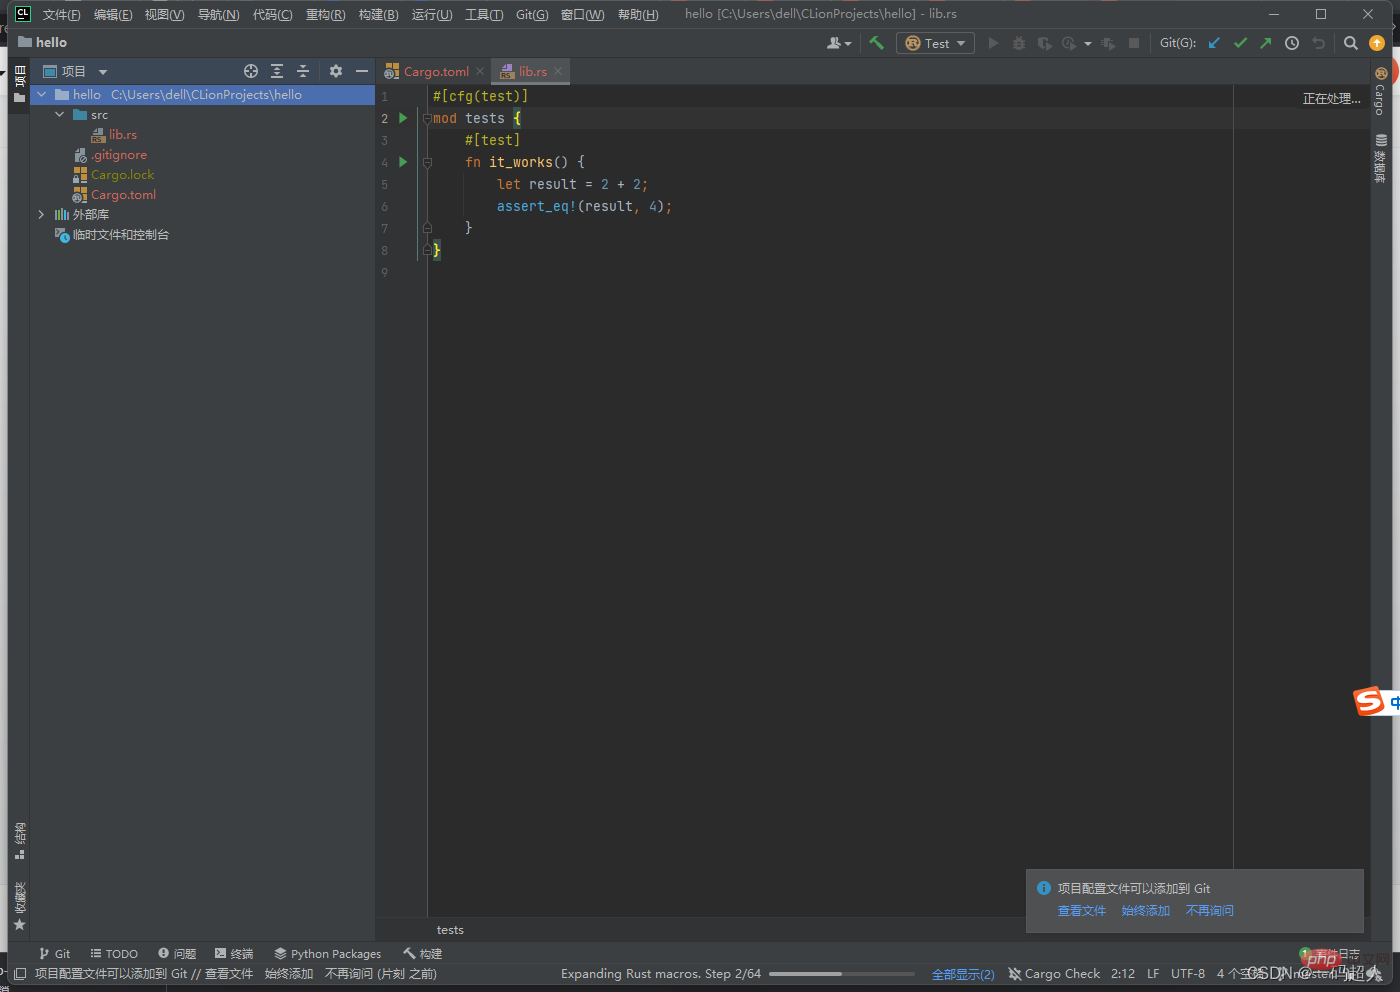
我们写两个导出函数,分别是加法功能和base64字符串解析功能。
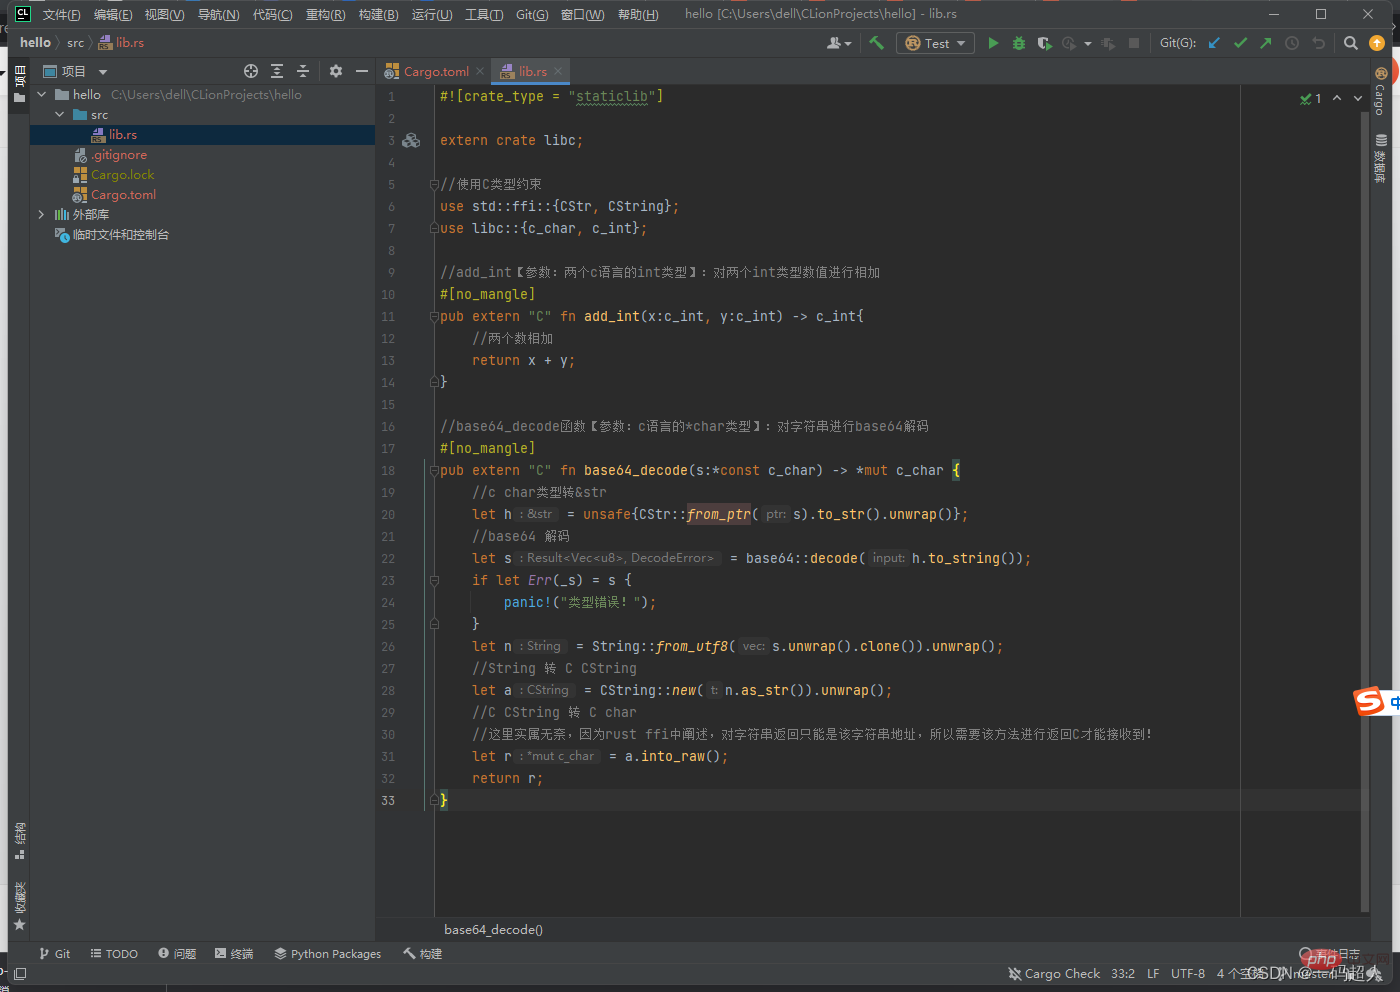
lib.rs
#![crate_type = "staticlib"] extern crate libc; //使用C类型约束 use std::ffi::{CStr, CString}; use libc::{c_char, c_int}; //add_int【参数:两个c语言的int类型】:对两个int类型数值进行相加 #[no_mangle] pub extern "C" fn add_int(x:c_int, y:c_int) -> c_int{ //两个数相加 return x + y; } //base64_decode函数【参数:c语言的*char类型】:对字符串进行base64解码 #[no_mangle] pub extern "C" fn base64_decode(s:*const c_char) -> *mut c_char { //c char类型转&str let h = unsafe{CStr::from_ptr(s).to_str().unwrap()}; //base64 解码 let s = base64::decode(h.to_string()); if let Err(_s) = s { panic!("类型错误!"); } let n = String::from_utf8(s.unwrap().clone()).unwrap(); //String 转 C CString let a = CString::new(n.as_str()).unwrap(); //C CString 转 C char //这里实属无奈,因为rust ffi中阐述,对字符串返回只能是该字符串地址,所以需要该方法进行返回C才能接收到! let r = a.into_raw(); return r; }
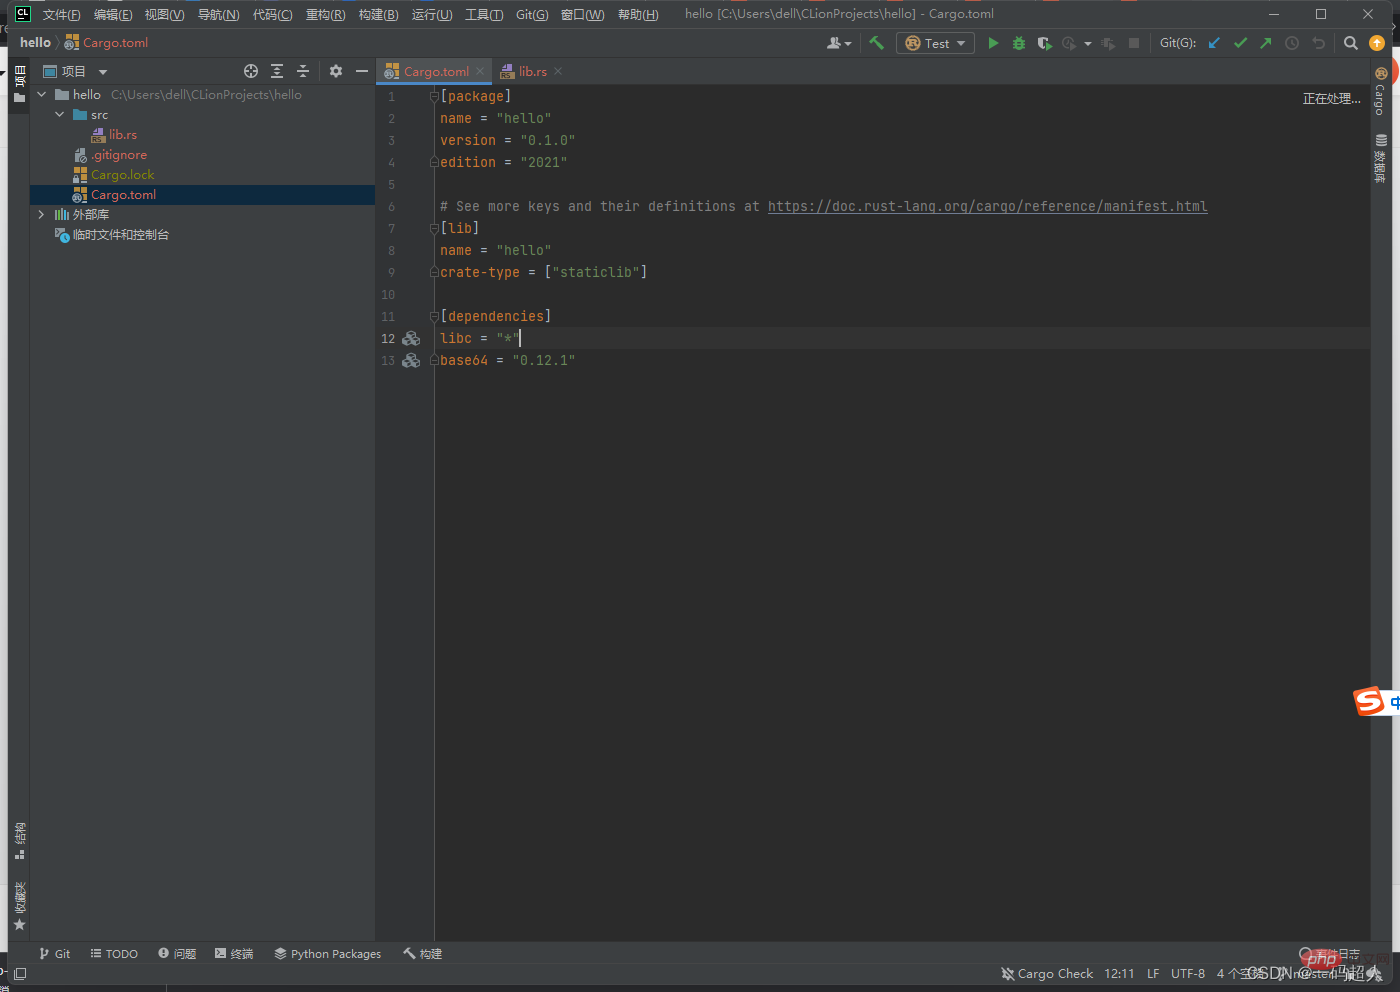
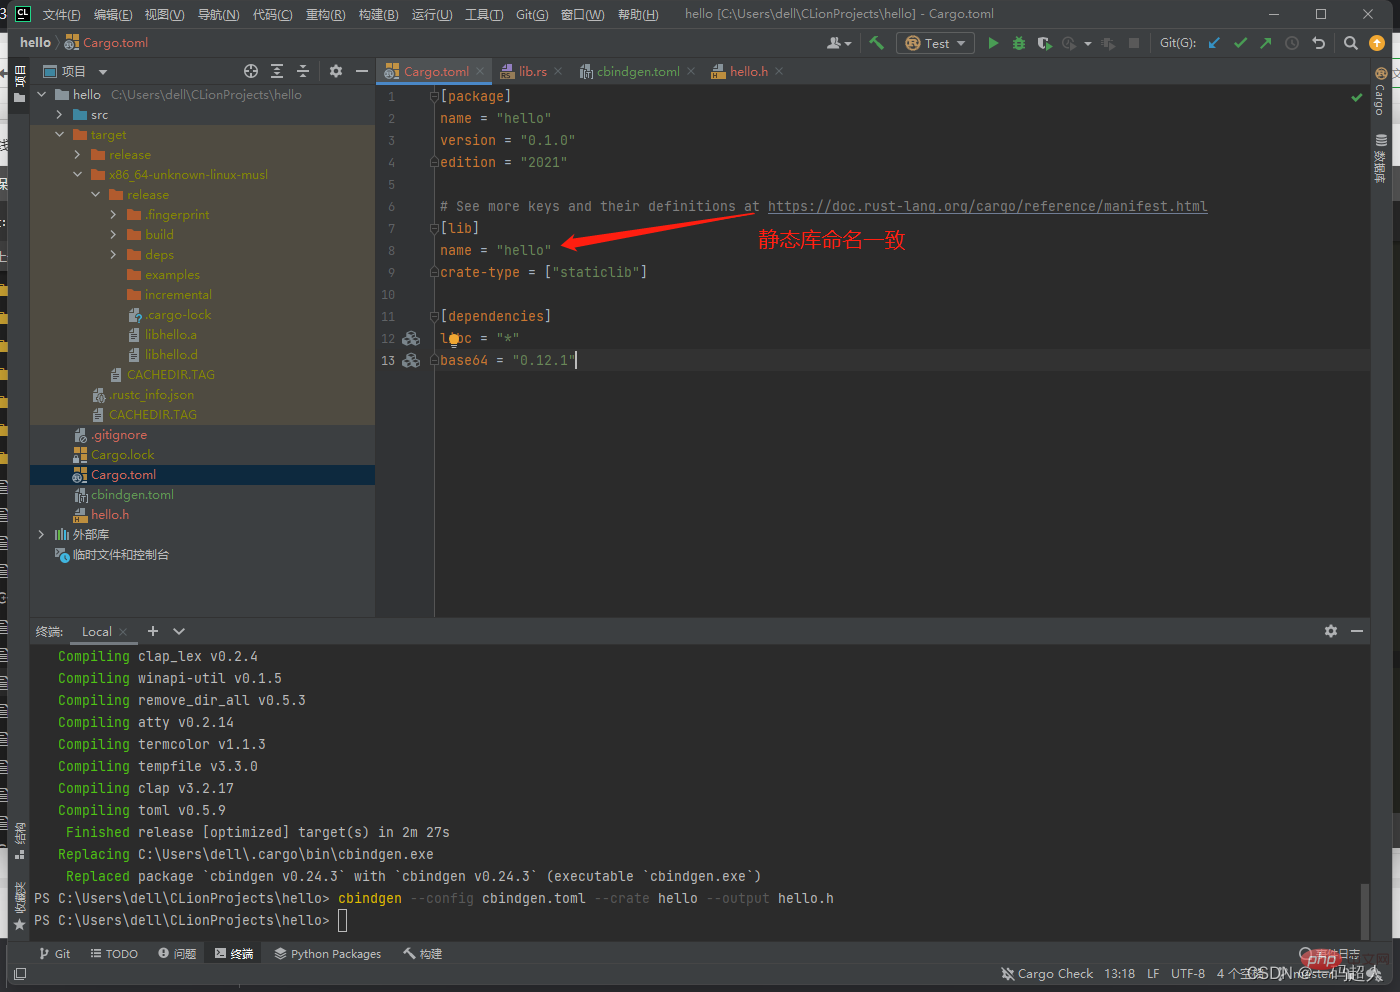
Cargo.toml
[package] name = "hello" version = "0.1.0" edition = "2021" # See more keys and their definitions at https://doc.rust-lang.org/cargo/reference/manifest.html [lib] name = "hello" crate-type = ["staticlib"] [dependencies] libc = "*" base64 = "0.12.1"
注意在编译过程中涉及系统类型,不然在引入该静态库编译扩展可能报错,提示不支持。
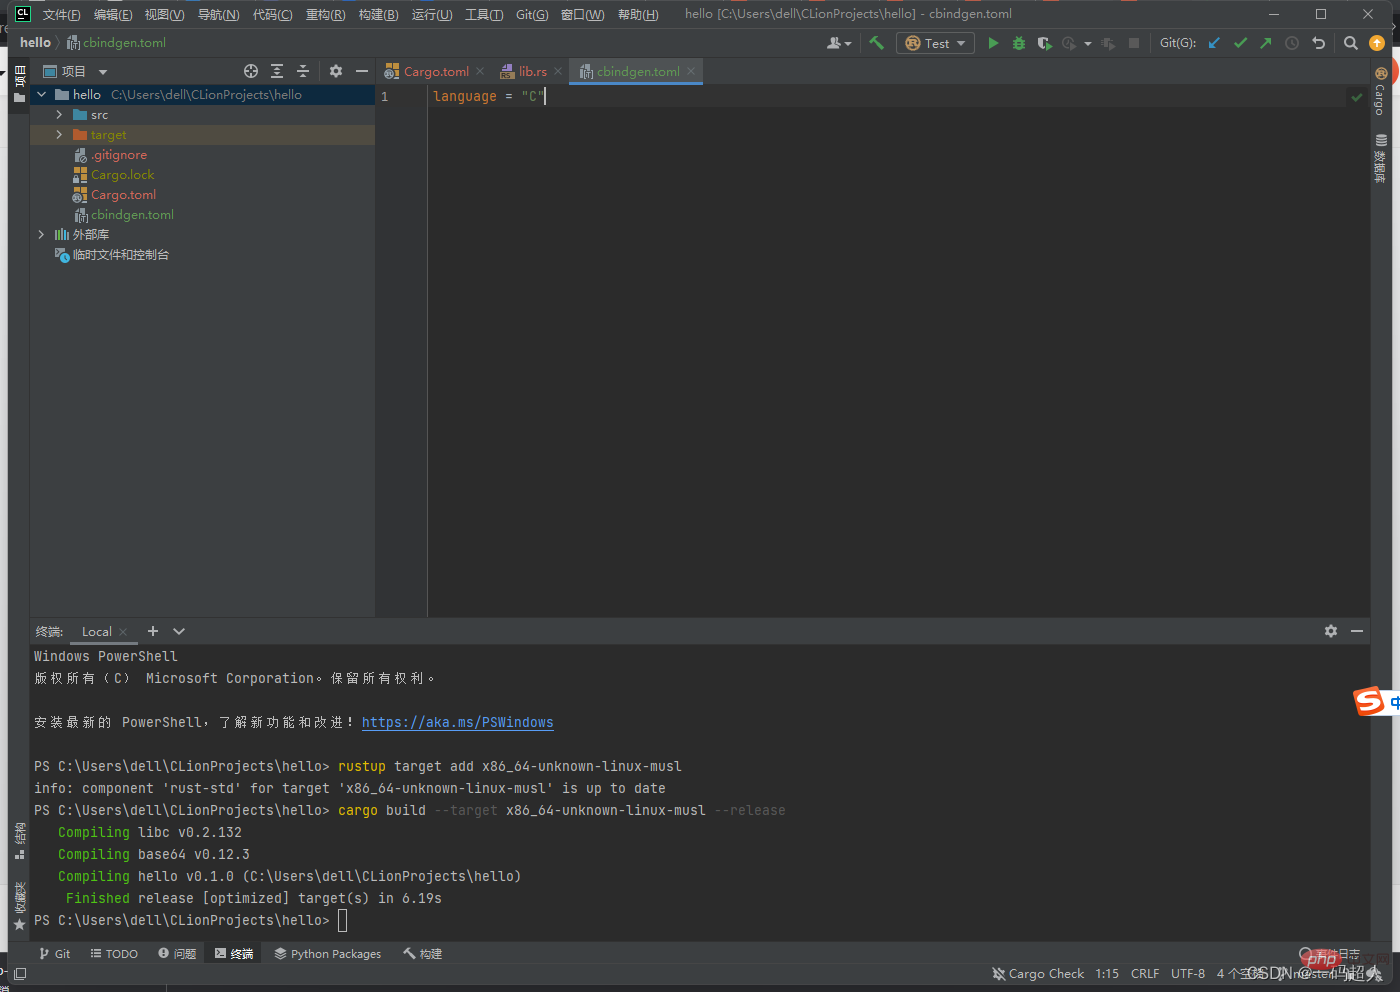
编译64位静态库
rustup target add x86_64-unknown-linux-musl cargo build --target x86_64-unknown-linux-musl --release
编译32位静态库
rustup target add i686-unknown-linux-musl cargo build --target i686-unknown-linux-musl --release
这里我们是64位系统。
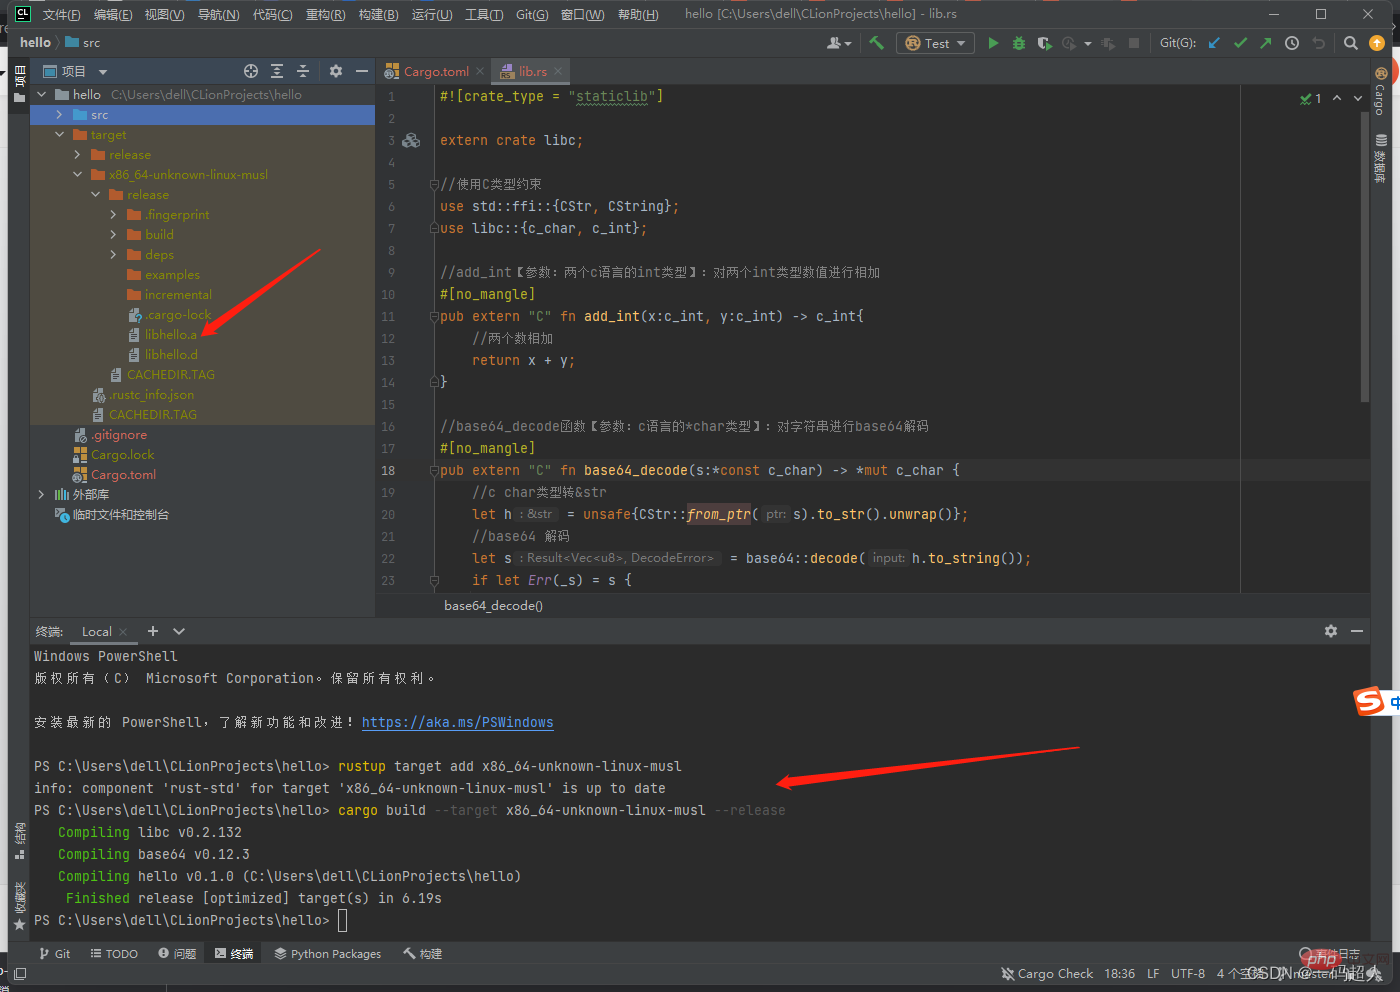
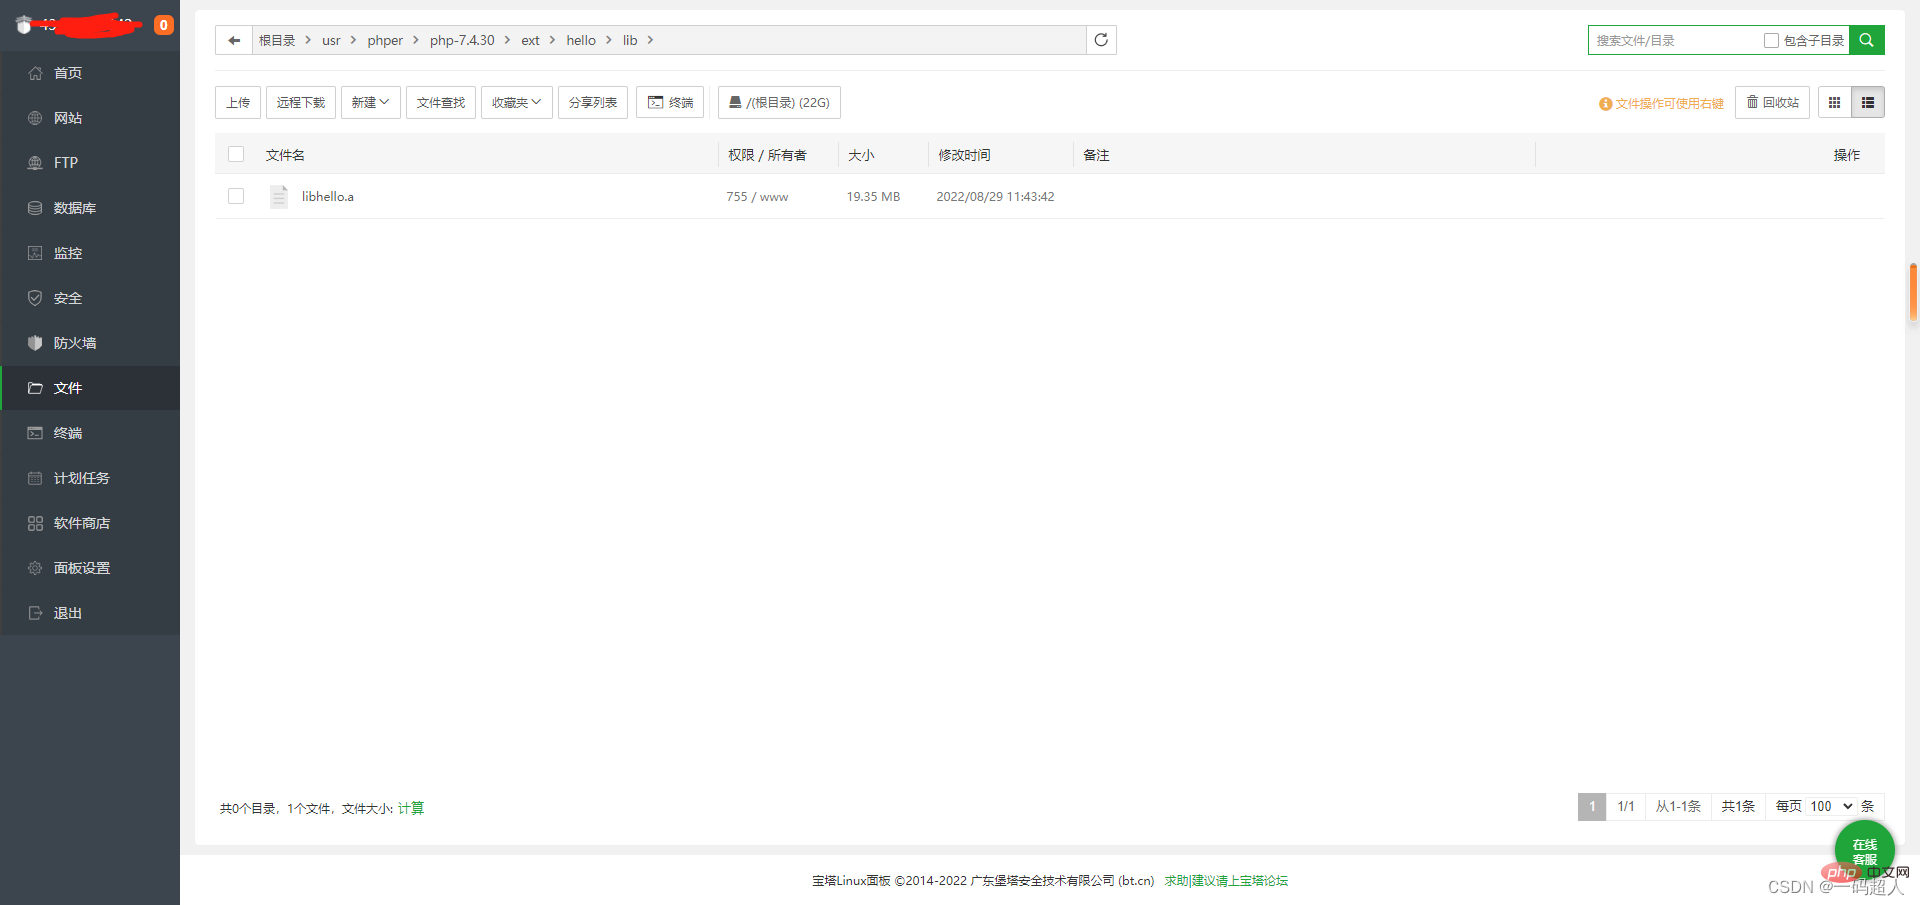
会生成一个.a文件,该文件便是liunx支持的静态库文件。
生成支持C语言的胶水头文件【用于C调用该库需要写的函数声明,很方便】
创建cbindgen.toml文件
内容:
language = "C"
安装cbindgen,创建头文件。
cargo install --force cbindgen cbindgen --config cbindgen.toml --crate 项目名称 --output 头文件名称.h
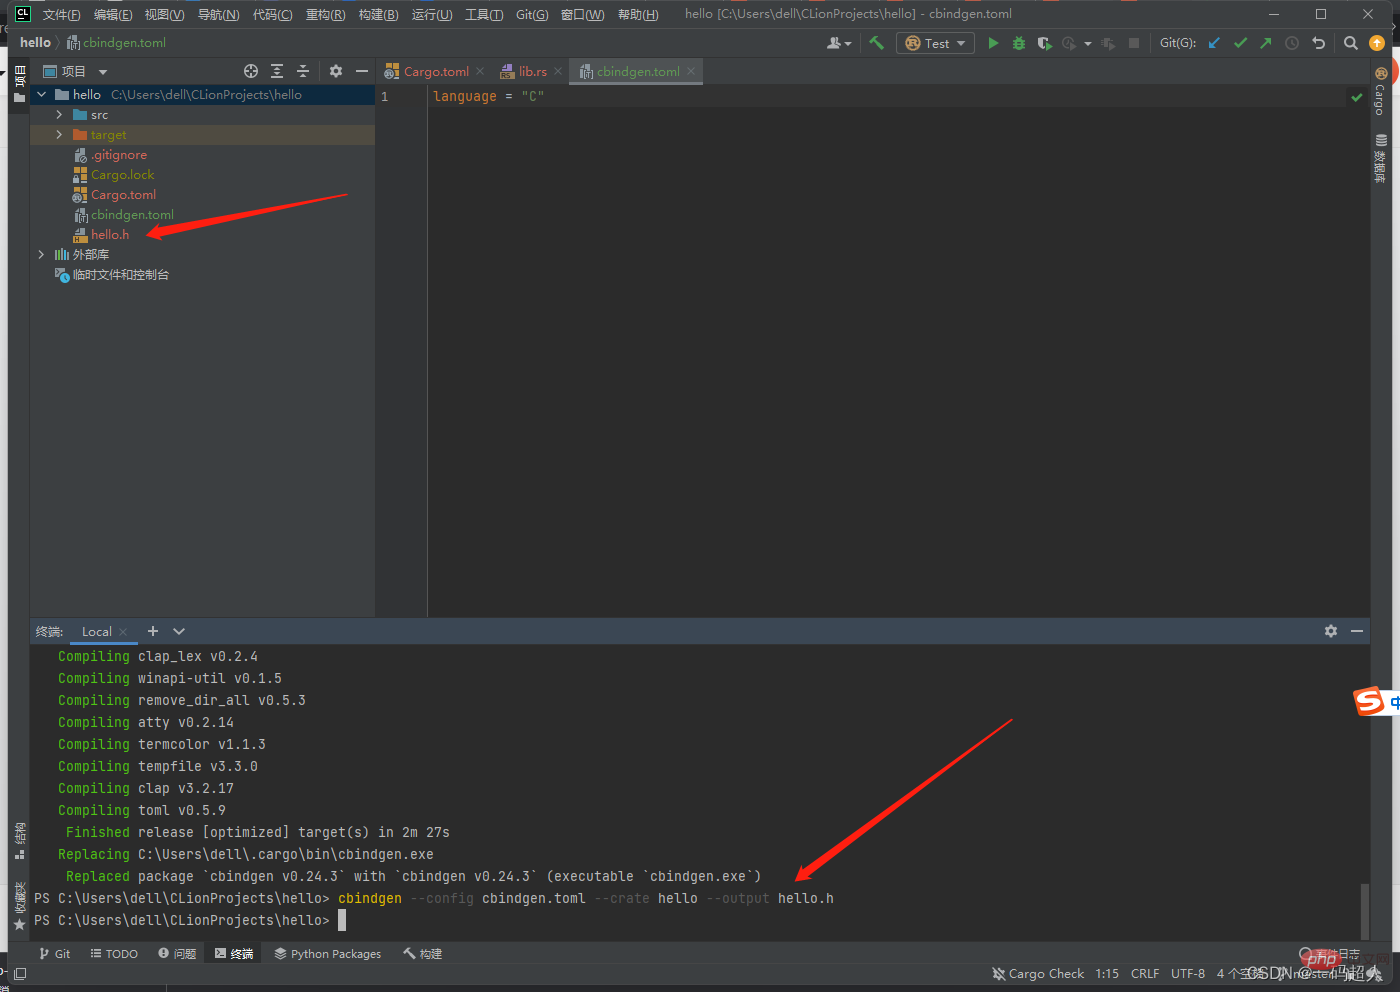
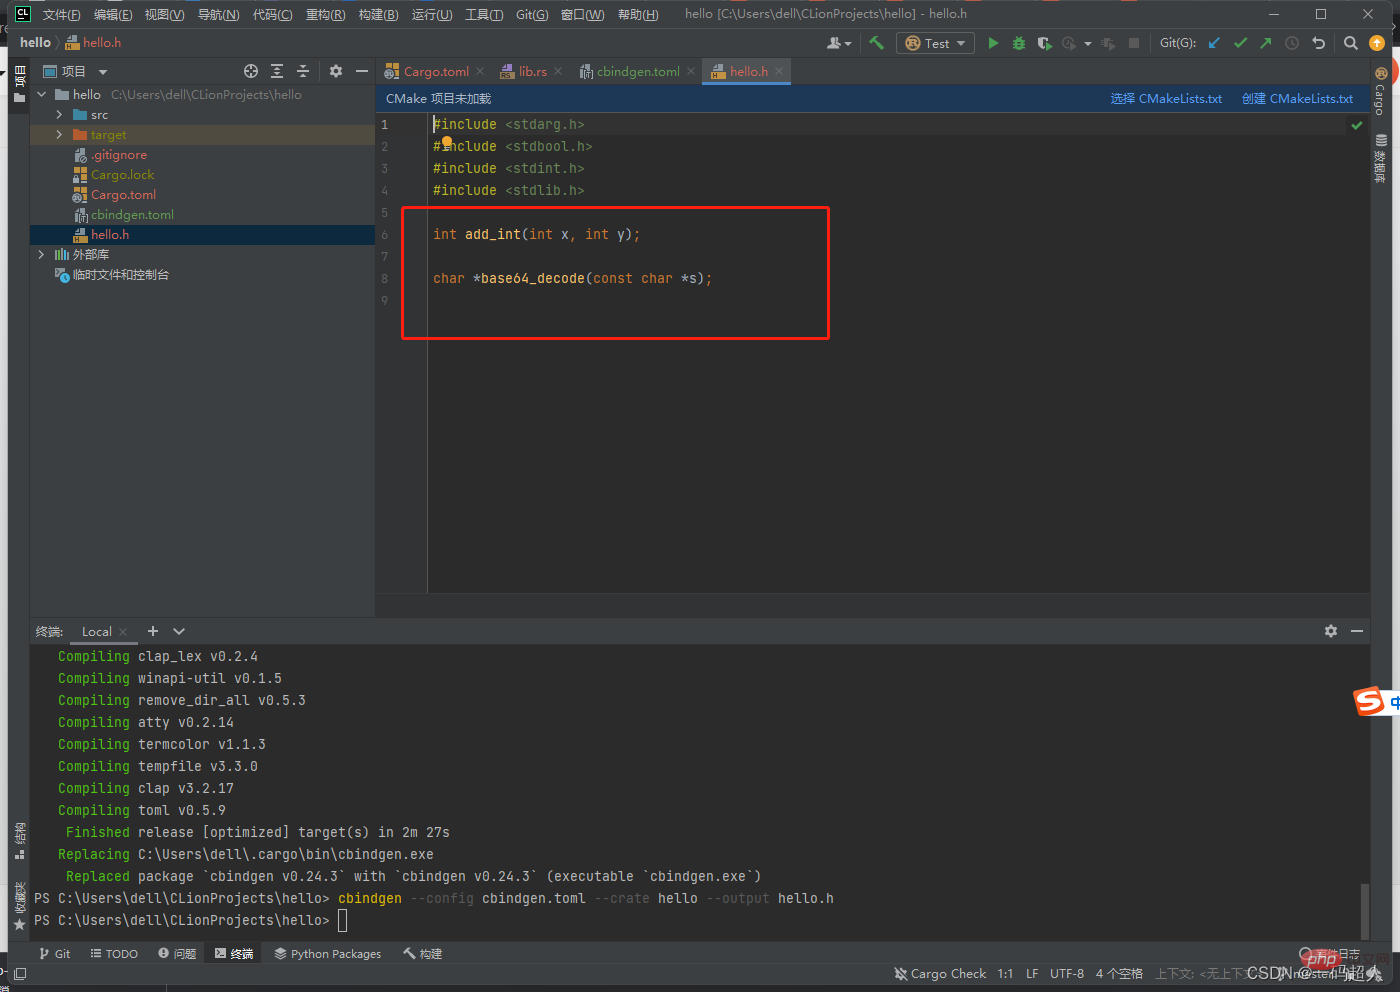
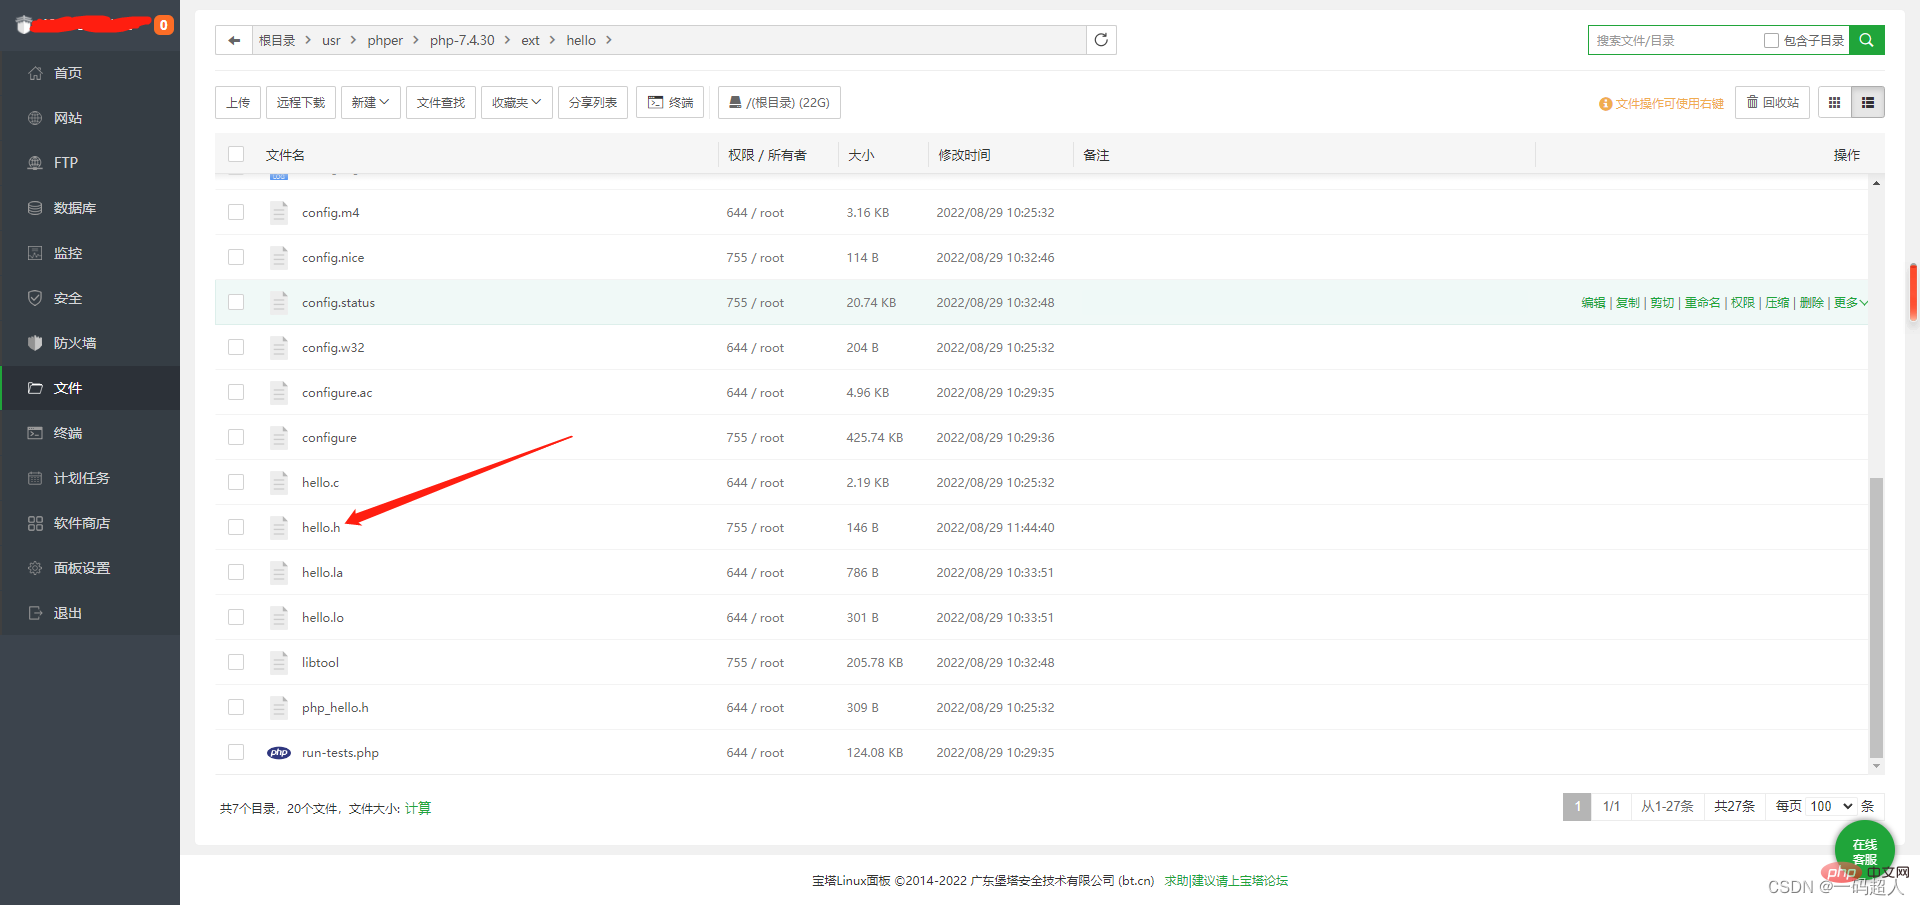
自动生成了C语言的函数声明hello.h文件,用于调用。
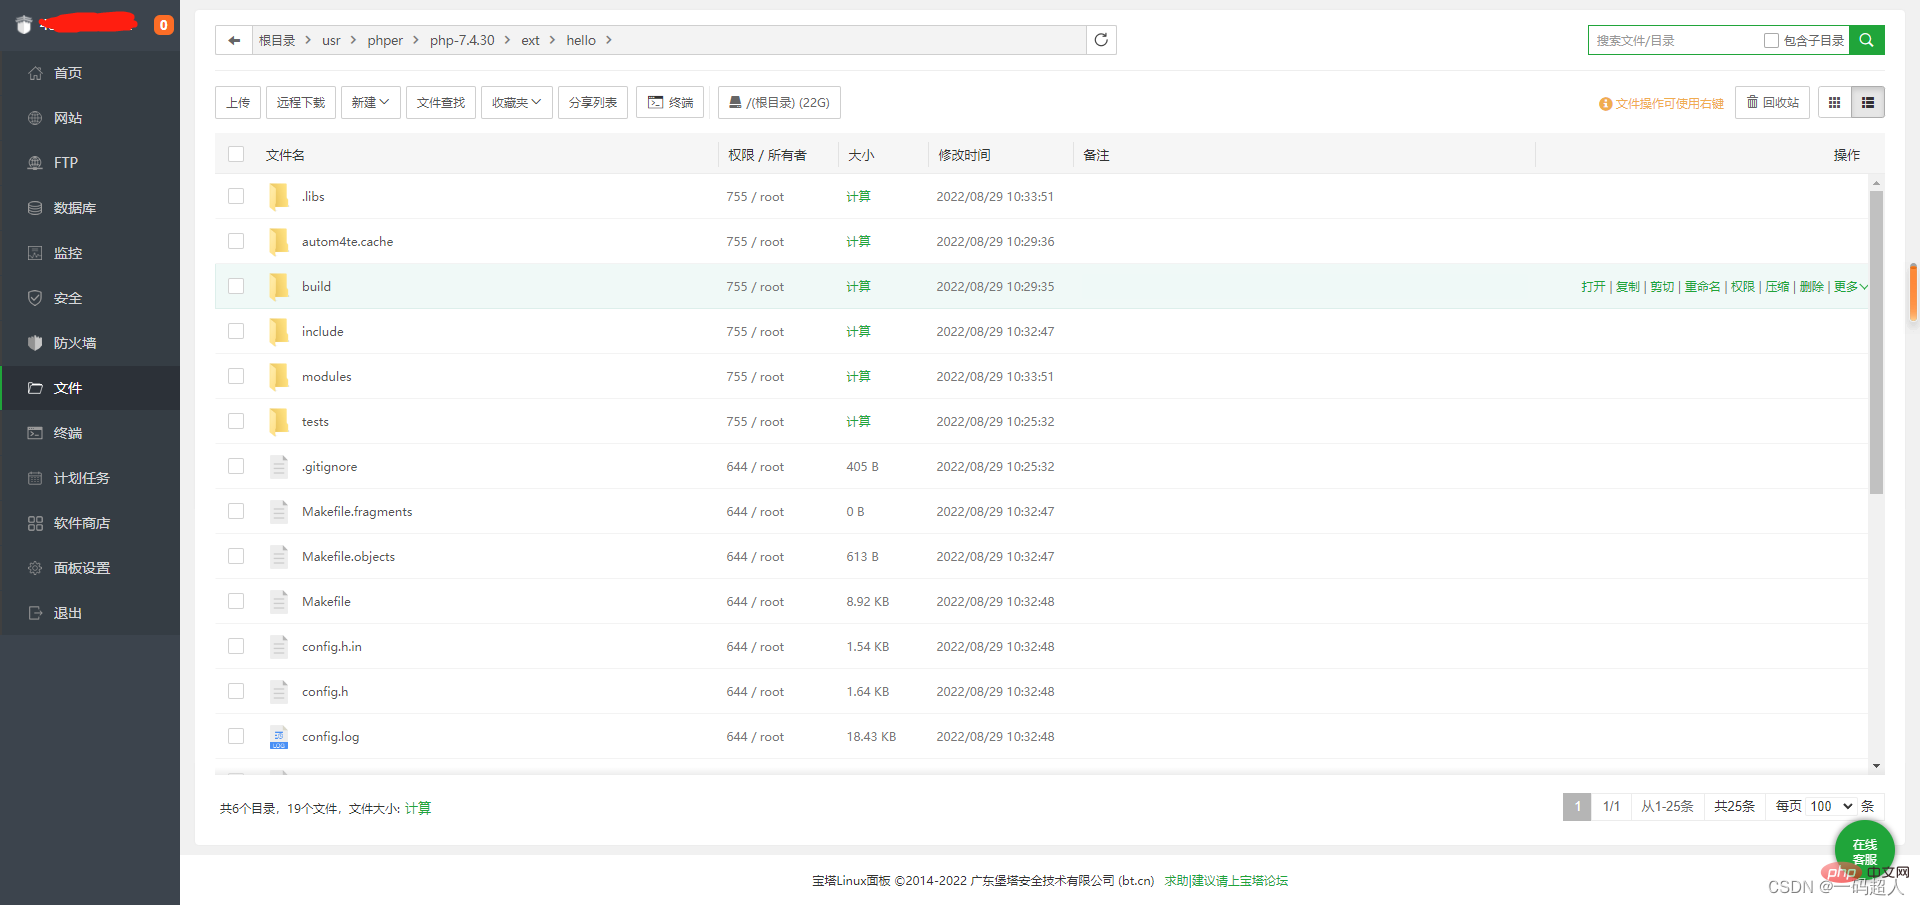
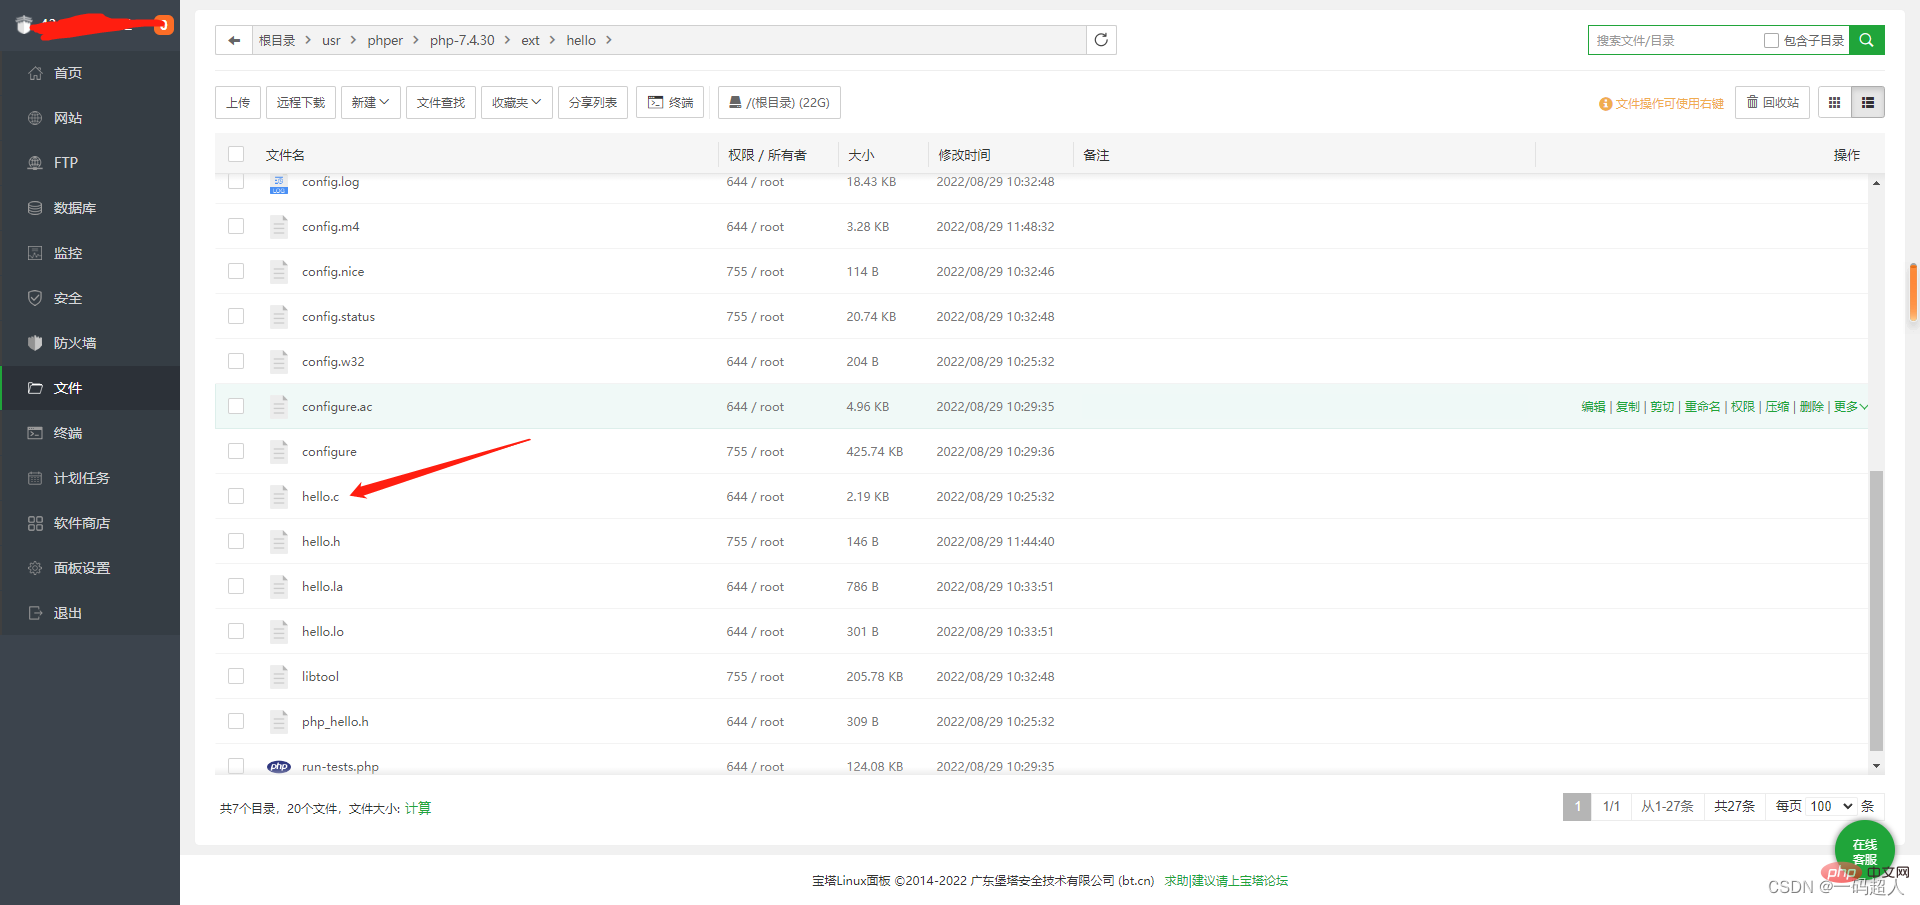
回到之前我们创建的hello扩展
创建lib文件夹
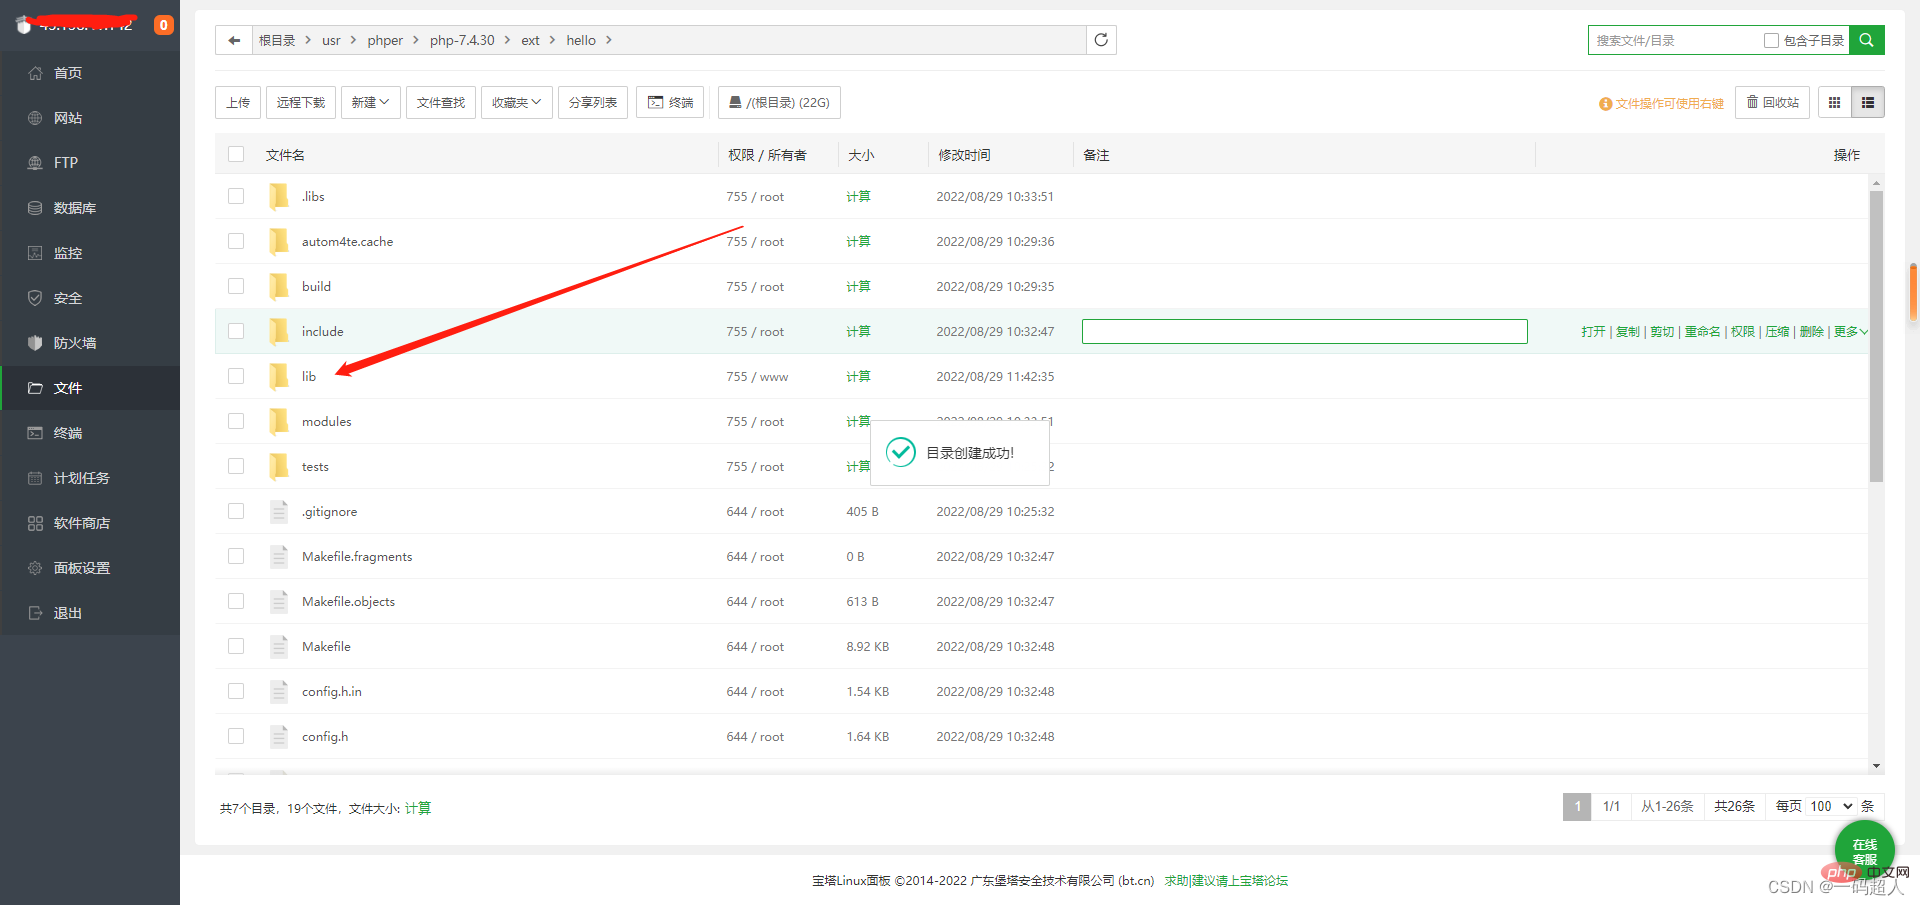
将刚刚编译出来的静态库.a文件上传到lib目录下
将刚刚创建的.h头文件上传到扩展目录下
配置.m4预编译文件【关键】
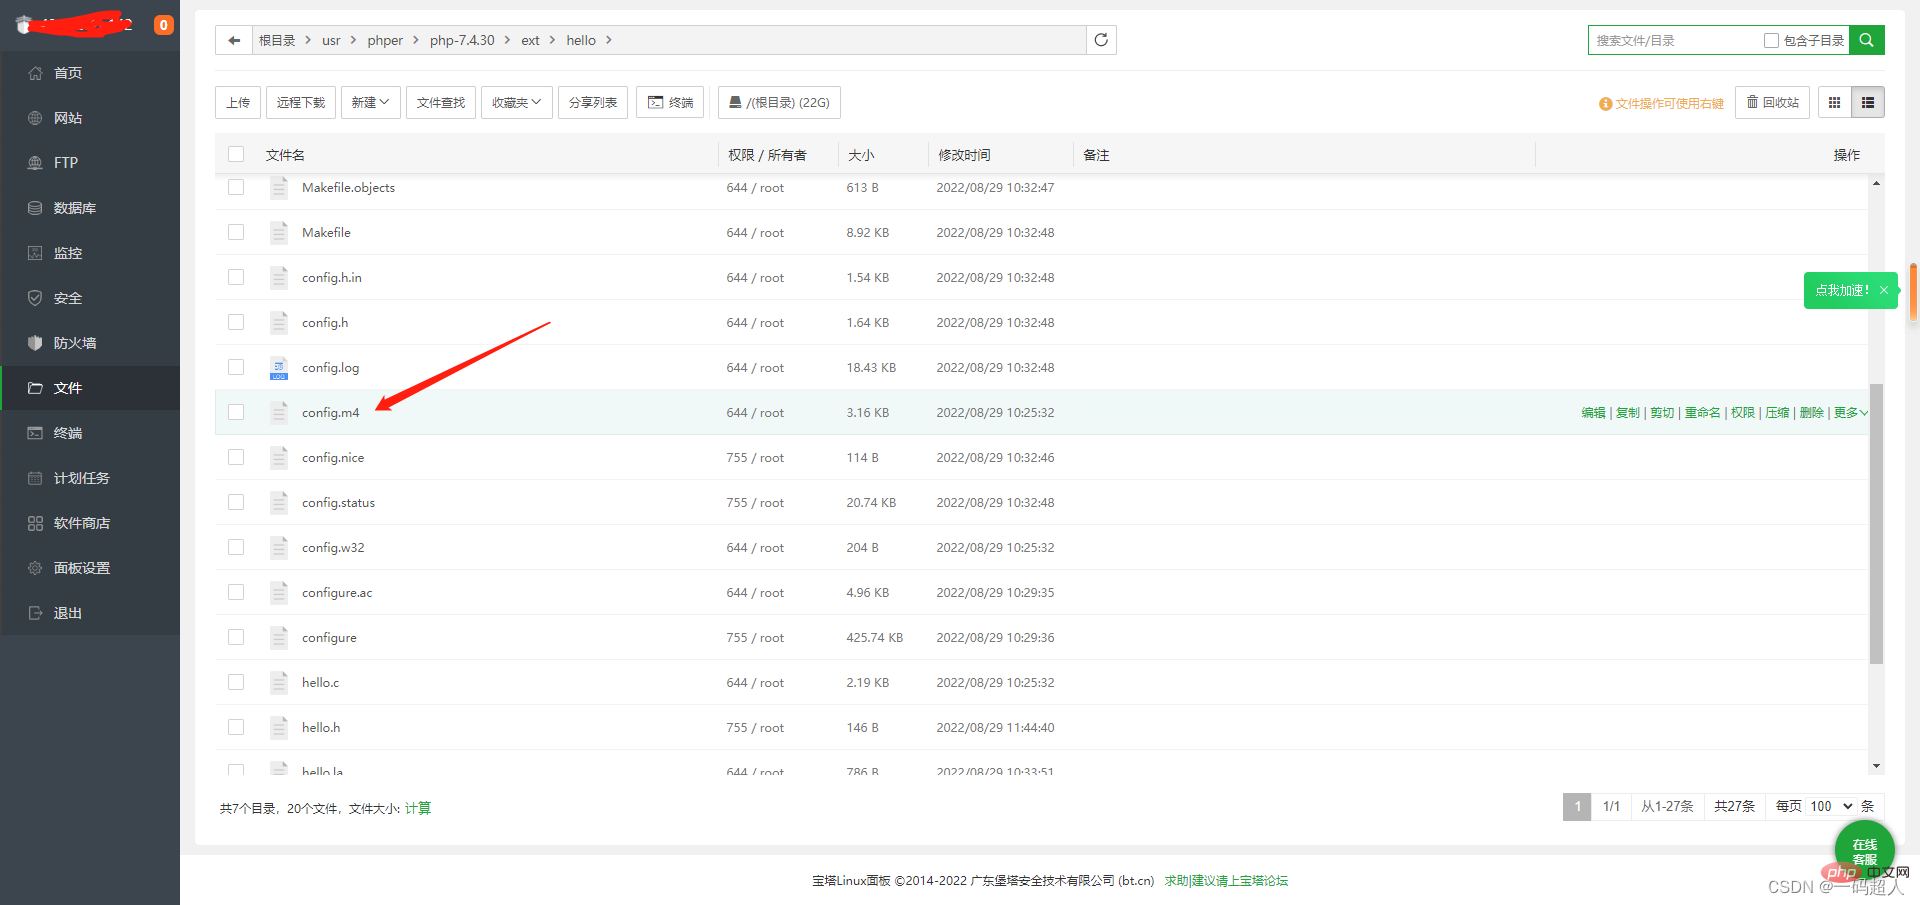
设置引入lib文件夹中的静态库文件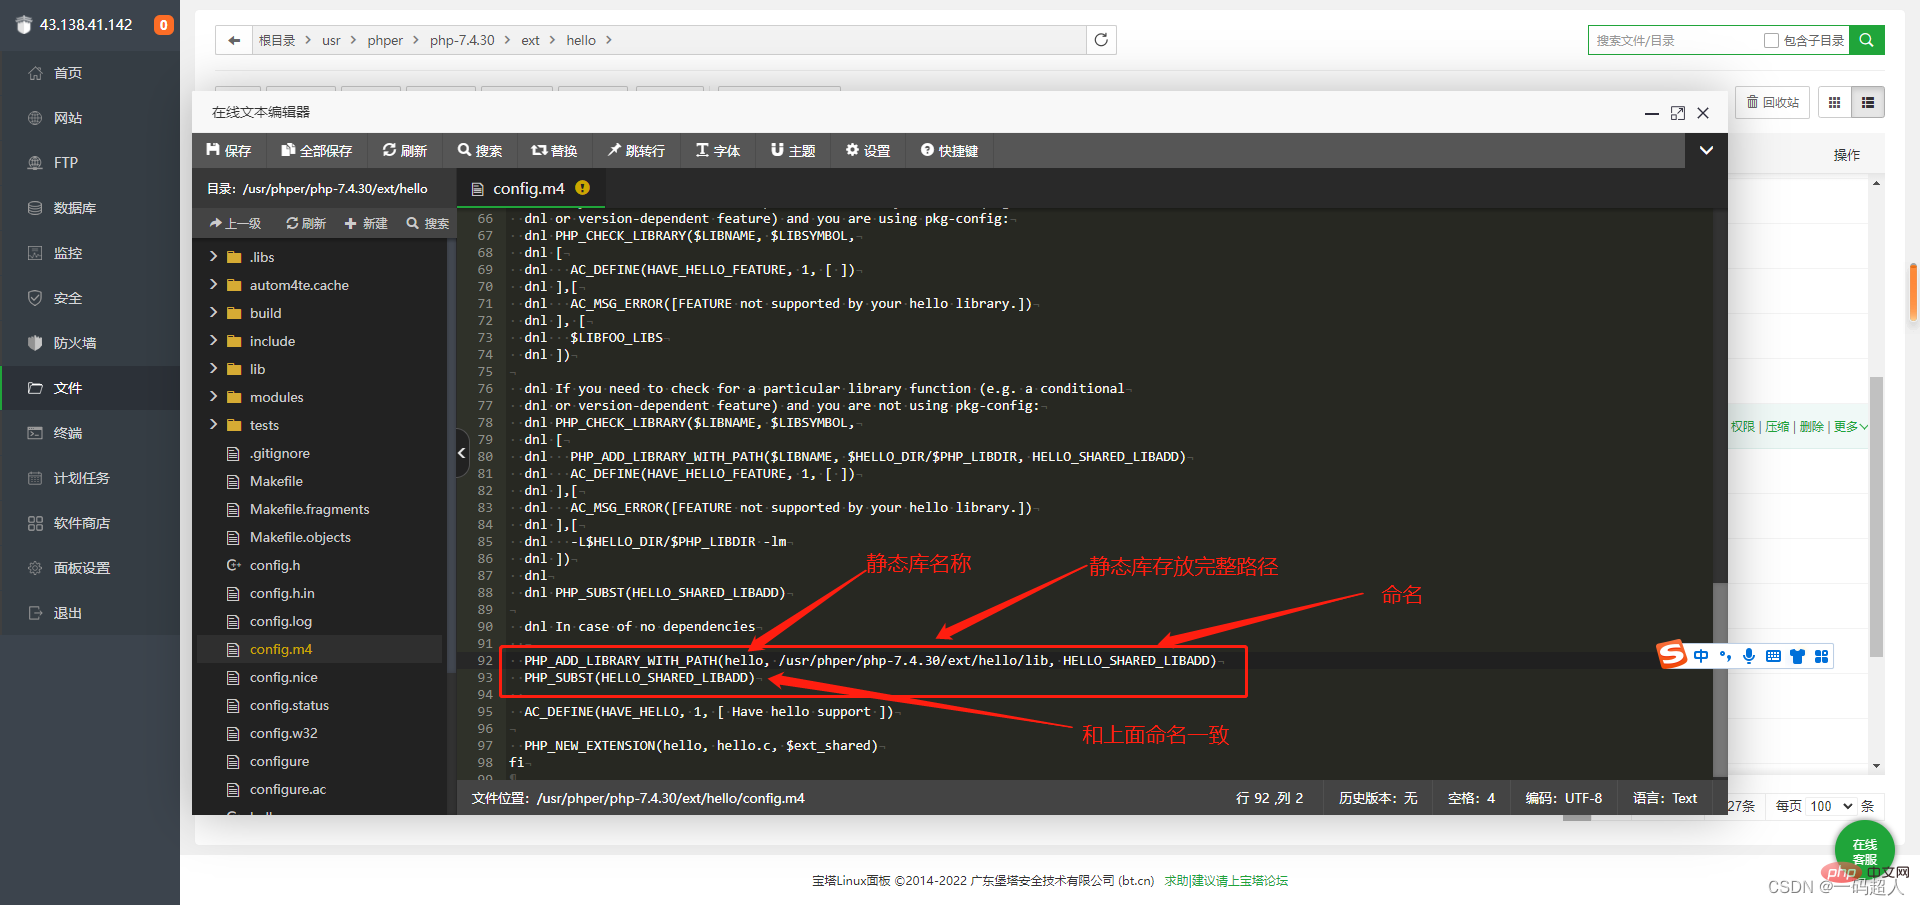
PHP_ADD_LIBRARY_WITH_PATH(hello, /usr/phper/php-7.4.30/ext/hello/lib, HELLO_SHARED_LIBADD) PHP_SUBST(HELLO_SHARED_LIBADD)
保存.m4
编写主文件
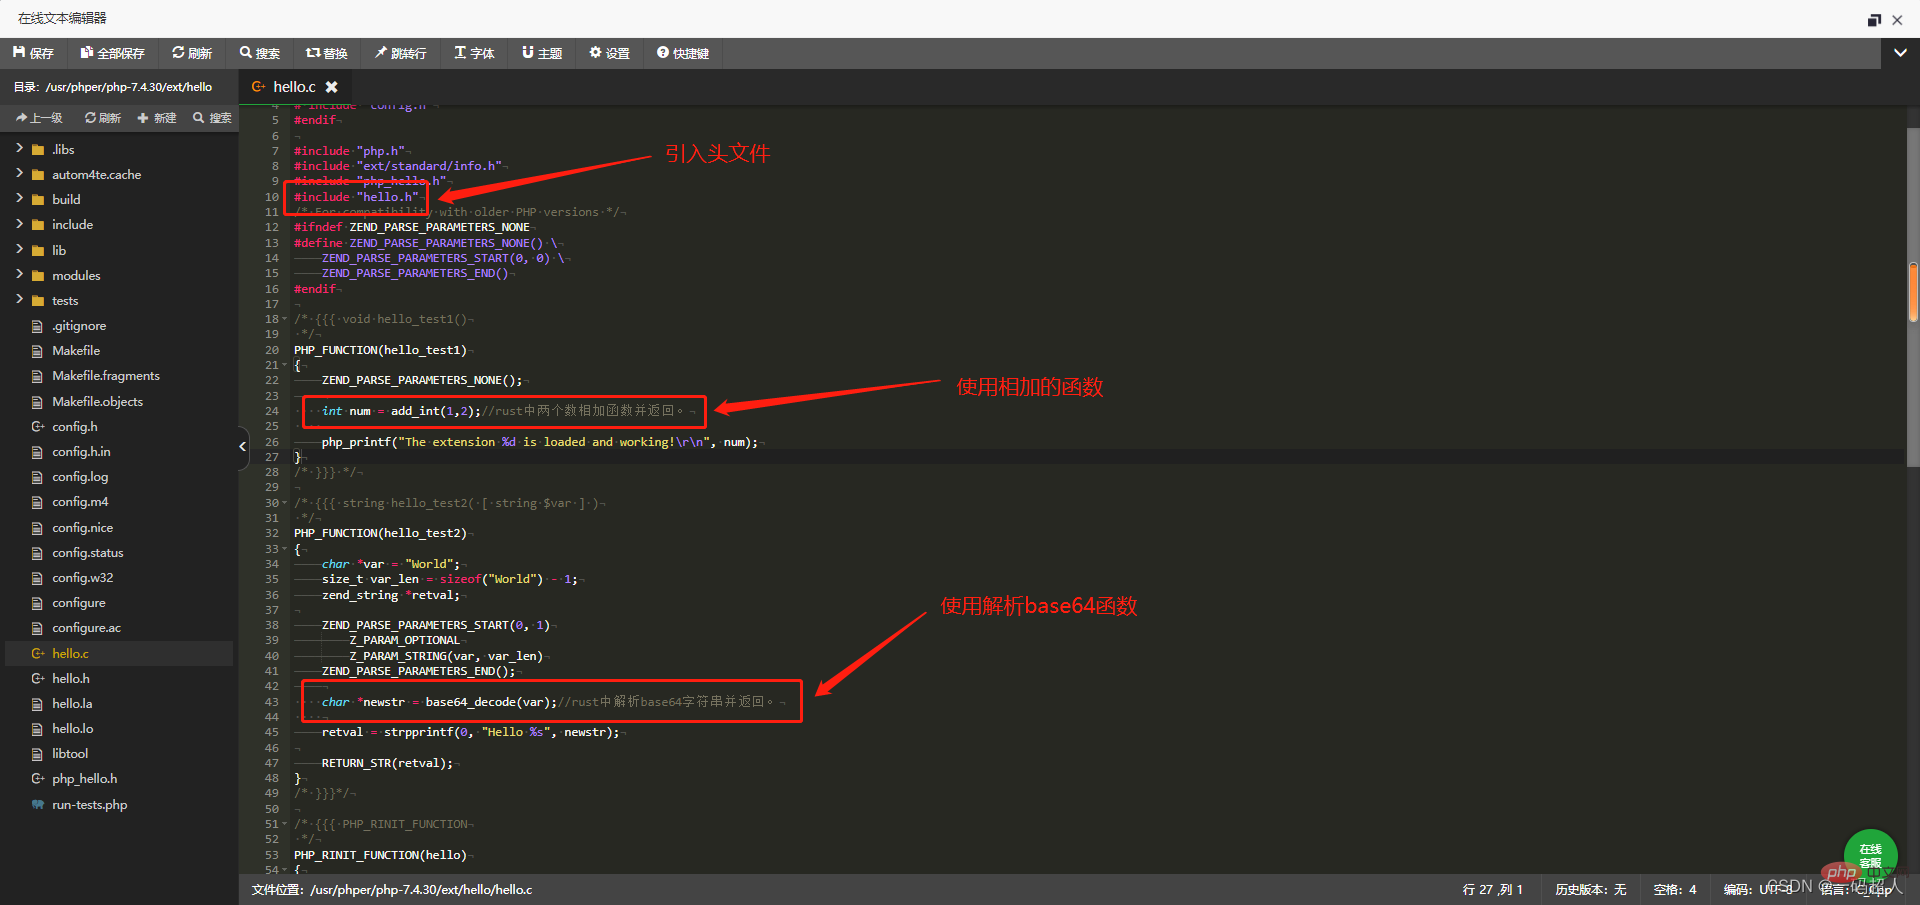
/* hello extension for PHP */ #ifdef HAVE_CONFIG_H # include "config.h" #endif #include "php.h" #include "ext/standard/info.h" #include "php_hello.h" #include "hello.h"//引入头文件 /* For compatibility with older PHP versions */ #ifndef ZEND_PARSE_PARAMETERS_NONE #define ZEND_PARSE_PARAMETERS_NONE() ZEND_PARSE_PARAMETERS_START(0, 0) ZEND_PARSE_PARAMETERS_END() #endif /* {{{ void hello_test1() */ PHP_FUNCTION(hello_test1) { ZEND_PARSE_PARAMETERS_NONE(); int num = add_int(1,2);//rust中两个数相加函数并返回。 php_printf("The extension %d is loaded and working!rn", num); } /* }}} */ /* {{{ string hello_test2( [ string $var ] ) */ PHP_FUNCTION(hello_test2) { char *var = "World"; size_t var_len = sizeof("World") - 1; zend_string *retval; ZEND_PARSE_PARAMETERS_START(0, 1) Z_PARAM_OPTIONAL Z_PARAM_STRING(var, var_len) ZEND_PARSE_PARAMETERS_END(); char *newstr = base64_decode(var);//rust中解析base64字符串并返回。 retval = strpprintf(0, "Hello %s", newstr); RETURN_STR(retval); } /* }}}*/ /* {{{ PHP_RINIT_FUNCTION */ PHP_RINIT_FUNCTION(hello) { #if defined(ZTS) && defined(COMPILE_DL_HELLO) ZEND_TSRMLS_CACHE_UPDATE(); #endif return SUCCESS; } /* }}} */ /* {{{ PHP_MINFO_FUNCTION */ PHP_MINFO_FUNCTION(hello) { php_info_print_table_start(); php_info_print_table_header(2, "hello support", "enabled"); php_info_print_table_end(); } /* }}} */ /* {{{ arginfo */ ZEND_BEGIN_ARG_INFO(arginfo_hello_test1, 0) ZEND_END_ARG_INFO() ZEND_BEGIN_ARG_INFO(arginfo_hello_test2, 0) ZEND_ARG_INFO(0, str) ZEND_END_ARG_INFO() /* }}} */ /* {{{ hello_functions[] */ static const zend_function_entry hello_functions[] = { PHP_FE(hello_test1, arginfo_hello_test1) PHP_FE(hello_test2, arginfo_hello_test2) PHP_FE_END }; /* }}} */ /* {{{ hello_module_entry */ zend_module_entry hello_module_entry = { STANDARD_MODULE_HEADER, "hello", /* Extension name */ hello_functions, /* zend_function_entry */ NULL, /* PHP_MINIT - Module initialization */ NULL, /* PHP_MSHUTDOWN - Module shutdown */ PHP_RINIT(hello), /* PHP_RINIT - Request initialization */ NULL, /* PHP_RSHUTDOWN - Request shutdown */ PHP_MINFO(hello), /* PHP_MINFO - Module info */ PHP_HELLO_VERSION, /* Version */ STANDARD_MODULE_PROPERTIES }; /* }}} */ #ifdef COMPILE_DL_HELLO # ifdef ZTS ZEND_TSRMLS_CACHE_DEFINE() # endif ZEND_GET_MODULE(hello) #endif
删除之前生成的扩展文件
重新生成扩展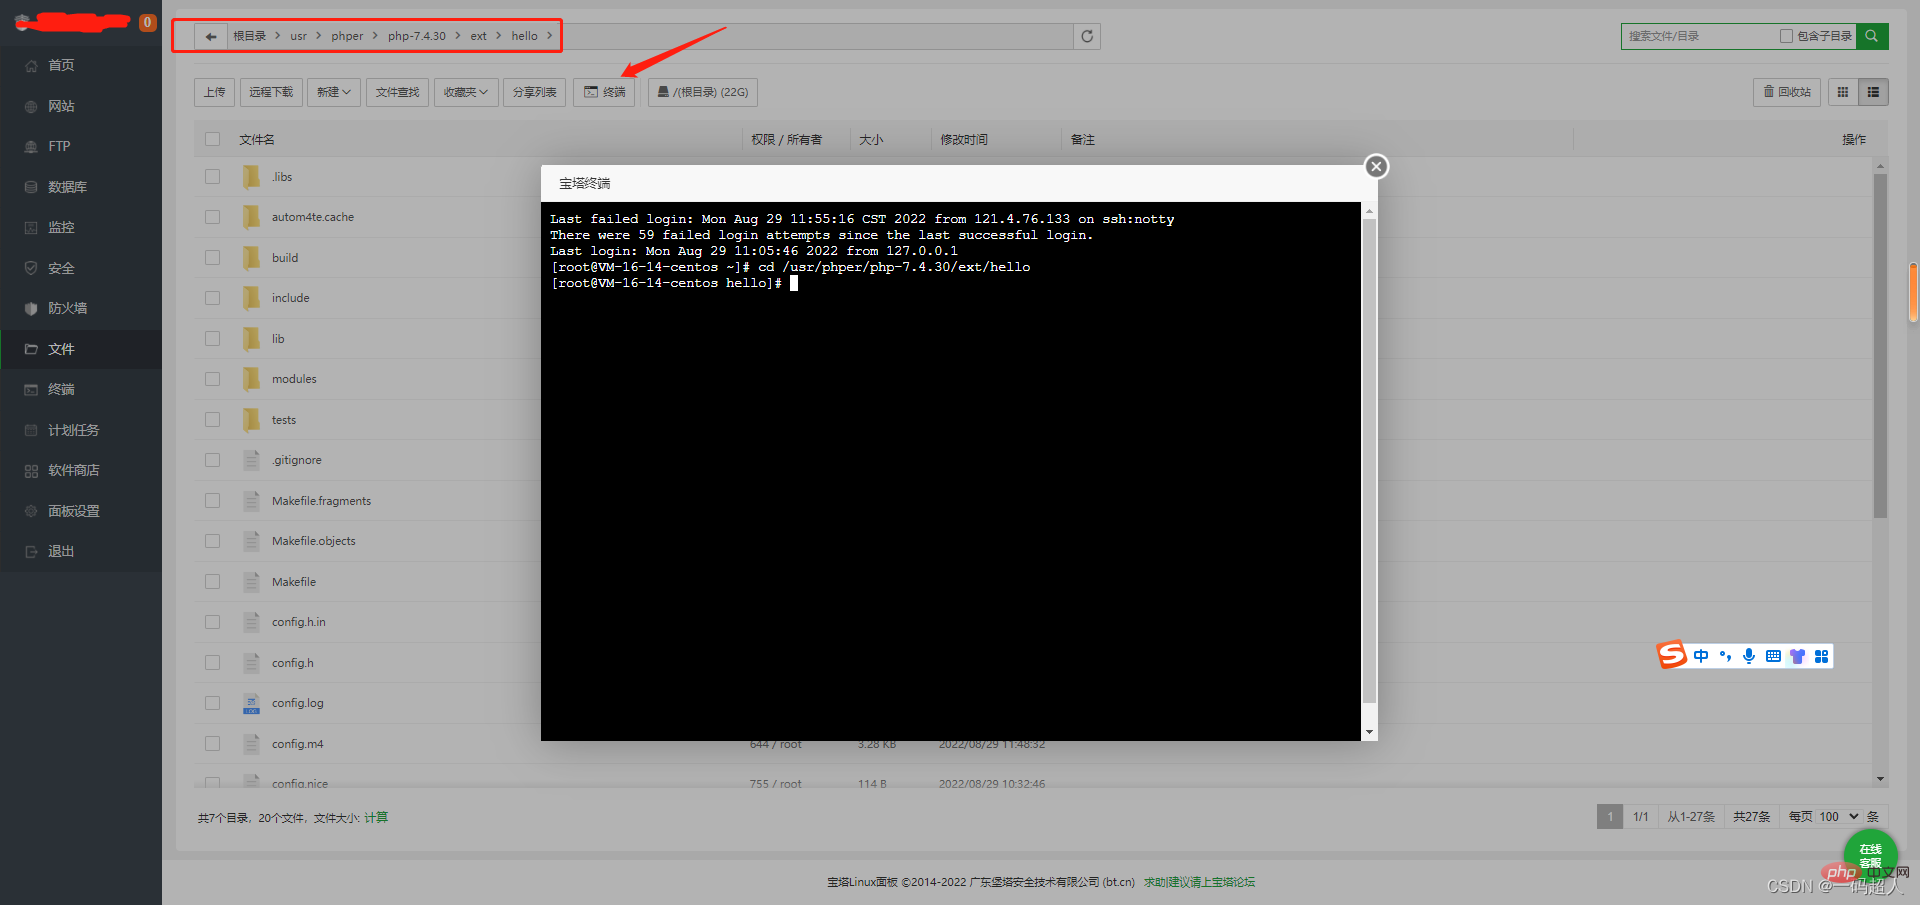
phpize ./configure --with-php-config=/www/server/php/74/bin/php-config make
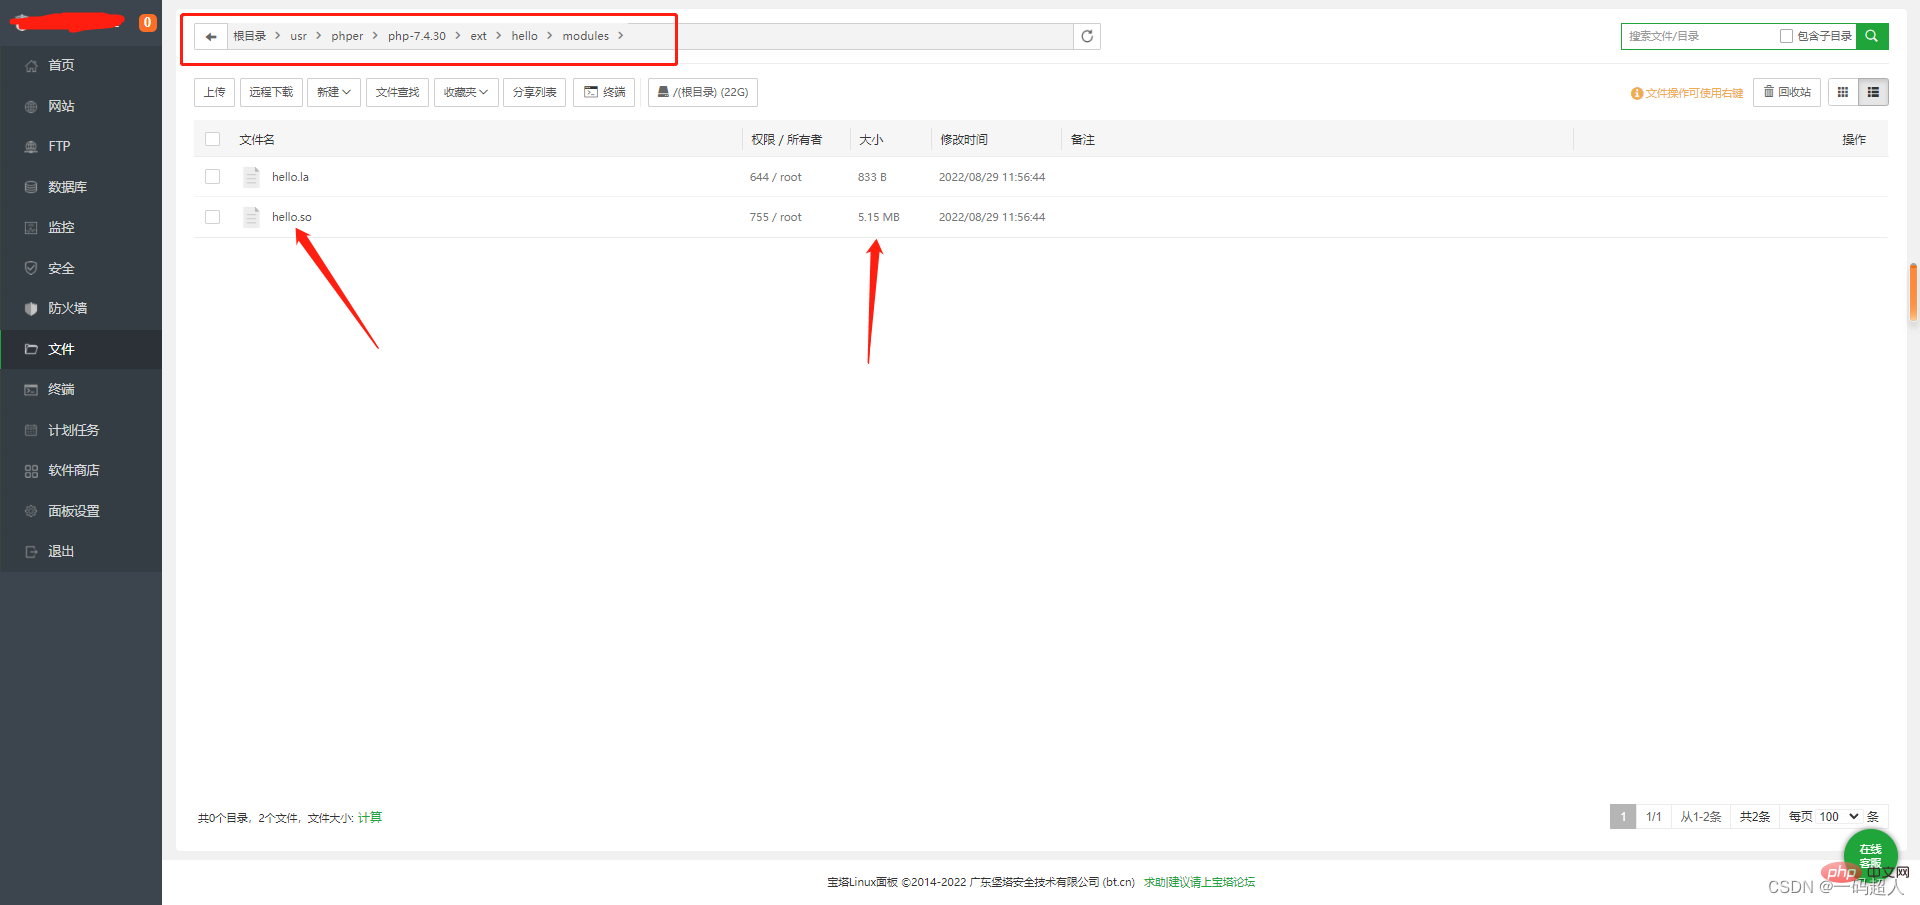
大小都变了,说明我们的静态库在里面了哈哈。
按上述使用扩展流程替换扩展
注意!替换扩展文件后要重启PHP哦,不然不生效!
7、测试rust开发的php扩展
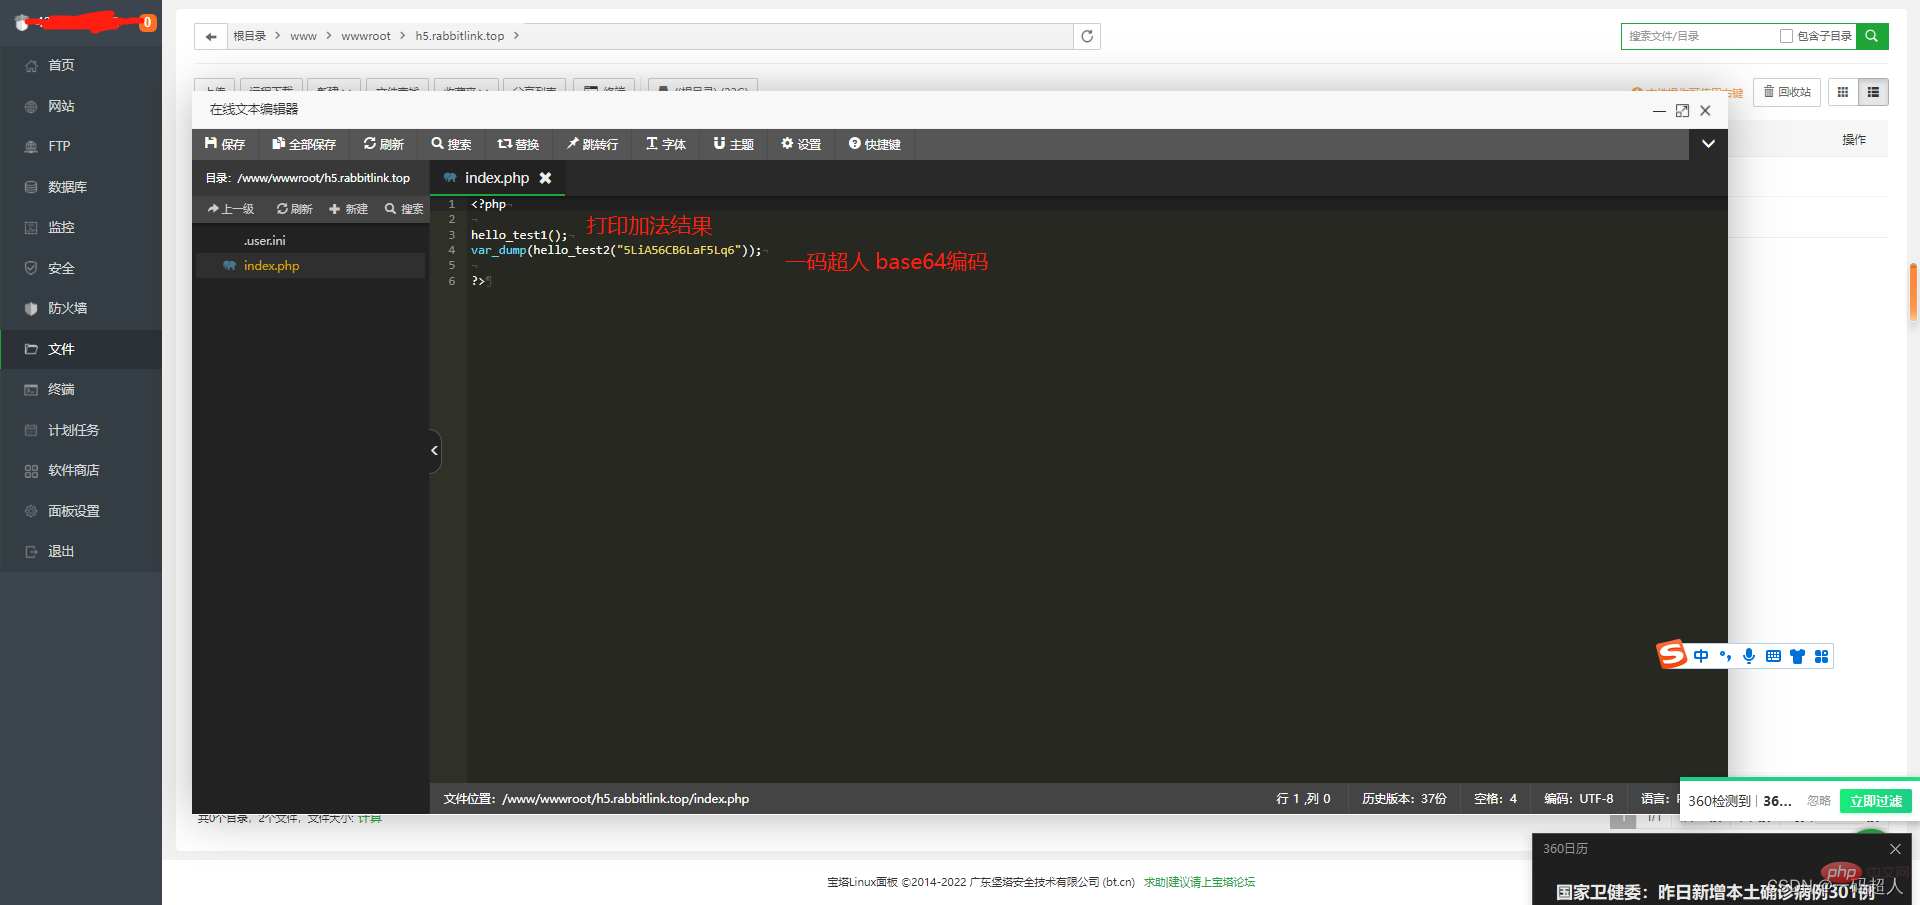
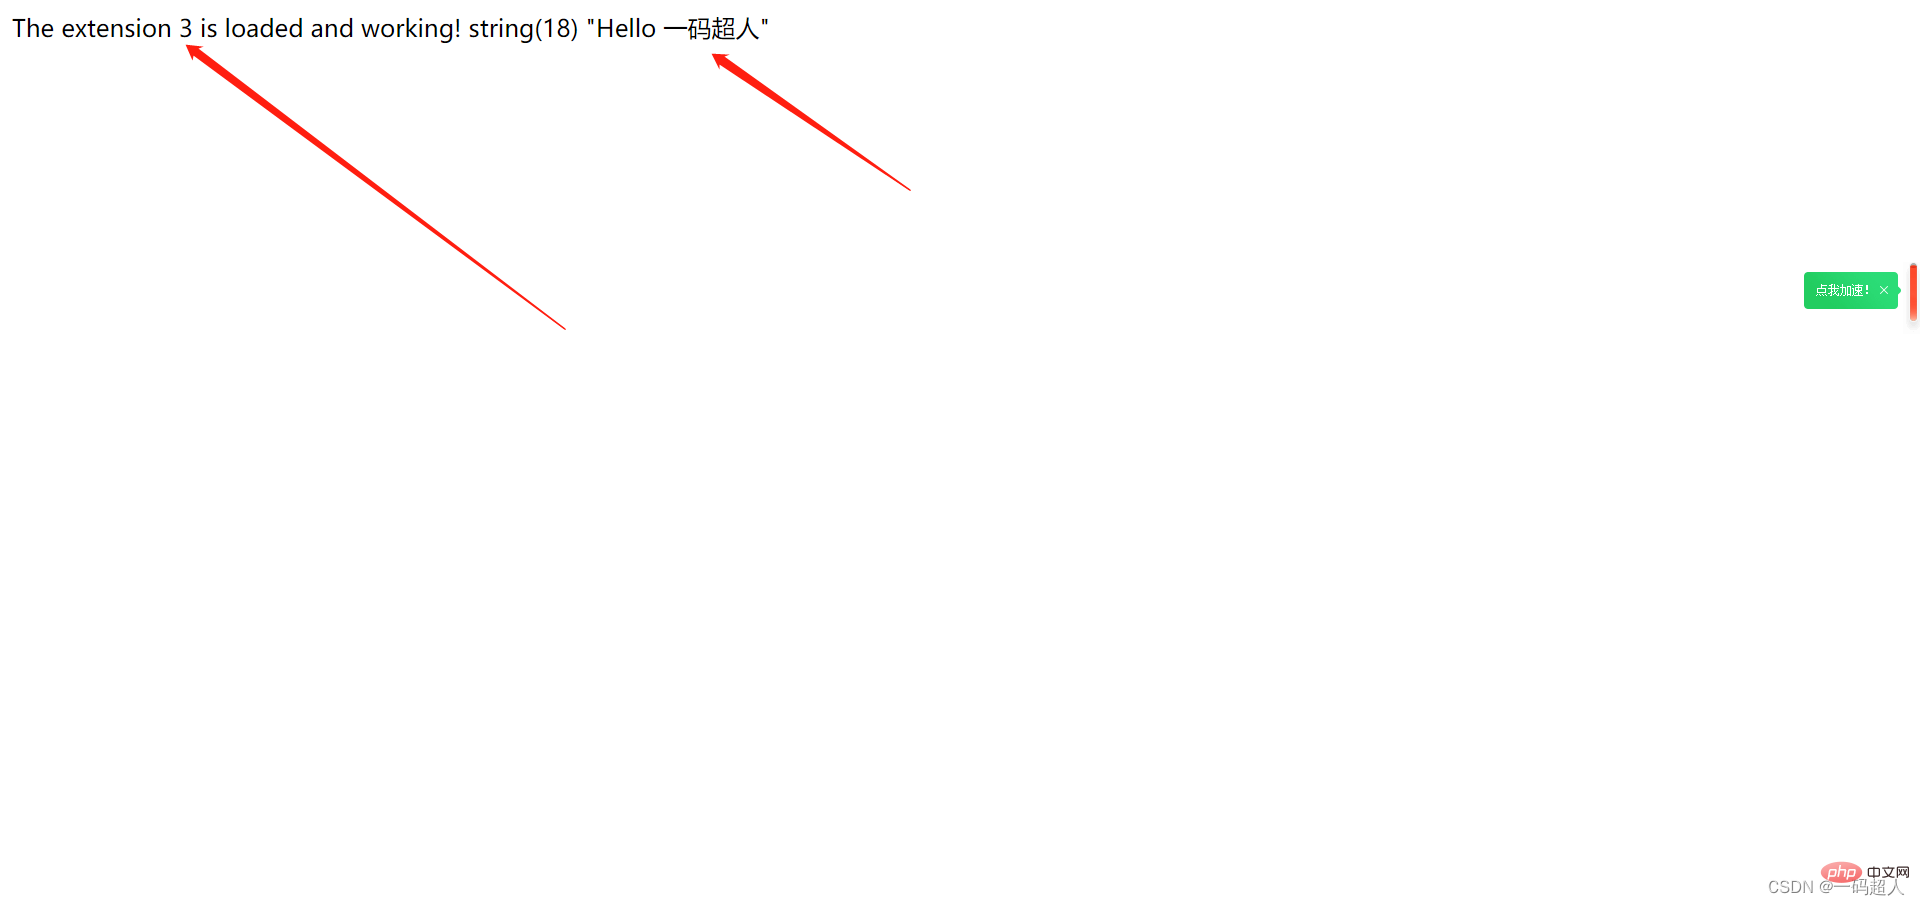
网页测试
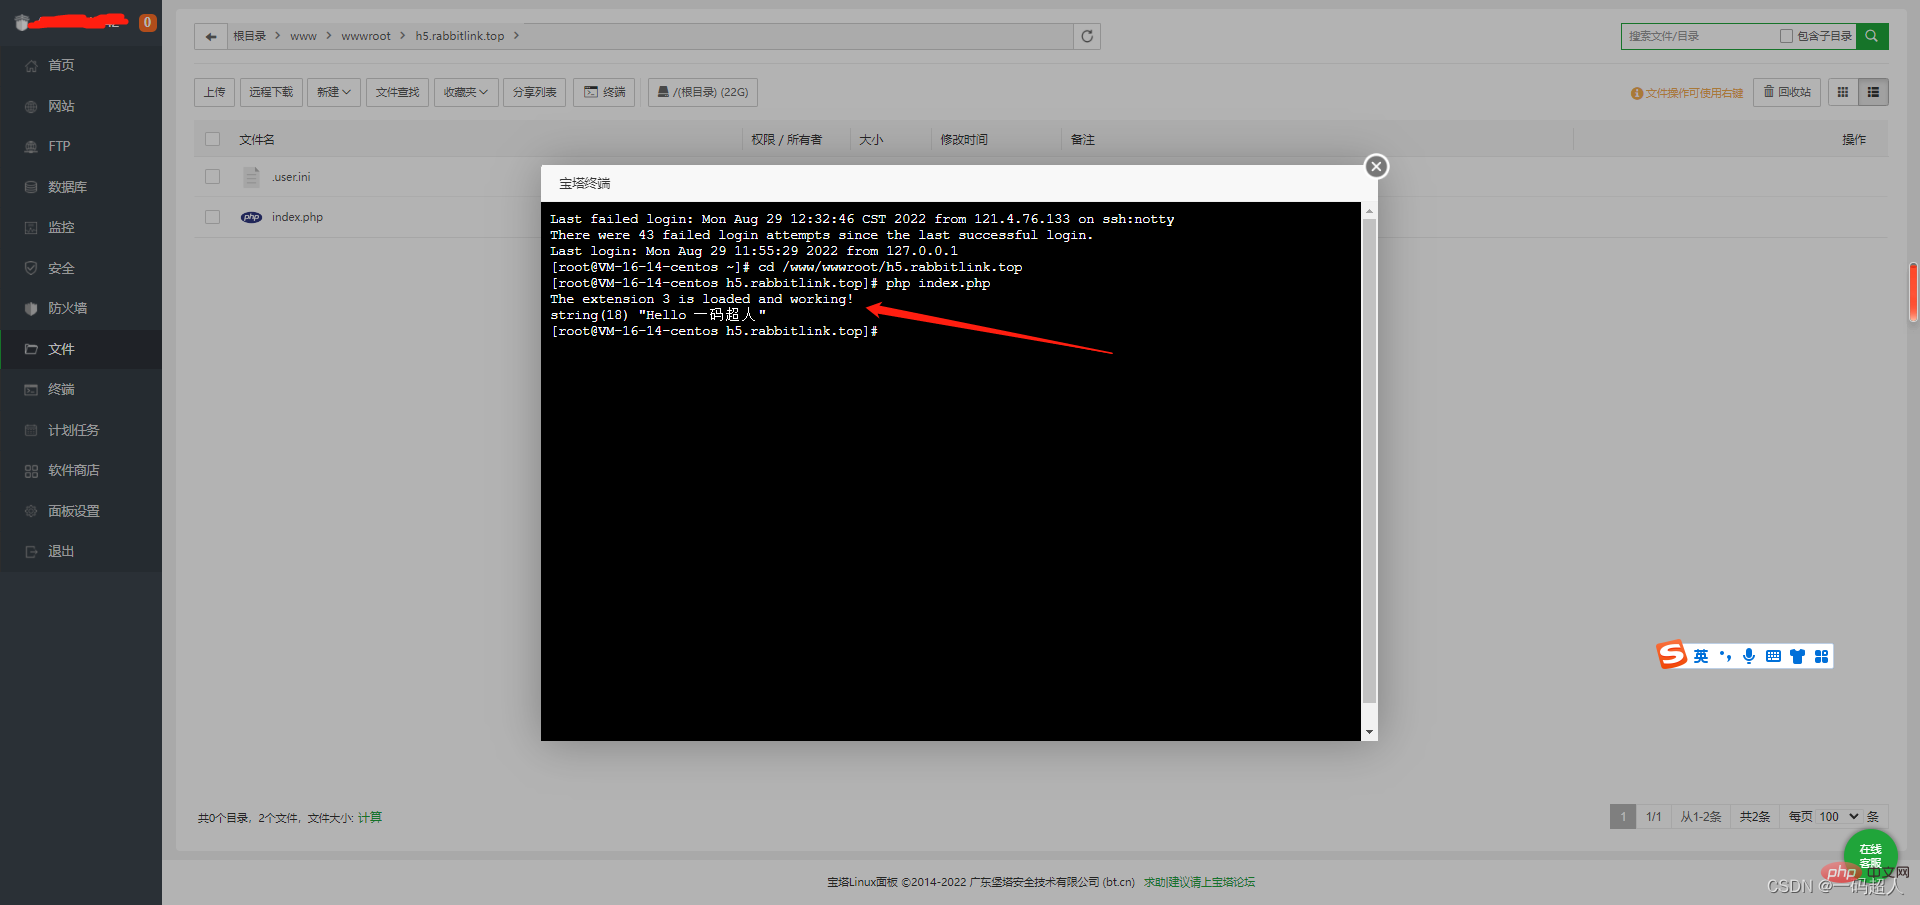
命令行测试
也可以通过php扩展骨架直接进行测试

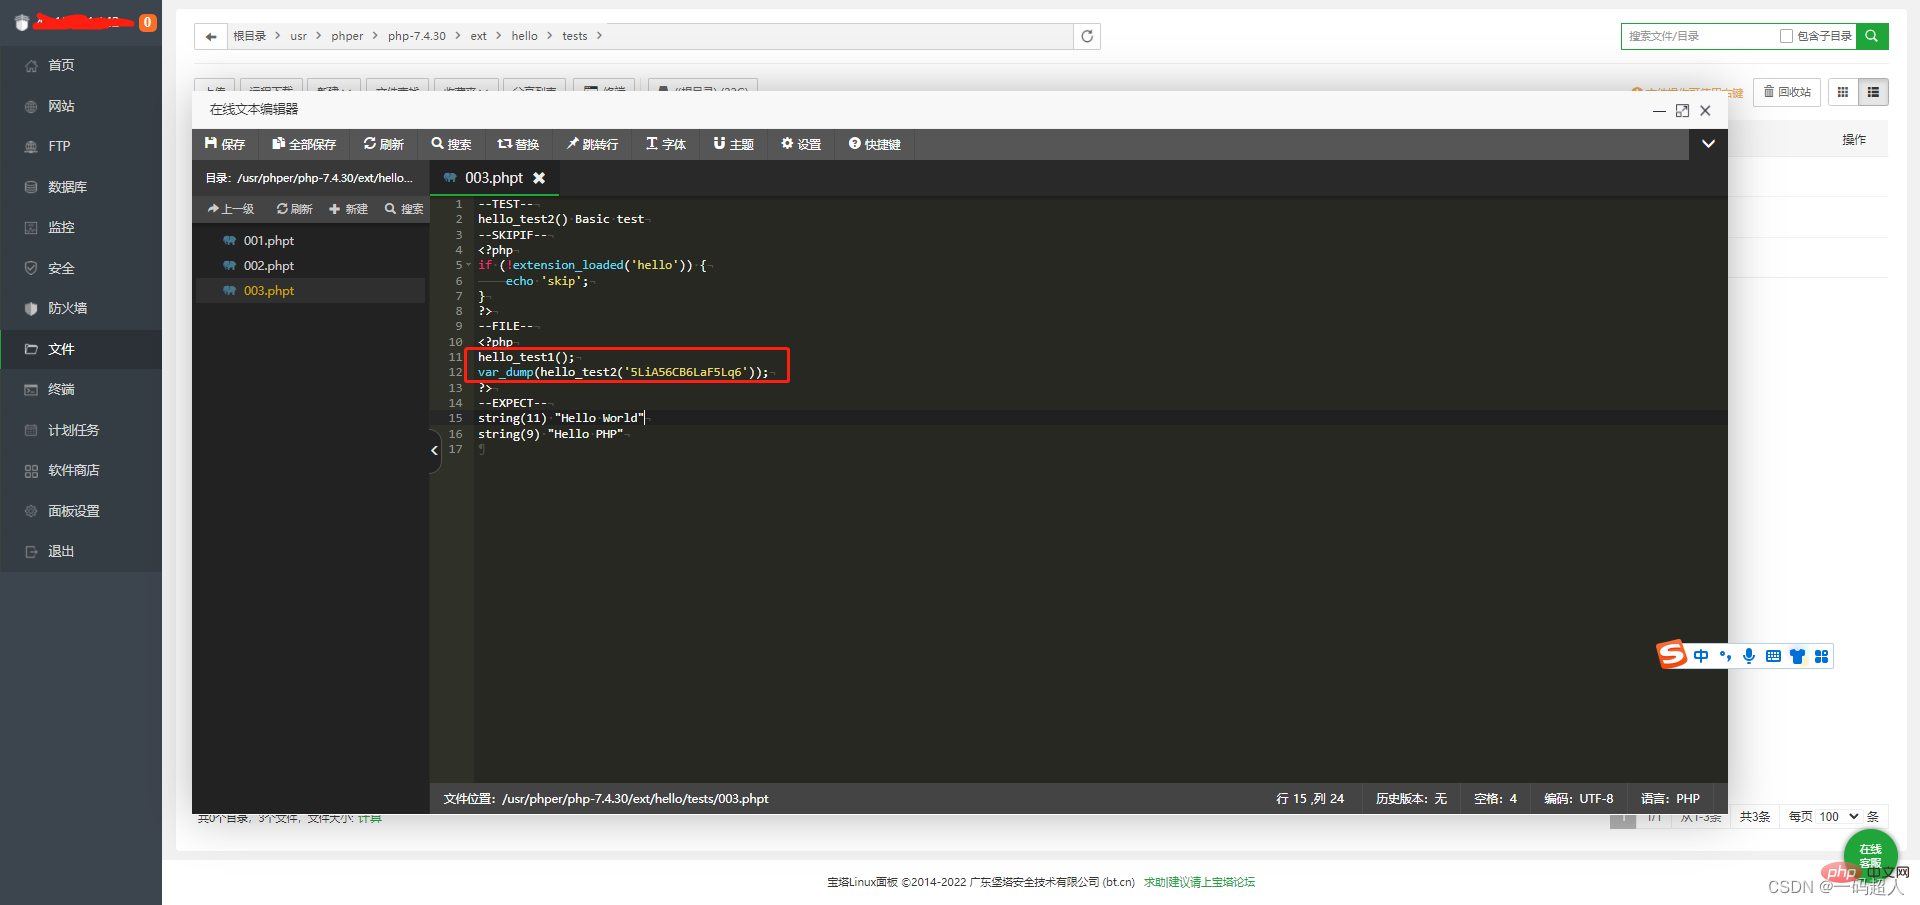
编写要执行测试的扩展函数
--TEST-- hello_test2() Basic test --SKIPIF-- <?php if (!extension_loaded('hello')) { echo 'skip'; } ?> --FILE-- <?php hello_test1(); var_dump(hello_test2('5LiA56CB6LaF5Lq6')); ?> --EXPECT-- string(11) "Hello World" string(9) "Hello PHP"
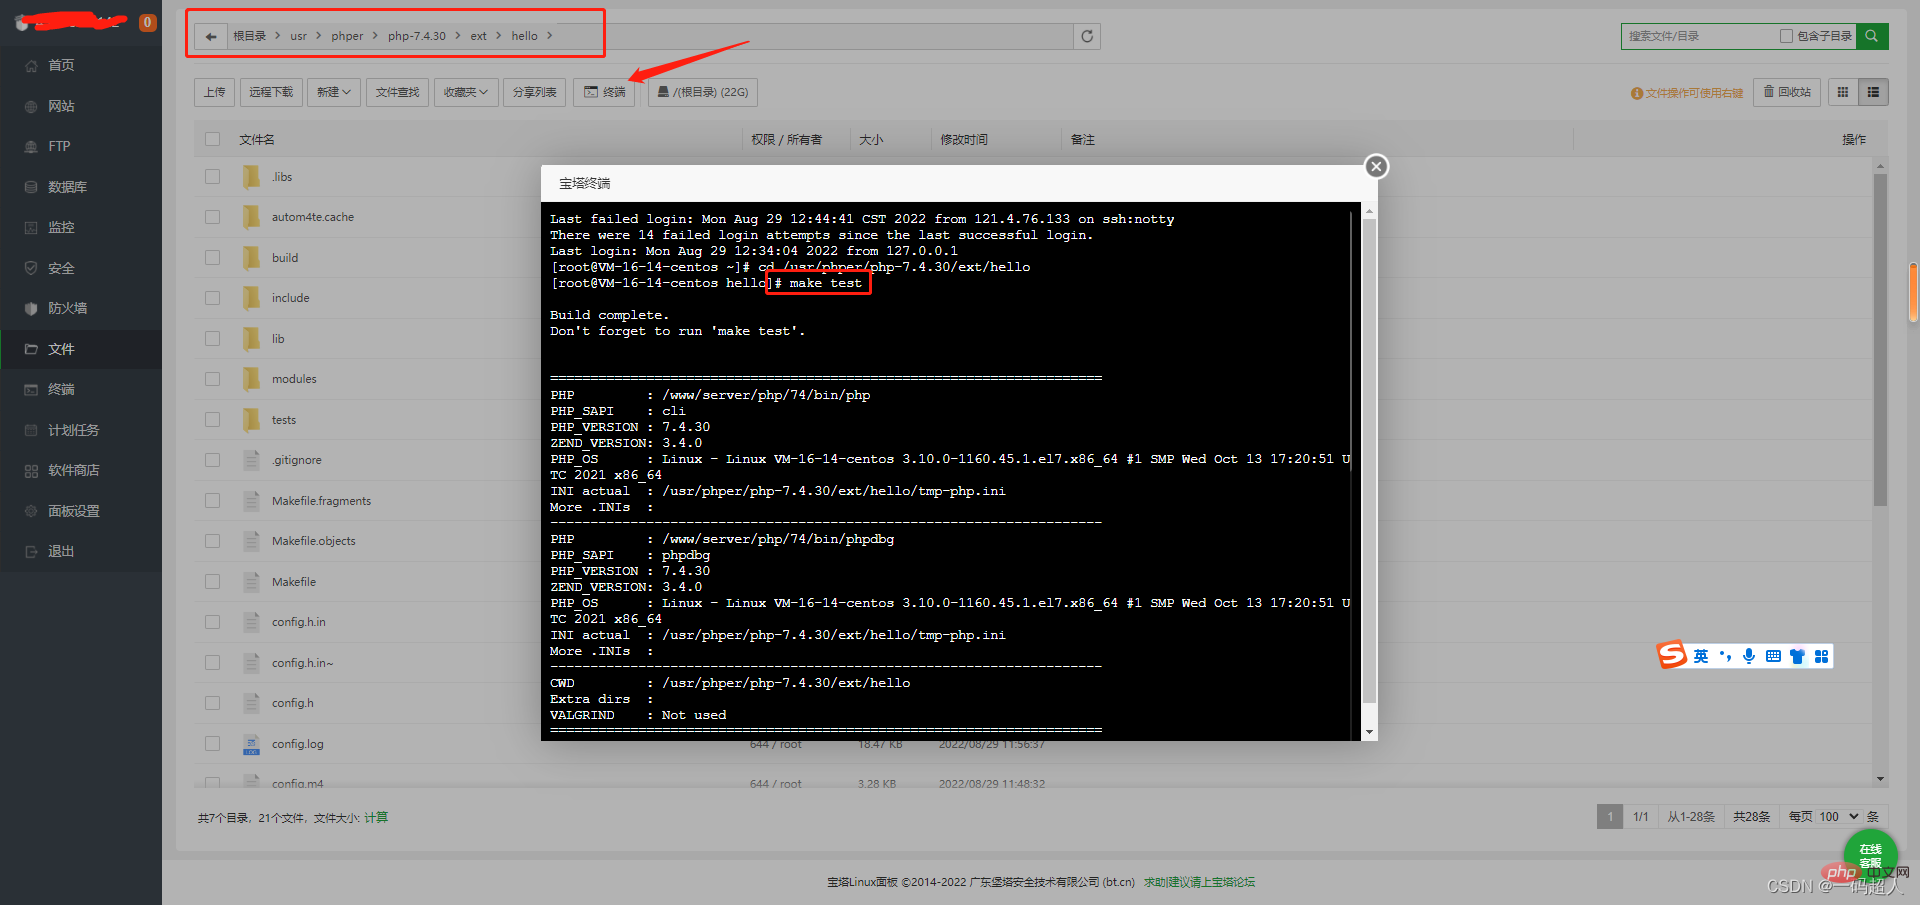
扩展目录下直接输入:
make test

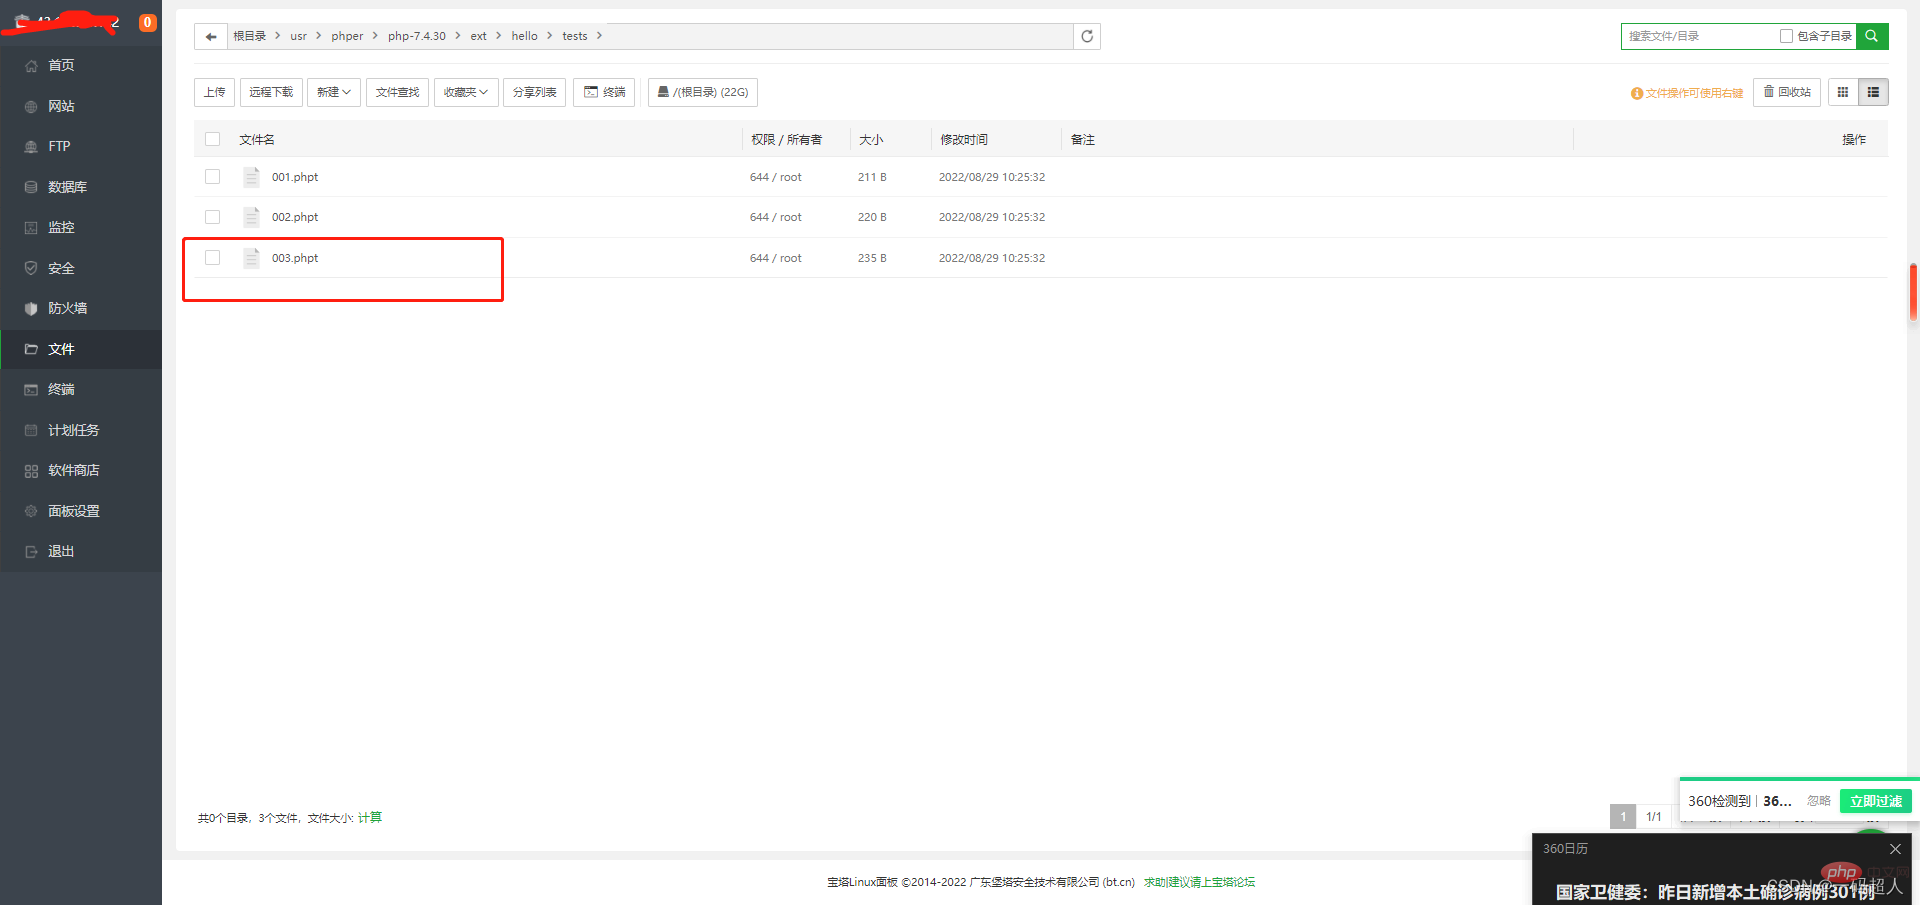
执行后 tests目录下输出了一个.out文件
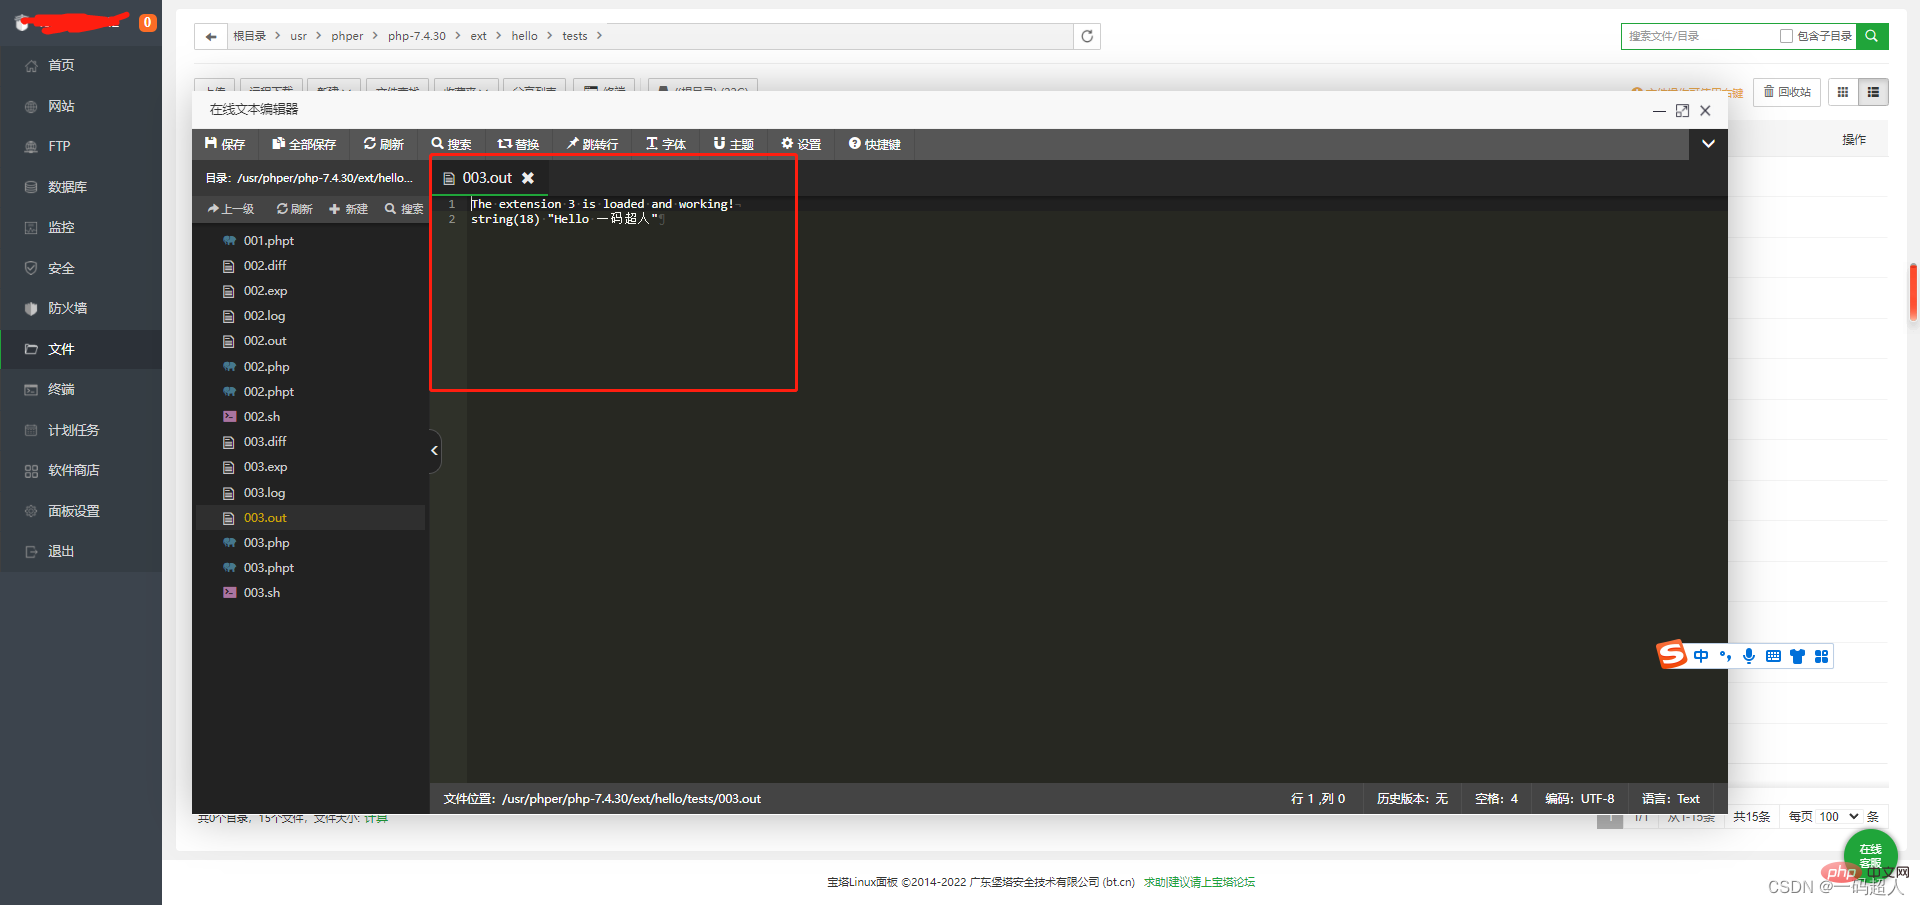
是不是这样更方便了呢?
