css阴影边框的设置方法:首先新建一个html文件;然后在这个html文件上创建两个【<div>】用来设置阴影边框;最后这两个div添加样式类为in、out。

本教程操作环境:windows10系统、css3版,DELL G3电脑,该方法适用于所有品牌电脑。
css阴影边框的设置方法:
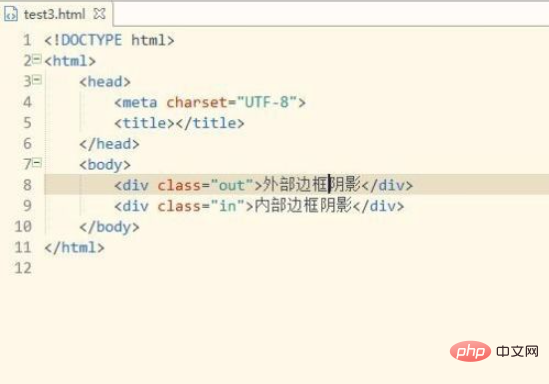
1、打开前端开发工具,新建一个html文件,然后在这个html文件上创建两个<div>用来设置阴影边框,最后这两个div添加样式类为: in、out。如图:
代码:
<div class="out">外部边框阴影</div> <div class="in">内部边框阴影</div>

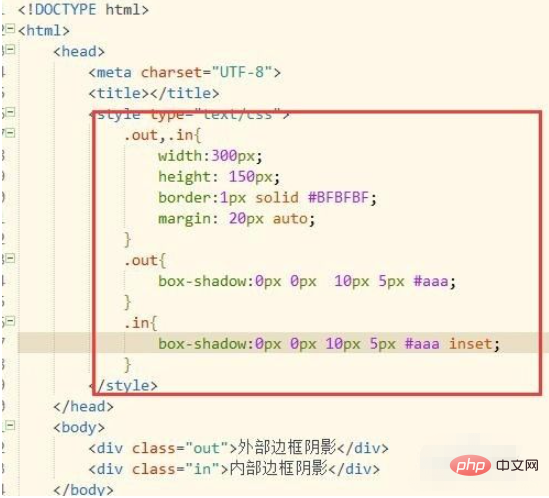
2、设置边框阴影。对这两个的样式类设置大小,宽高,最后使用box-shadow设置阴影边框。如图:
css代码:
<style type="text/css"> .out,.in{ width:300px; height: 150px; border:1px solid #BFBFBF; margin: 20px auto; } .out{ box-shadow:0px 0px 10px 5px #aaa; } .in{ box-shadow:0px 0px 10px 5px #aaa inset; } </style>

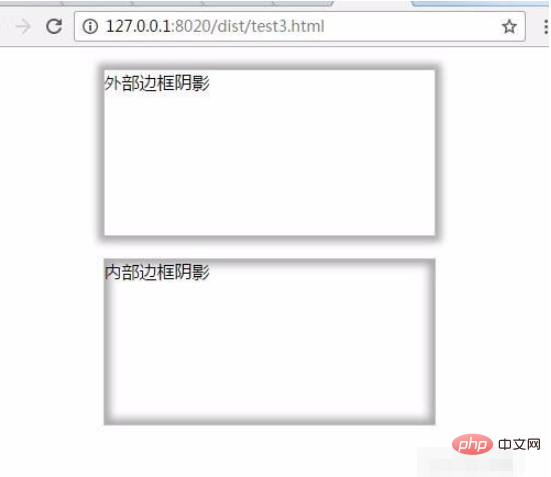
3、保存html文件后使用浏览器打开即可看到效果。如图:

4、所有代码。可以直接复制所有代码到新建的html文件上,粘贴保存后使用浏览器打开即可看到效果。
所有代码:
<!DOCTYPE html> <html> <head> <meta charset="UTF-8"> <title></title> <style type="text/css"> .out,.in{ width:300px; height: 150px; border:1px solid #BFBFBF; margin: 20px auto; } .out{ box-shadow:0px 0px 10px 5px #aaa; } .in{ box-shadow:0px 0px 10px 5px #aaa inset; } </style> </head> <body> <div class="out">外部边框阴影</div> <div class="in">内部边框阴影</div> </body> </html>
相关教程推荐:CSS视频教程
 站长资讯网
站长资讯网